
My first Ender 3 was a 2019 V1 that I bought used for $130, and the first thing I did wrong was assume its OrcaSlicer profile would work for the S1 Pro I bought three years later. I loaded the same retraction number, sliced a Benchy, and watched the Sprite direct-drive grind a flat spot into my PLA before I’d even hit the second layer.
That’s the whole problem with the Ender 3 family. The badge says “Ender 3” on all five mainstream variants, but the V1, the Pro, the V2, the S1 and the S1 Pro disagree about almost every spec that matters to a slicer: build volume, extruder geometry, mainboard, bed surface, even the hotend ceiling. I’ve helped enough Reddit posters chase phantom stringing to know the fix is almost always “you grabbed the wrong profile.” So this guide is a triage walkthrough. Identify your exact machine, pick the profile OrcaSlicer ships for it, then dial in the per-variant defaults that the slicer already knows about.
What this guide covers
- The Ender 3 variant matrix
- Which Ender 3 profiles ship in OrcaSlicer
- Stock-firmware setup, per variant
- Bowden vs direct-drive retraction
- Klipper conversion path with Moonraker
- BLTouch, CR Touch and ABL setup
- Recommended calibration order
- Common gotchas
- FAQ
Why Ender 3 owners pick OrcaSlicer
I switched off Cura on my V2 the week OrcaSlicer 2.0 dropped, and I haven’t gone back. The reason isn’t the UI, though the Bambu Studio inheritance makes the prepare and preview tabs friendlier than anything else in the free-slicer world. It’s the built-in calibration suite. Temperature towers, flow rate, pressure advance, max volumetric speed, retraction towers, all of it lives in one menu and generates G-code that’s already pegged to your printer profile. On a cheap printer that lives or dies by good calibration, having those tests one click away is the difference between “Benchy looks okay” and “I can actually trust this machine with a 12-hour print.”
You can grab the current build straight from the official OrcaSlicer GitHub releases page. Don’t trust mirror sites. Creality doesn’t bundle OrcaSlicer with any Ender 3 SD card I’ve ever seen, so the GitHub release is the canonical source.
The Ender 3 variant matrix: which printer do you actually own?
Before you touch OrcaSlicer, confirm which Ender 3 is sitting on your bench. The cheat is to look at the extruder. If the stepper motor is bolted to the left side of the frame and a white PTFE tube runs to the hotend, you’ve got a Bowden machine (V1, Pro, or V2). If the motor sits directly on top of the hotend carriage with no tube, that’s the Sprite direct-drive and you own an S1 or an S1 Pro.
Here’s the matrix, pulled from manufacturer listings and confirmed against the OrcaSlicer shipped profiles:
| Variant | Year | Build volume (mm) | Extruder | Hotend max | Bed surface | Stock leveling | Mainboard |
|---|---|---|---|---|---|---|---|
| Ender 3 (V1) | 2018 | 220 x 220 x 250 | Bowden, MK-8 | 250°C | Stickered aluminum mat | Manual (4 knobs) | 8-bit ATmega1284P |
| Ender 3 Pro | 2018 | 220 x 220 x 250 | Bowden, MK-8 | 250°C | C-MAG magnetic (flexible textured top) | Manual | 8-bit early, some late units shipped V4.2.2 |
| Ender 3 V2 | 2020 | 220 x 220 x 250 | Bowden, MK-8 | 260°C | Carborundum glass | Manual | V4.2.2 stock or V4.2.7, both 32-bit STM32F103 |
| Ender 3 S1 | 2021 | 220 x 220 x 270 | Sprite direct-drive (dual-gear) | 260°C (PTFE-lined) | Magnetic spring-steel sheet (PC coated) | CR Touch (16-point) | V2.4.S1 silent, 32-bit STM32F103 or STM32F401RCT |
| Ender 3 S1 Pro | 2022 | 220 x 220 x 270 | Sprite full-metal direct-drive | 300°C (all-metal) | Spring-steel PEI magnetic plate | CR Touch | V2.4.S1-family 32-bit silent |
The bit that catches most readers: the V1, Pro and V2 are 250mm tall, while the S1 and S1 Pro are 270mm. If you load the wrong profile, OrcaSlicer will silently clip the top 20mm of any tall print on an S1 family machine, or refuse to slice anything that uses the extra height on a V1/Pro/V2. The S1 standard tops out at 260°C because of its PTFE-lined heat break, not because of the extruder. Only the S1 Pro’s all-metal hotend reaches the 300°C mark, and that’s the only variant in the family where you should even think about printing nylon or polycarbonate.
If you’ve got a V3, V3 SE, V3 KE or V3 Plus, this guide isn’t yours. Those are different machines with different shipped profiles, and we cover them in our dedicated Ender 3 V3 guide.
Which Ender 3 profiles ship in OrcaSlicer
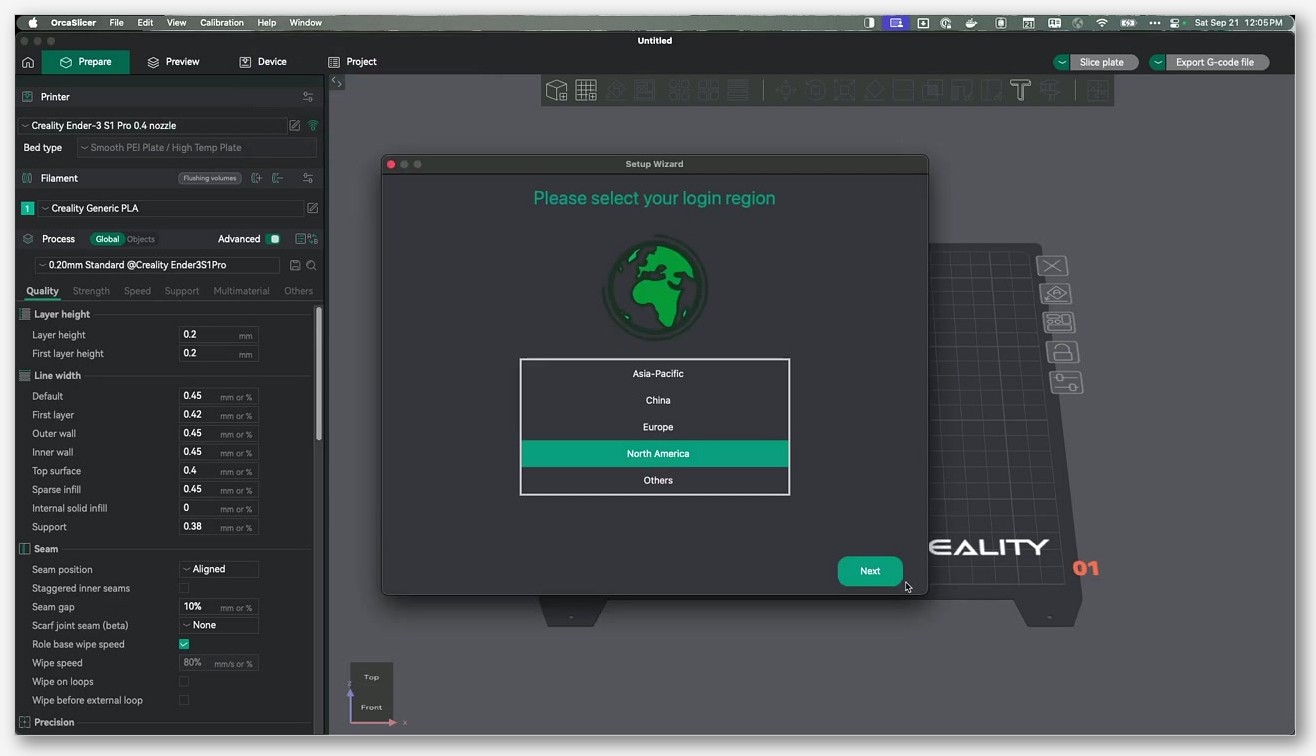
I pulled the current Creality machine folder straight from the OrcaSlicer GitHub repo to verify this, because vendor profile coverage shifts with releases. As of the most recent main-branch check, here’s what ships:
- Ender 3 (V1): the base profile plus 0.2, 0.4, 0.6 and 0.8 nozzle variants.
- Ender 3 Pro: same coverage as the V1, base plus 0.2, 0.4, 0.6 and 0.8.
- Ender 3 V2: base plus the 0.4 nozzle variant only.
- Ender 3 S1: base plus the 0.4 nozzle variant only.
- Ender 3 S1 Pro: base plus the 0.4 nozzle variant only.
That asymmetry trips people up. If you own a V2 and you’ve swapped in a 0.6mm nozzle for faster vase-mode prints, OrcaSlicer doesn’t ship a profile for that combo. You’ll need to clone the 0.4 V2 profile, change the nozzle diameter, and adjust line widths and layer height yourself. The V1 and Pro got the full four-size treatment because they’ve been around the longest and the community pressure on those profiles is the highest. The newer machines may catch up as users contribute back, but right now don’t assume a 0.6 or 0.8 profile exists for your S1 Pro because it doesn’t.
When you clone a profile to change nozzle size, the values that need adjusting are the obvious nozzle diameter, plus line width (typically 1.1x to 1.2x the nozzle), max layer height (cap at 0.75x the nozzle for clean detail), and minimum layer height (you can usually halve it). Leave the retraction settings alone, because those are dictated by extruder geometry, not nozzle size. A V2 with a 0.6mm nozzle is still a Bowden machine and still wants 4mm of retraction.
For the broader picture of which Creality machines have shipped profiles and which need community ports, the OrcaSlicer printer-profile hub has the running list.
Stock-firmware setup, per variant
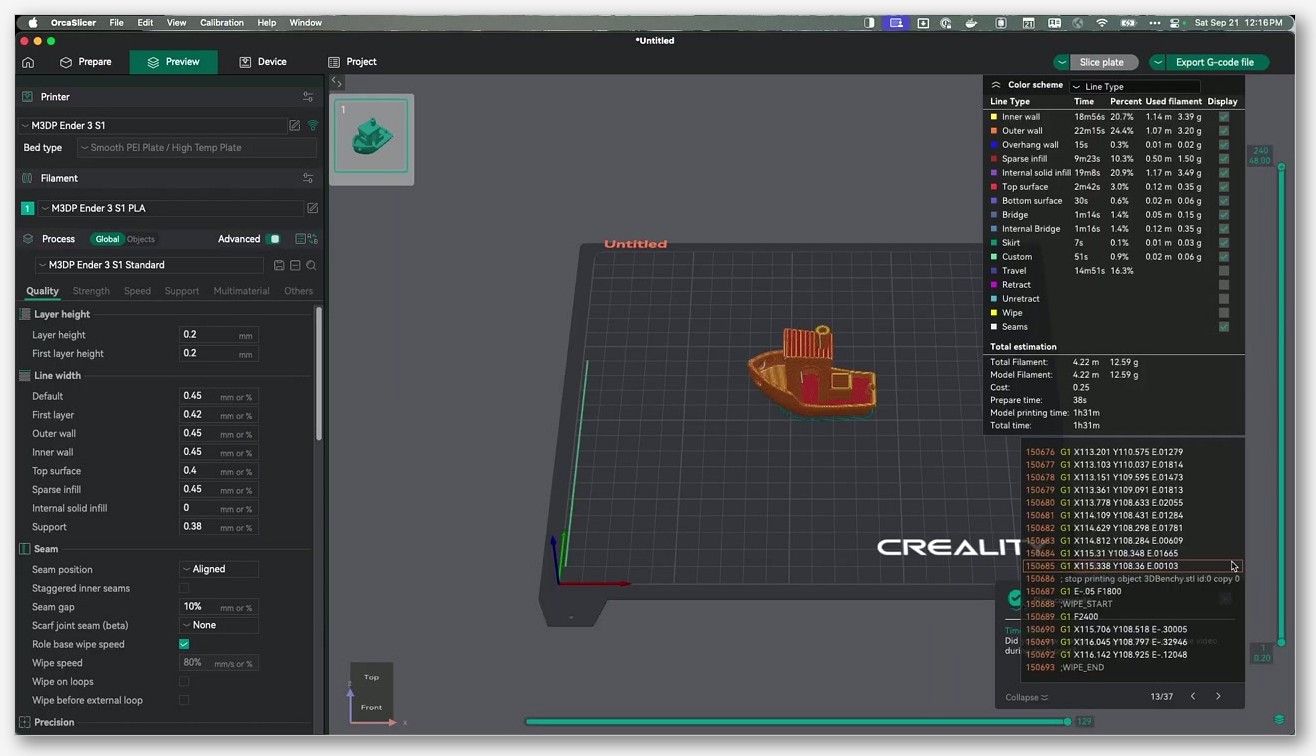
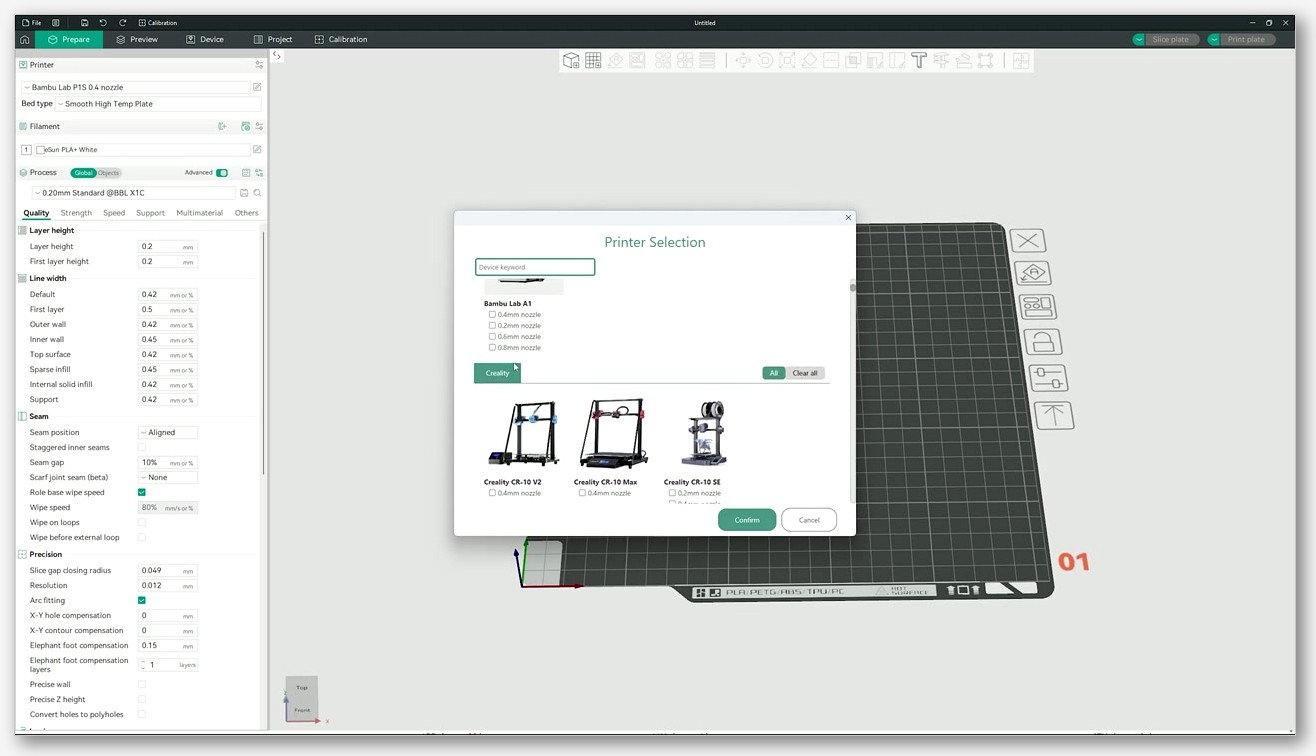
Assuming you’re running Marlin stock (not Klipper), the setup flow is the same across the family with a few per-variant gotchas. Open OrcaSlicer, hit the printer dropdown in the top-left, choose “Add Printer,” and filter the vendor list to Creality. Find your exact variant, double-check the nozzle size matches what’s actually installed, and import. Filament next: stock PLA from Creality, eSun, or Hatchbox all slice fine off the built-in “Generic PLA” profile, though I’d lower the bed to 50°C on the V2’s glass surface to keep first-layer adhesion sane without scarring the carborundum coating.
Per-variant notes I keep running into:
- V1 and Pro: the stock 8-bit ATmega1284P board is the limiter. You can slice and print fine, but features like pressure advance and input shaping need linear-advance support in firmware, which means flashing a Marlin build with LIN_ADVANCE enabled. Stock firmware as shipped doesn’t have it.
- V2: the V4.2.2 board is 32-bit STM32F103 with silent TMC drivers, so pressure advance is achievable with a firmware reflash, and the silent stepping makes the printer genuinely quiet. Creality offers the V4.2.2 stock firmware download directly, dated November 28, 2022 at last check.
- S1: ships with the V2.4.S1 silent board (32-bit) and CR Touch is already wired in. First print works out of the box once you run the auto bed leveling routine from the printer’s screen.
- S1 Pro: same board family, same CR Touch wiring, plus the 4.3-inch color touch screen. The OrcaSlicer profile defaults assume the all-metal hotend, so the printer-side max temp is 300°C rather than 260°C.
Bowden vs direct-drive: the retraction reality
This is the single most useful section if you only read one. The shipped OrcaSlicer profiles encode the hardware difference between the Bowden machines and the Sprite direct-drive machines, and the numbers are not close.
- Ender 3 V1, Pro, V2 (Bowden): retraction length defaults to 4mm.
- Ender 3 S1 (Sprite direct-drive): retraction length defaults to 1mm.
- Ender 3 S1 Pro (Sprite full-metal direct-drive): retraction length defaults to 0.8mm.
I’ve watched the S1 Pro retraction default trip up dozens of forum posters who copied a 4mm Bowden number from a 2019 tutorial and then wondered why their PLA was grinding into flat spots inside the Sprite gears. The math is just physics. A Bowden setup has roughly 400mm of PTFE tube between the extruder gears and the nozzle melt zone, so you need to yank back 4mm of filament to actually relieve pressure at the tip. A direct-drive extruder has maybe 40mm of total path. Retract 4mm of PLA in a Sprite and you’ve pulled molten filament back into the cold zone, which is exactly how heat creep clogs start.
Match the profile to the hardware. If you do swap a V2 to direct-drive with a Microswiss kit, you have to clone the V2 profile, drop the retraction to about 1mm, and run a fresh retraction tower. There’s no shortcut.
For dialing in the exact retraction number once your hardware is sorted, the slicer’s built-in retraction-tower calibration is the cleanest test to run first.
Klipper conversion path with Moonraker
A lot of Ender 3 owners eventually flash Klipper, usually because they want pressure advance, input shaping, and a web UI without buying a printer that has those features stock. OrcaSlicer talks to Klipper through Moonraker, the API server that runs alongside it.
The setup, condensed:
- Flash Klipper to the printer board and get Moonraker running on the host Pi. The Moonraker WebSocket lives at port 7125 by default.
- In OrcaSlicer, open the printer settings, find the Connection or Device tab, and set the host type to Octo/Klipper. Hostname is your Pi’s IP plus the port, for example
192.168.1.42:7125. - For slicer uploads to actually land in Klipper’s gcode folder, your
moonraker.confneeds an[octoprint_compat]block. Without it, the upload button in OrcaSlicer just throws auth errors. The Fluidd documentation on slicer uploads walks through the exact stanza.
One gotcha worth flagging from the OrcaSlicer issue tracker: issue #13101 notes that OrcaSlicer generates Marlin-style M486 object-exclusion commands even when the G-code flavor is set to Klipper. For now, if you want clean Klipper object exclusion, you may need to post-process or accept the Marlin-style M486 markers.
The canonical community thread on whether to use OrcaSlicer’s built-in print profile or a Klipper-specific one is Discussion #6493. The short answer is the bundled profile works fine for slicing, but acceleration and pressure-advance values should come from your Klipper config rather than the slicer.
If you’re starting from zero on the Klipper side, our full Klipper with OrcaSlicer setup walkthrough covers the Pi imaging step too.
BLTouch, CR Touch and ABL setup
Auto bed leveling is one of the bigger quality-of-life gaps between the older and newer Ender 3 variants, so the setup story splits cleanly:
- V1, Pro, V2: manual leveling is stock. The four knobs under the bed. If you want ABL, you buy a BLTouch (or the equivalent CR Touch) and a wiring harness, mount the probe to a printed bracket on the hotend carriage, and reflash firmware to enable the probe. BLTouch is the more common upgrade because there are more guides for it, but CR Touch works equivalently on these older boards.
- S1, S1 Pro: CR Touch ships stock, fully wired, 16-point mesh. You hit “Auto Leveling” on the front screen and the machine probes the bed itself. Nothing to flash, nothing to mount.
OrcaSlicer doesn’t do the probing itself, and nothing in the slicer creates the mesh. Marlin and Klipper own the bed-leveling routines; OrcaSlicer just emits the G29 command (or the Klipper BED_MESH_CALIBRATE macro, if you’ve added that to your start G-code) and reads the resulting Z compensation. The slicer is a passenger here. If your mesh is bad, fix it on the firmware side, not the slicer side.
One thing worth double-checking after an ABL install on a V1/Pro/V2: the start G-code in your filament profile. Stock OrcaSlicer profiles for those machines assume no probe. After a BLTouch install you’ll want to add G28 followed by G29 at the top of every print so the printer homes and then probes before laying the first line. Without it, the probe gets ignored and you’ve spent $30 for nothing.
Recommended calibration order in OrcaSlicer
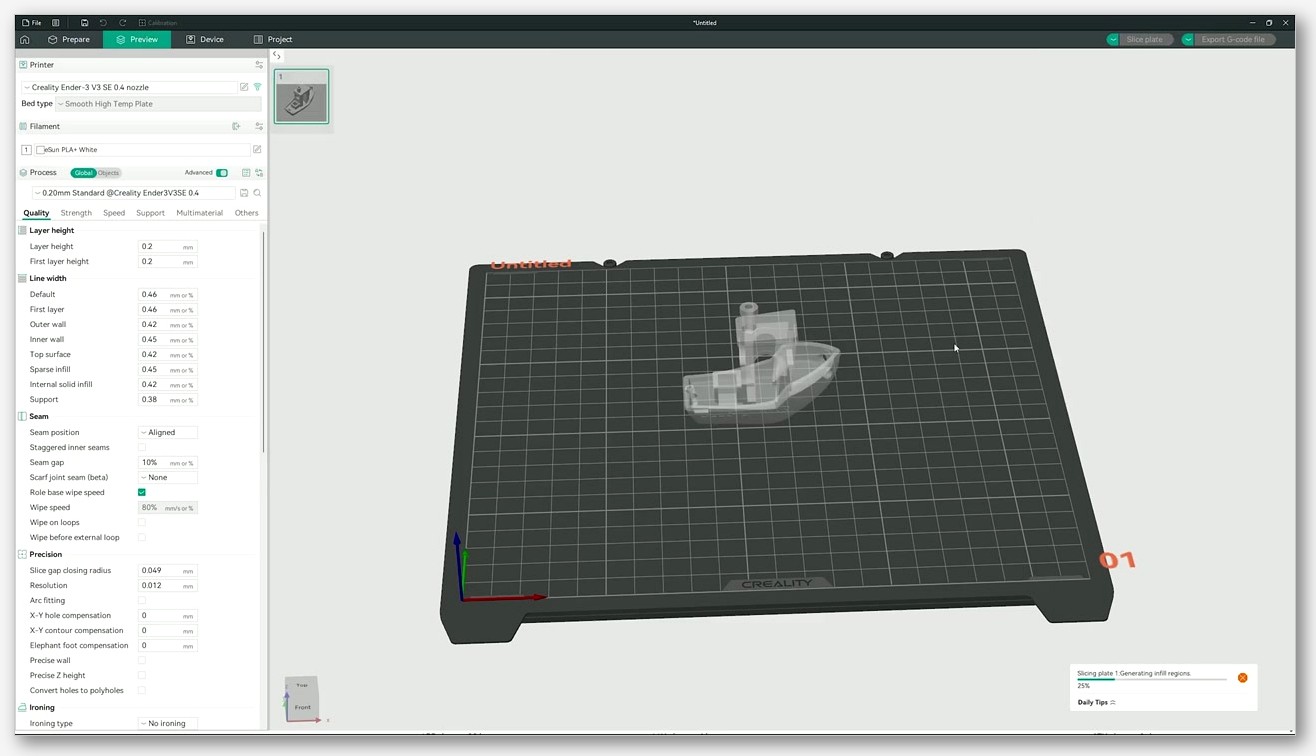
The built-in Calibration menu is the reason most Ender 3 owners I know jumped from Cura. The order matters, because each test depends on the previous one being stable. Run them this way:
- Temperature tower. Pick the right print temp for your specific filament roll. Even within the same brand, batch variation is real. On a V1/Pro/V2 you can push to 240°C safely, on an S1 to 260°C, on an S1 Pro to 300°C if you’re running a high-temp filament.
- Max volumetric speed. Find the flow rate at which the hotend can actually melt filament fast enough to keep up. This caps your maximum print speed in mm/s regardless of what you set elsewhere. On a stock 250°C V1 hotend, expect roughly 10mm³/s. On the S1 Pro’s all-metal at 300°C, you can push past 20mm³/s.
- Pressure advance. Sharpens corners by compensating for melt-zone pressure during direction changes. This is where the variant story matters: PA works cleanly on Klipper and on Marlin builds with LIN_ADVANCE enabled, but stock 8-bit V1/Pro firmware doesn’t support linear advance at all. You need to reflash to get it.
- Flow rate. The final 5% accuracy pass. Don’t run this before PA, because pressure changes apparent flow and you’ll calibrate against a moving target.
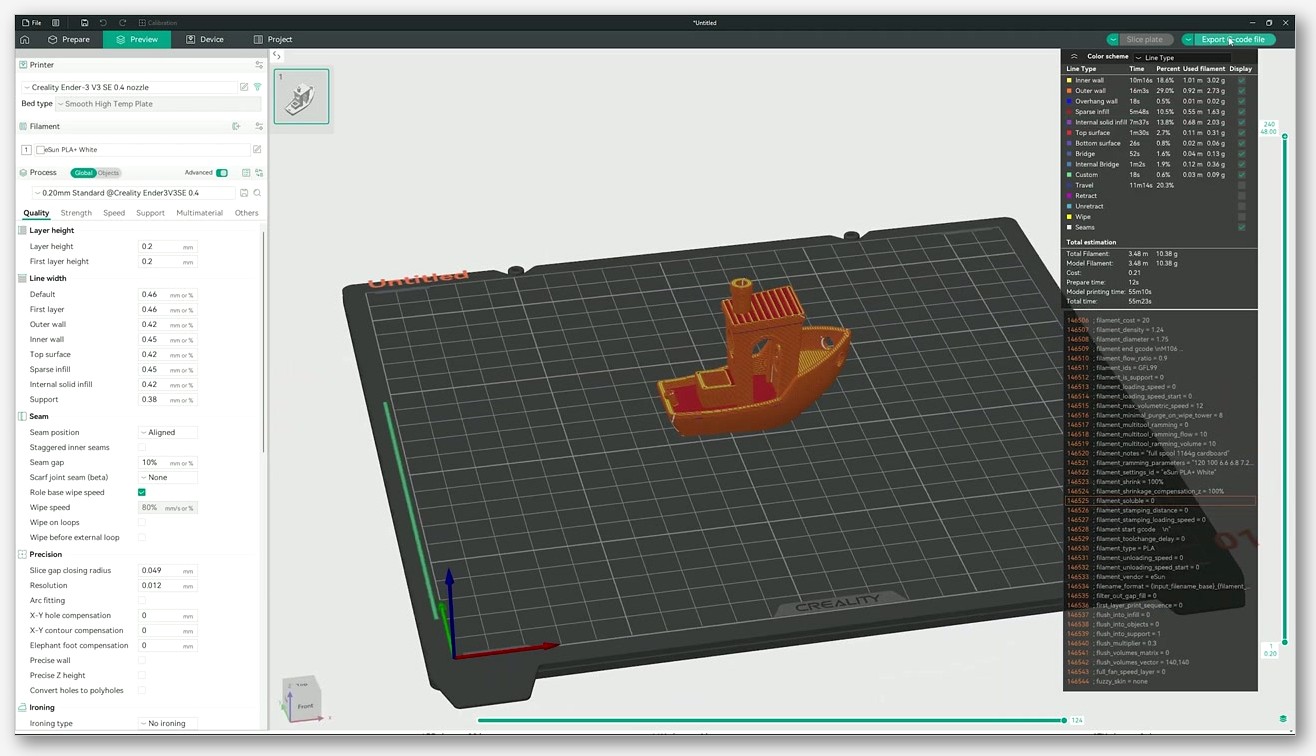
Each test is one click in the Calibration menu and OrcaSlicer generates the G-code automatically. For the deeper walkthrough on how to read each test’s output, our calibration order and per-test walkthrough covers the visual inspection side.
Common Ender 3 plus OrcaSlicer gotchas
The repeat offenders from my own troubleshooting notes and the OrcaSlicer issue tracker:
- Build volume reverts after profile auto-update. If you’ve manually edited a printer profile’s printable area and then OrcaSlicer updates Creality vendor profiles, your edits can get clobbered. Save modified profiles under a new name (for example “Ender 3 V2 with skirt clearance”) so the auto-update never touches them.
- M486 object exclusion always generates Marlin-style. Per the open issue #13101, OrcaSlicer emits Marlin M486 commands even when the printer is set to Klipper flavor. Workaround for now: accept the markers or run a post-processing script.
- Wrong nozzle profile silently slices. If you’ve swapped a V1 to a 0.6mm nozzle but kept the 0.4 profile loaded, OrcaSlicer will under-extrude badly and you’ll blame the printer. The slicer can’t read your physical hardware. Check the profile name in the top-left dropdown before every slice.
- Bowden retraction loaded on direct-drive. Covered above, but it bears repeating. The 4mm default from a V1 profile will grind PLA into the Sprite gears on an S1. Always confirm the active profile matches the actual extruder hardware.
- No native Wi-Fi on V1/Pro/V2. These three don’t have networking out of the box. To send prints over the network you need Klipper plus Moonraker on a Raspberry Pi, or an Octoprint setup. SD card transfer is the only stock option.
For anything outside this list, the general OrcaSlicer troubleshooting docs are a better entry point than digging through the GitHub issue tracker yourself.
FAQ
What’s the build volume of my Ender 3?
If it’s a V1, Pro or V2, it’s 220 x 220 x 250mm. If it’s an S1 or S1 Pro, it’s 220 x 220 x 270mm. The S1 family added 20mm of Z because the Sprite direct-drive carriage has a slightly different geometry that allowed the frame redesign.
Which OrcaSlicer profile should I pick for the original Ender 3?
“Creality Ender-3 0.4 nozzle” if you’re running the stock 0.4mm nozzle, which most owners are. OrcaSlicer also ships 0.2, 0.6 and 0.8 variants for the V1 specifically, so pick whichever matches the nozzle you’ve installed.
Does OrcaSlicer support BLTouch automatically on my V2?
Not in the sense of installing it for you. BLTouch isn’t stock on the V2; you have to install the hardware and reflash firmware. Once that’s done, OrcaSlicer just emits G29 in the start G-code and reads the resulting mesh through the firmware. The slicer doesn’t probe anything itself.
Do I need Klipper to use OrcaSlicer?
No. OrcaSlicer slices for stock Marlin firmware on every Ender 3 variant just fine. Klipper opens up faster speeds, pressure advance on older boards, and a web UI, but it’s optional. Plenty of people slice on OrcaSlicer and transfer to SD card on stock firmware with no issues.
Can my V2 run direct-drive?
With a Microswiss or BIQU conversion kit, yes. But you’ll need to clone the V2 profile in OrcaSlicer, drop the retraction from 4mm to roughly 1mm to match the new geometry, and run a fresh retraction tower. The shipped V2 profile assumes Bowden.
What’s the max hotend temperature I can run?
V1 and Pro: 250°C stock. V2 and S1: 260°C stock, limited by the PTFE-lined heat break. S1 Pro: 300°C, because the all-metal hotend has no PTFE inside the melt zone. Don’t try to push the S1 standard to 300°C, the PTFE will degrade and release toxic fumes.
Which bed surface is on my printer?
V1 shipped with a stickered aluminum mat that most owners eventually replaced with glass. The Pro got the C-MAG magnetic surface, a flexible textured top on a rigid magnetic base. The V2 introduced the carborundum glass bed that became iconic for the line. The S1 ships with a magnetic spring-steel sheet with a PC coating, and the S1 Pro upgrades that to PEI on spring steel. Each surface has its own ideal first-layer temp and adhesion behavior, so don’t assume a glass-bed profile transfers cleanly to PEI.
Where to go next
If you’ve identified your variant, loaded the right OrcaSlicer profile, and confirmed the retraction matches your extruder type, you’ve already cleared the three failure modes that cause most “OrcaSlicer doesn’t work on my Ender 3” forum posts. From here, the calibration suite is where the slicer earns its keep, and our calibration order and per-test walkthrough is the natural next read. If you’re upgrading the brain of the printer rather than just the print quality, the Klipper guide will get you the rest of the way. Either way, the GitHub OrcaSlicer releases page is where every fresh build lives.
Related OrcaSlicer guides
- OrcaSlicer Settings Master Guide: Every Setting Explained (2026)
- OrcaSlicer for Sovol SV06 / SV07 / SV08: Setup and Best Settings (2026)
- OrcaSlicer for Qidi X-Plus 3 / X-Max 3 / Q1 Pro: Setup and Best Settings (2026)
- OrcaSlicer Project Files (.3mf): How to Save and Share (2026 Guide)
- OrcaSlicer Webcam and Live View Setup for Remote Monitoring