
I shared my first OrcaSlicer file with a buddy last spring. He’s a Cura guy, runs an old Ender 3 he refuses to retire. I sent him a .3mf because someone on a forum told me .3mf was “the universal one.” He opened it, and half my settings were just gone. Tree supports? Vanished. Color paint? Plain orange. Custom seam position? Reset. He printed it anyway, and the print looked nothing like the slice I’d shown him on Discord the night before.
That was my first real lesson in what a .3mf file actually is, and what it isn’t. The format is great, but the way OrcaSlicer uses it is specific, and the way other slicers read it is even more specific. If you’re saving and sharing your work, you need to know which version of .3mf you’re handing over, who’s on the receiving end, and where the cracks are.
This guide walks through saving an OrcaSlicer project, sharing it without trashing the recipient’s settings, uploading to MakerWorld or Printables without getting rejected, and recovering when things go sideways. I’ve kept it accessible because most of the questions I see in the OrcaSlicer Discord are from people on their second or third week with the slicer. If you’re past that point, skim the section headers and skip ahead.
What this guide covers
- What actually lives inside a .3mf file
- OrcaSlicer’s .3mf flavor (and the cross-slicer reality)
- The File menu, from Save Project to Export
- .3mf vs .gcode.3mf, and which one to send
- Sharing a .3mf the right way
- Common problems and how to fix them
- A backup workflow that doesn’t suck
- MakerWorld and Printables specifics
- FAQ
What actually lives inside a .3mf file
Let’s start with the basics because the format itself is misunderstood. The 3MF (3D Manufacturing Format) is a ZIP container. Rename a .3mf to .zip, double-click it, and you’ll see an XML manifest, a model definition, thumbnails, and (in OrcaSlicer’s case) a bunch of preset XML blobs sitting in subfolders. It is not magic. It’s a sensibly organized archive.
The 3MF Consortium built the format back in 2015. The members list reads like a who’s-who of additive manufacturing: Microsoft, Autodesk, HP, Materialise, Shapeways, Ultimaker, and (later) Bambu Lab. The core spec stamps units explicitly inside the model file, which kills STL’s chronic millimeter-vs-inch guessing game. It supports extensions for materials, colors, slice data, lattice structures, secure content, and even signed-distance-function geometry. STL, by comparison, is a triangle soup with no units, no colors, no metadata, and no defined origin. If you’ve ever opened an STL and watched it appear at 1/25th the expected size because someone exported in inches, you know exactly what I’m talking about.
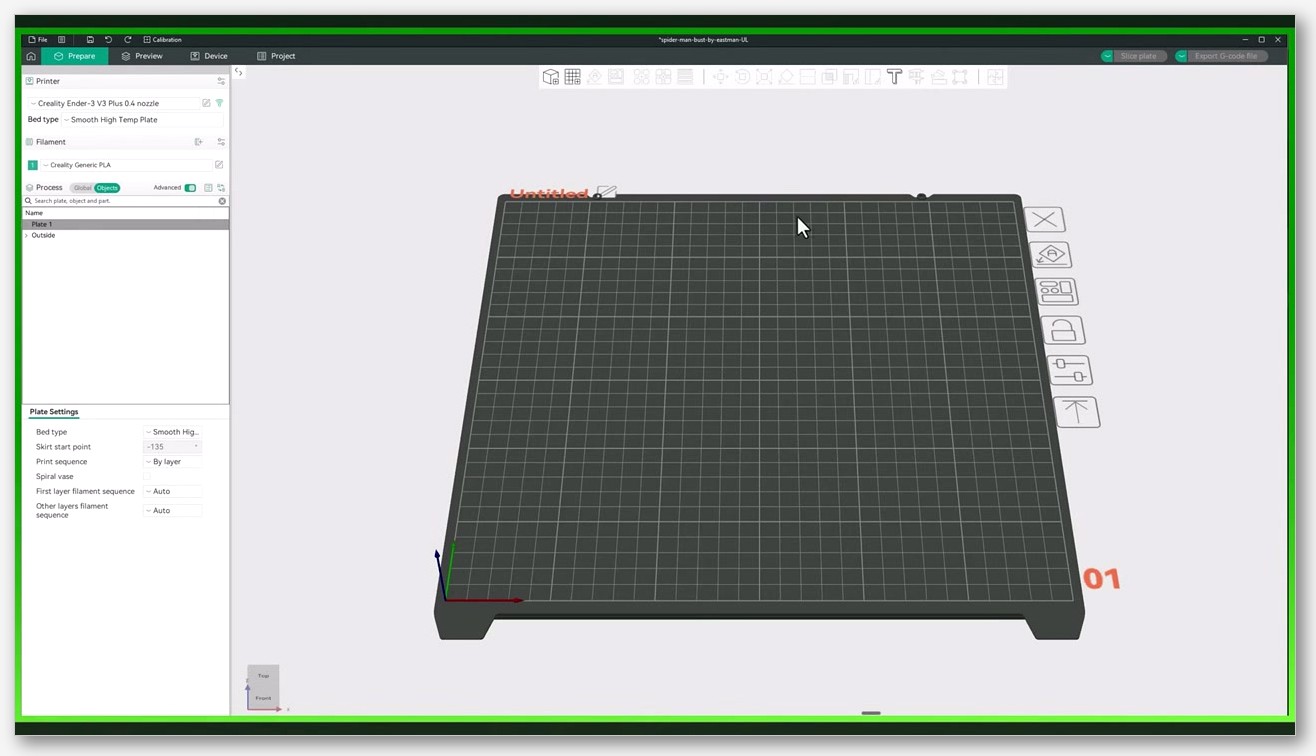
OrcaSlicer treats .3mf as its native project format. When you hit Ctrl+S in Orca, the file that lands on your disk contains:
- Mesh geometry for every model on every plate, with units explicitly stamped. No scaling ambiguity.
- Plate layout, which means multi-plate arrangement, object positions, rotations, and scales. Multi-plate is a Bambu/Orca extension, so a third-party slicer may only show one plate.
- Print, filament, and printer profile snapshots. The full preset values at slice time, baked in, not just references. This is the reason opening someone else’s .3mf can clobber your active profile (we’ll come back to that).
- Per-object overrides like wall count, infill density, layer height, support flag, brim, and seam position when those are set per-object instead of per-plate.
- Manual support paint and color paint data, stored as vertex-level paint plus MMU-style triangle splits inside the mesh XML.
- Modifier parts, which include cutters, infill modifiers, support blockers, and any negative/positive volumes you’ve added.
- Custom G-code blocks: start G-code, end G-code, layer change, tool change, pause-at-height, and any post-processing scripts you’ve wired in.
- Calibration metadata like flow ratio, pressure advance, and Z-offset for the assigned printer profile.
- Thumbnail PNGs shown by the printer LCD or by MakerWorld’s model card.
- The sliced G-code itself, but only if you exported a .gcode.3mf rather than a plain .3mf.
- Project notes, which can hold images, spreadsheets, PDFs, and free text. Orca’s Project tab on the top bar is where you find these.
Compared to the formats sitting next to it on your hard drive:
- STL: geometry only. No color, no units, no settings, no support paint. The receiver has to start from a blank profile.
- OBJ: geometry plus a material reference, but slicers ignore the material side. Same practical limits as STL.
- G-code (.gcode): toolpath only. Locked to one printer, one filament, one slice. The receiver cannot re-slice, cannot scale, cannot edit.
- .3mf (project): geometry plus settings plus paint plus modifiers. Fully re-sliceable.
- .gcode.3mf: everything a .3mf has, plus the baked toolpath. Ready to print without re-slicing.
So when someone on Reddit says “just send the .3mf,” what they really mean is “send the project file.” And when someone says “send the .gcode.3mf,” they mean “send the file that’s already sliced and ready to run on the printer.” Two different files, two different jobs, and the difference matters more than people give it credit for.
OrcaSlicer’s .3mf flavor (and the cross-slicer reality)
The 3MF spec is intentionally extensible. That’s its strength and its weakness. Bambu Studio created proprietary XML extensions to carry its presets, multi-plate state, color paint, and AMS metadata. OrcaSlicer, which is a fork of Bambu Studio (which itself is a downstream of PrusaSlicer), inherited those extensions and added more of its own. The honest practical consequences look like this.
Bambu Studio and OrcaSlicer read each other’s .3mf files in most cases. Each may warn about unknown keys from the other, and color paint occasionally needs reapplication. There’s even a third-party converter tool that exists specifically to translate paint between them, which tells you everything about how clean the round trip really is.
PrusaSlicer opens Orca .3mf geometry fine, including multi-plate. The print settings rarely import cleanly because the preset key names diverge. Treat PrusaSlicer-to-Orca and Orca-to-PrusaSlicer as “geometry transfer only” and you’ll save yourself a lot of swearing.
Cura doesn’t recognize Bambu or Orca custom extensions. Cura users report .3mf files from Orca behave inconsistently: sometimes you get geometry without color, sometimes only one plate loads, sometimes the import fails outright. If you’re sending a file to a Cura user, export the geometry as STL or as a Generic 3MF and stop pretending it’ll all just work.
Version mismatch inside OrcaSlicer itself is also a thing. A .3mf saved by a newer Orca version warns “this 3MF was generated by a newer version” and may load with geometry-only fallback. The fix is to update Orca, not to downgrade the file. Issue #11436 on the OrcaSlicer GitHub is one of the better threads documenting this.
So the honest framing, the one I wish someone had given me on day one: .3mf is a great geometry interchange across all major slicers. Orca’s full project fidelity only round-trips cleanly back into Orca, and mostly into Bambu Studio. Everything else is a partial import.
The File menu, from Save Project to Export
OrcaSlicer’s File menu is the one place every option lives, and once you’ve memorized the layout it stops being scary. Verified against the OrcaSlicer GitHub wiki and OrcaSlicer 2.3.x, here’s what each entry does.
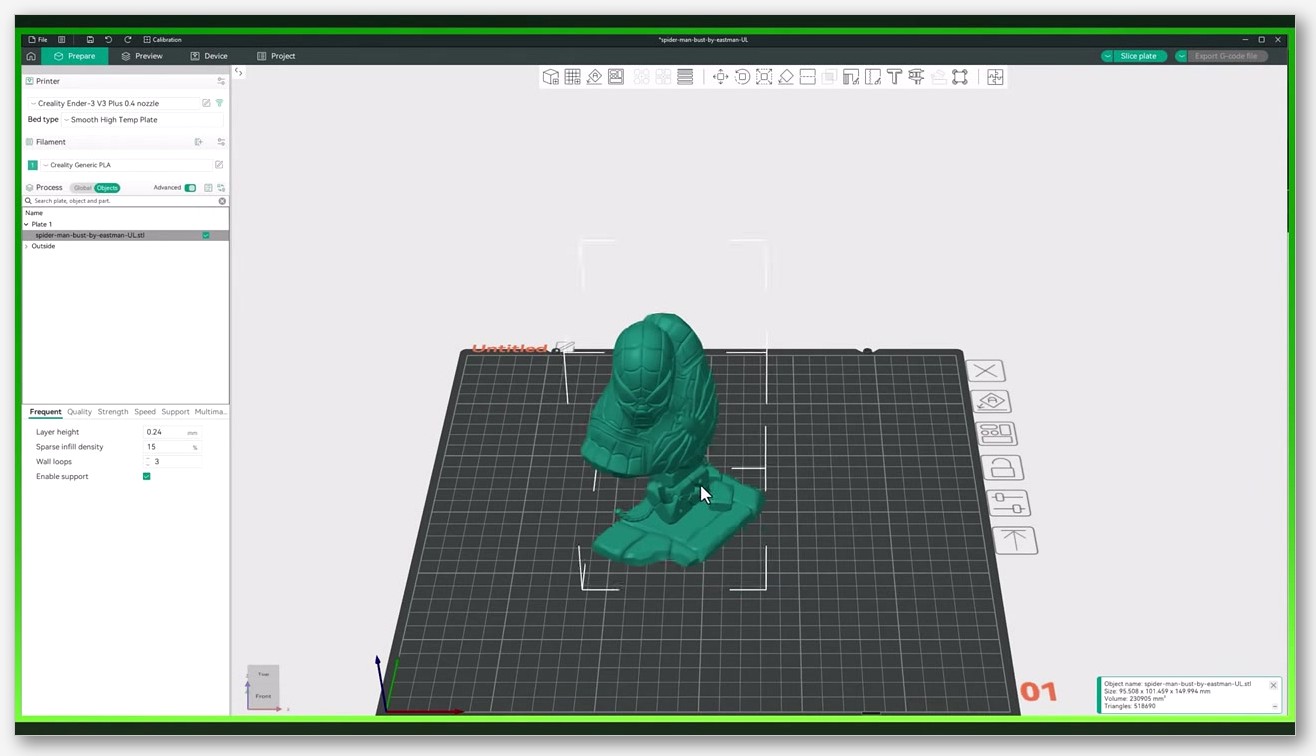
Save Project (Ctrl+S)
This saves your current project as a .3mf, overwriting the existing file if the project was previously saved or opened from disk. If the project has never been saved before, OrcaSlicer will (usually) prompt you for a name and location. Note the “usually” because there’s a known bug we’ll get to in the problems section.
Save Project as (Ctrl+Shift+S)
Forces the Save dialog open regardless of save history. You pick the filename and location every time. This is the safer first-save option, and it’s what I now use as a habit because of that bug.
Open Project
Opens a previously saved .3mf and loads all objects, plates, settings, paint, and modifiers. This is the round-trip case: a project saved by Orca, opened by Orca, comes back fully intact. Where things degrade is when you open it in a different slicer.
Import > Import 3MF/STL/STEP
Brings model geometry into the current project. It does not replace your current settings, which is the key difference from Open Project. If you want to add a part to a plate you’re already working on, Import is the right call.
Import > Preset Configs
This is for importing OrcaSlicer preset bundles, which are a separate concept from project saves. Preset bundles carry printer, filament, and process configs only. They’re how you share a tuned PETG profile with a friend without sending them the whole project. We have a separate guide on this at /orcaslicer-custom-filament-profile/.
Export > Export plate sliced file
Exports the currently selected sliced plate as a .gcode.3mf containing the G-code plus printer, material, and process metadata. This is what you send to a Bambu printer for cloud or LAN print. It’s also what MakerWorld accepts as a “print profile” upload.
Export > Export all plate sliced files
Same idea but bundled for every plate in the project. If you’ve got a multi-plate project with seven plates, this gives you seven .gcode.3mf files in one zip archive.
Export > Export Generic 3MF
Exports the current model as a “generic” .3mf with geometry only, stripped of printer, material, and process info. This is the one to use when you’re uploading to a public repository where the receiver should not inherit your printer-specific settings. It’s also the friendliest format for sending to Cura or PrusaSlicer users.
Export > Export Generic G-code
Plain .gcode, no 3MF wrapper. Useful for legacy workflows or SD card transfer to printers that don’t speak .gcode.3mf.
Export > Export model
Exports the selected object as STL or OBJ. Useful if you’ve modified a mesh inside Orca and want to send just the geometry to a CAD tool or a remixer.
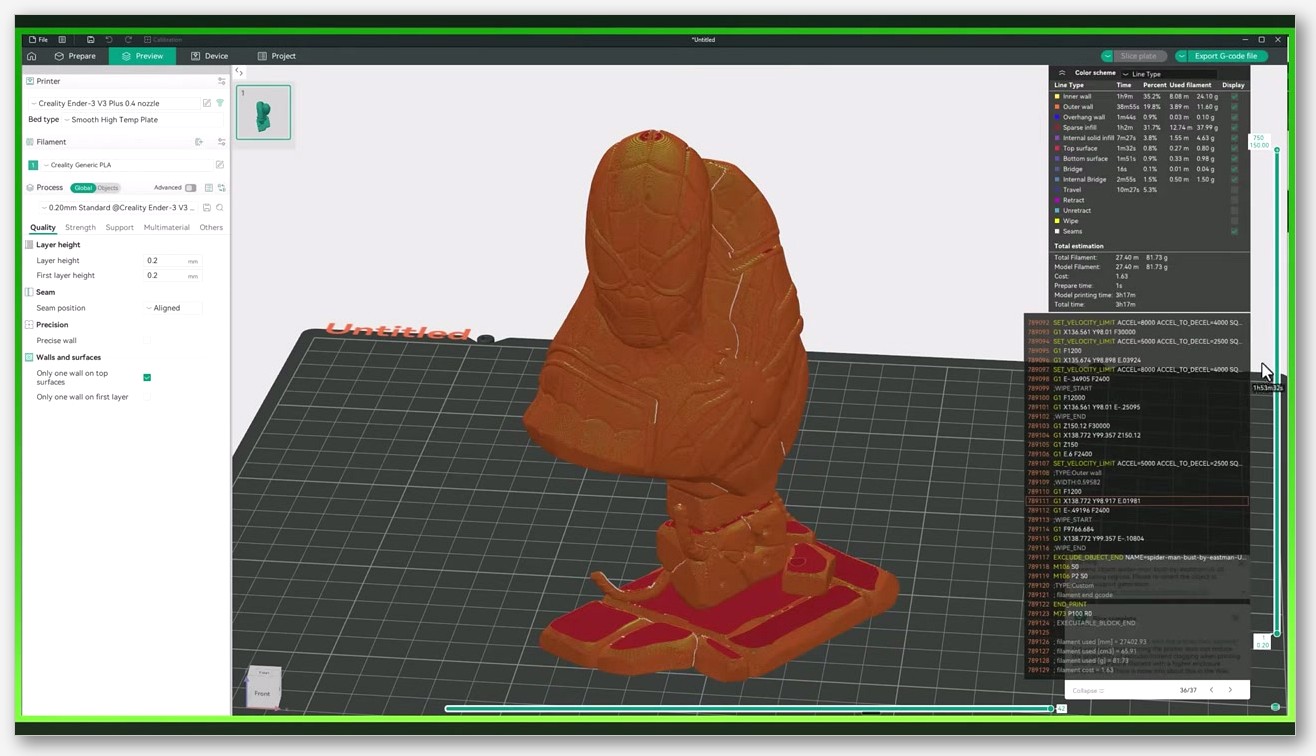
.3mf vs .gcode.3mf, and which one to send
This is the single decision people get wrong most often, so let’s nail it down with a table you can save.
| .3mf (project) | .gcode.3mf (sliced) | |
|---|---|---|
| Contains G-code? | No | Yes, baked in |
| Receiver can reslice? | Yes | Not really |
| Receiver can change printer? | Yes | No, locked to slicing printer |
| Re-scalable or re-orientable? | Yes | No, geometry frozen |
| Bambu printer one-click print? | No | Yes |
| File size | Smaller | Larger (toolpath plus previews) |
| Best for | Sharing a re-sliceable design | Sending a print job to a specific printer |
The 30-second rule:
- “Print this exact file on the exact printer I sliced for” -> .gcode.3mf.
- “Here’s the project, slice it for your machine” -> .3mf.
- Uploading to MakerWorld or Printables -> .3mf almost always. Public repositories want users to retarget their own printer.
I’ve made the mistake of sending .gcode.3mf to friends with a different printer thinking “well, they can re-slice it.” Technically they can, in the sense that OrcaSlicer will let them. Practically the workflow is awkward, the printer profile is wrong, and the supports are placed for a bed they don’t have. Send the project.
Sharing a .3mf the right way
Publishing a .3mf for the community is one of the kindest things a 3D printing hobbyist can do, and a little prep saves the receiver hours. Here’s the checklist I run through before I drop a project on MakerWorld or send it to a stranger.
- Use Save Project As to a clean filename. Skip the
model_v17_FINAL_real_actuallyfinal.3mfchaos. Use the model name plus version.desk-organizer-v2.3mfis fine. People can rename on their end. - Drop irrelevant printers from the project. If your project carries an X1C profile, Bambu A1 users opening it will see prompts to import an unknown printer. Removing extra printer references keeps the file portable.
- Reset bed plate type to the standard plate for that printer family. Textured PEI is the common default. Specialty plates (engineering, high-temp) can throw warnings on receivers without that plate defined.
- Sanity-check filament selection. Pick a generic profile like “Generic PLA” and put the actual brand and color in the project notes or model description. A receiver may not have your specific “PolyMaker PolyTerra Charcoal Black” preset, and they’ll appreciate the heads-up.
- Use the Project Notes tab for important context: nozzle size used, recommended supports, orientation, model attribution. This tab is one of OrcaSlicer’s most underused features. It’s literally a free-form text editor that travels with the file.
- Add a thumbnail. Orca generates one automatically from the plate. Before saving, orient your model so the thumbnail actually shows what the print looks like. A thumbnail showing the back of the model from below helps no one.
- For MakerWorld and Printables, slice once before exporting. Some platforms parse the preview image and metadata, and slicing populates them. A pre-sliced .3mf also shows the receiver an estimated time and filament usage on open, which sells the design.
If you’re sharing a tuned filament profile alongside the model, link to it separately rather than baking it into the project. Preset bundles travel cleaner, and they don’t carry the rest of your slicer settings with them. Same goes for printer profiles: if you want to share a profile you’ve calibrated, share it as a preset bundle, not as a .3mf.
Common problems and how to fix them
This is the section I wish I’d had bookmarked in my first month with OrcaSlicer. Every one of these has bitten me or someone I know.
“Settings disappeared after opening a friend’s .3mf”
The most common one. Your friend saved their .3mf with a different active printer profile. Orca silently switched your active printer to match theirs (or to a generic Klipper if it had no match). Your custom settings haven’t been deleted, they’re just not active anymore. Fix: go back to your printer and filament profile via the dropdowns at the top of the left panel, and you’re back. If the problem keeps happening, save your current profile as a custom preset first so it’s easy to switch back.
“My X1C settings landed on my A1 mini after opening a shared file”
Same root cause. Printer-profile inheritance from imported .3mf is on by default. Issue #8106 on the OrcaSlicer GitHub tracks a request for a preference to disable this. Until it ships, just reselect your printer in the dropdown after opening shared files.
“Could not open file” or “newer than Orca version”
The sender used a newer Orca build. Update Orca to the same or newer version and try again. The relevant GitHub thread is issue #11436 if you want to see the discussion. Don’t try to downgrade the .3mf file itself, there’s no clean way to do it.
“This 3MF was generated by an old OrcaSlicer version, loading geometry data only”
This message usually means the file came from Fusion 360, Onshape, or another CAD tool that exported a generic 3MF with no Orca metadata. Geometry imports correctly, you just reapply settings manually. This isn’t actually an error, it’s a polite warning. Treat it the same way you’d treat opening an STL.
“Saved project goes into the wrong .3mf”
This is the long-standing bug worth knowing about: GitHub issue #6548. If you imported one or more existing .3mf files into a fresh project and then hit Ctrl+S, Orca may save the whole project back into the first imported .3mf, overwriting it without prompting. Workaround: always use Ctrl+Shift+S (Save Project As) the first time, or start a brand new project before importing existing .3mf objects. I’ve lost work to this. Once. Now I’m religious about Save As on the first save.
File size bloat
Heavy meshes plus multi-color painting will balloon a .3mf because color paint stores triangle splits at every paint boundary. A simple keychain might be 200 KB. A fully painted multi-color benchy can hit 30+ MB. If your file is enormous, decimate the mesh in Blender (or use Orca’s “Simplify” command if mesh density isn’t critical) before painting. Painting at lower mesh density is also faster and easier to control.
Multi-plate file opens with only one plate in Cura
Cura doesn’t implement Bambu and Orca’s multi-plate extension. Either tell the receiver to open the file in Orca, Bambu Studio, or PrusaSlicer, or export each plate as a separate file using File > Export > Export all plate sliced files.
MakerWorld rejects an OrcaSlicer Print Profile upload
This is a real one. GitHub issue #2494 on SoftFever’s OrcaSlicer repo tracks MakerWorld being picky about Print Profile uploads generated by OrcaSlicer instead of Bambu Studio. Sometimes the profile is rejected even though the underlying file is valid. Workaround: upload as a model with the .3mf attached as a regular file, rather than as a stand-alone Print Profile. If your printer is a Bambu and you really want the Print Profile flow, slice in Bambu Studio for that one upload.
“Save unsaved changes?” pop-up after I just saved
Minor cosmetic bug, issue #1006 on the GitHub. Closing Orca after a successful save sometimes still triggers the unsaved-changes prompt. Harmless. Hit save (or discard) and move on.
A backup workflow that doesn’t suck
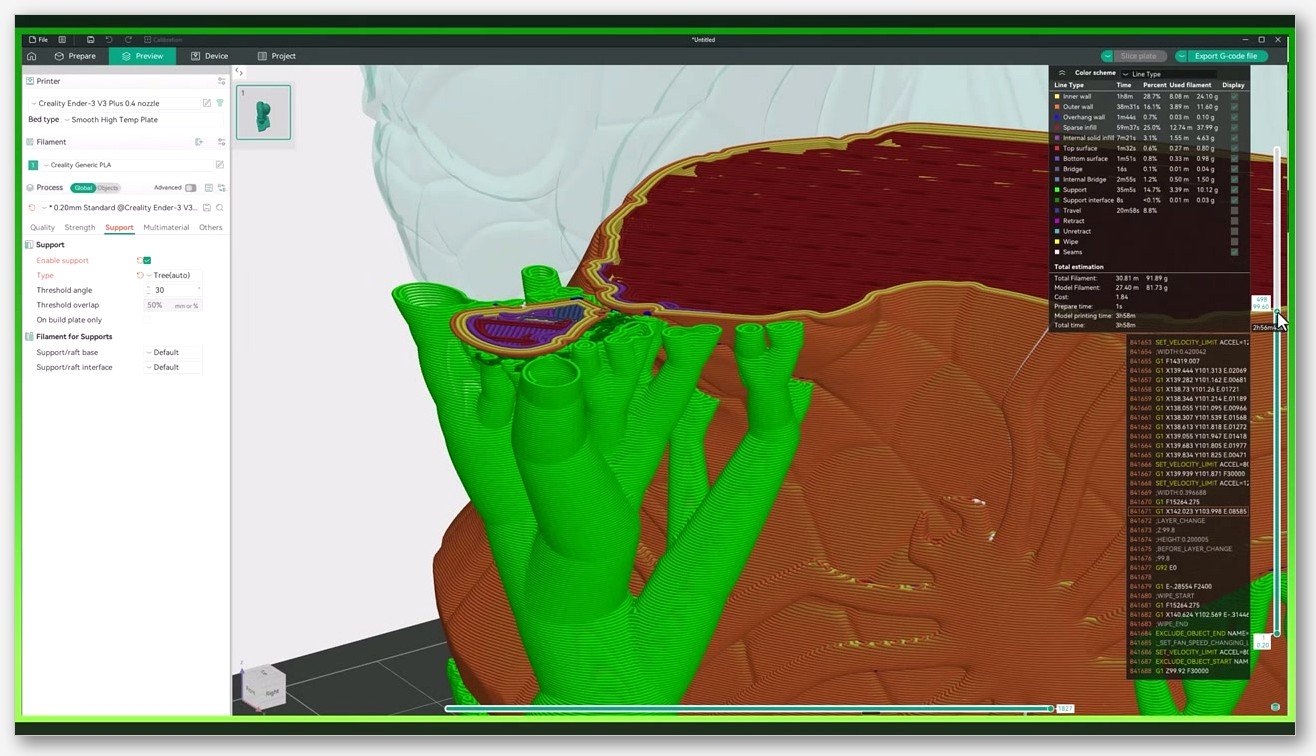
A pre-3MF habit was “save the G-code, throw the project away.” That habit dies fast the moment you need to make one tweak and realize you can’t edit a G-code file. The modern workflow looks like this.
- Save the .3mf project every meaningful edit (Ctrl+S). Paint changes, support tweaks, custom G-code blocks, modifier additions. Treat it like a CAD save.
- Version-bump on milestones using Save Project As:
vase_v01.3mf,vase_v02_with_lid.3mf,vase_v03_thickwalls.3mf. Disk space is cheap. The ability to roll back is not. - Keep .gcode.3mf files only for prints you actually ran. Useful for repeating a print later without re-slicing. The .3mf project remains the canonical source.
- Pick a cloud sync target. OrcaSlicer has no built-in cloud (don’t let any third-party article tell you otherwise). Most users point their project folder at OneDrive, Dropbox, iCloud Drive, or a self-hosted Nextcloud or Syncthing share. Bambu Cloud syncs Bambu Studio projects, not OrcaSlicer projects. If you want a deeper dive on the LAN-versus-cloud question for actual printing, our guide at /orcaslicer-bambu-cloud-vs-lan/ covers that side of things.
- For team workflows, use a Git repo. The .3mf is a binary ZIP, so use Git LFS for any repo that’s going to grow past a few hundred MB. Git won’t diff the binary in a useful way, but it’ll version-track perfectly fine.
One thing I’ve started doing for any print I’m proud of: when the print finishes, I rename the .3mf to include the print date and the printer it ran on. desk-organizer-v2-2026-04-15-ender3v3.3mf isn’t pretty, but six months later when someone asks “what did you slice that on,” I have an instant answer. The metadata’s inside the file too, but the filename is faster.
MakerWorld and Printables specifics
This is where the accuracy gets touchy because there’s a lot of misinformation floating around forums. Let me be clear up front: MakerWorld is Bambu Lab’s model portal. It accepts OrcaSlicer .3mf files in many cases. It is not the official OrcaSlicer portal. OrcaSlicer has no official model portal. If you read otherwise, the article you’re reading is wrong.
MakerWorld
MakerWorld accepts both .3mf (project) and .gcode.3mf (sliced) uploads. Uploading a .gcode.3mf from OrcaSlicer for a Bambu-printer model often works and enables one-click cloud print on Bambu hardware. Uploading a .3mf makes the project re-sliceable by downloaders, which is what you want for a public design that’s going to be printed by people with different printers.
The catch is MakerWorld’s “Print Profile” upload flow. This is a specific feature on the platform where you publish a sliced print job tied to a model, and Bambu users can click and print directly. MakerWorld has historically been picky about Print Profiles generated by OrcaSlicer instead of Bambu Studio (issue #2494 tracks this). Some profile uploads are rejected even when the underlying file is valid. The workaround is to upload as a model with the .3mf attached as a regular file rather than as a stand-alone Print Profile, or to re-slice in Bambu Studio if your printer is a Bambu model and you really want the one-click experience.
Printables (Prusa)
Printables accepts .3mf and .stl. Geometry imports cleanly into PrusaSlicer. Orca and Bambu settings are silently dropped on the Prusa side, which is fine for community sharing because Prusa users are going to re-slice for their own machines anyway. If you’ve added project notes describing the recommended print parameters, the Prusa user gets them as a Printables description if you paste them, or as a notes blob inside the .3mf if they open it in PrusaSlicer.
Thingiverse and MyMiniFactory
Both accept .3mf, but most users still upload .stl out of habit. Including a .3mf alongside the .stl is the polite move because users on capable slicers (Orca, Bambu Studio, PrusaSlicer) get the benefit of your settings, while everyone else can still grab the STL.
For your own portal or Discord
- Public model meant to be re-sliced by anyone: share .3mf, ideally Generic 3MF for maximum portability.
- Direct print job for a specific printer: share .gcode.3mf and tell the receiver which printer it was sliced for.
- Multi-printer compatibility (rare but possible): share both, and label them clearly.
Cross-slicer reality check
Quick recap because this is the question I see most in beginner threads. Here’s the honest version, by destination slicer.
Bambu Studio reads Orca .3mf reliably for most projects. Warnings about unknown keys are common but rarely fatal. Color paint sometimes needs to be reapplied. If you’re sharing with a Bambu user, .3mf is fine.
PrusaSlicer reads Orca geometry cleanly, including multi-plate. Print settings rarely import because the preset key names differ between forks. If you’re sharing with a PrusaSlicer user, send geometry as Generic 3MF and write the recommended settings in the project notes or the message body. Don’t expect your tree supports and seam positions to survive.
Cura is the rough one. Cura doesn’t recognize Bambu or Orca extensions, so multi-plate often collapses to one plate, color paint disappears, and settings vanish. If your receiver is on Cura, send STL or Generic 3MF and accept that they’re starting from scratch on the slicer side.
SuperSlicer, BambuLab AnkerMake fork, and other PrusaSlicer descendants behave similar to PrusaSlicer. Geometry transfers, settings don’t.
Orca itself across versions mostly works, with the newer-version warning being the most common issue. Keep both ends on a recent build and you’ll have fewer surprises. If you’re setting up Orca for the first time, our installation guides at /orcaslicer-installation-windows/ and /orcaslicer-installation-macos/ cover the basics.
A note on multi-color and multi-material projects
Multi-color projects deserve their own callout because the .3mf behavior changes meaningfully. When you paint color on a model, OrcaSlicer stores the paint as triangle splits inside the mesh XML. That means every painted boundary adds geometry to the file. A simple two-color model might add 5-10% to file size. A model painted with intricate logos or detailed patterns can multiply file size by 5x or more.
The practical implications for sharing:
- If you painted color, the receiver needs to open the file in OrcaSlicer or Bambu Studio for the paint to survive. PrusaSlicer and Cura will drop it.
- If you want the paint to survive across the Bambu-Orca boundary, test the round trip yourself before publishing. The third-party 3mf-converter exists precisely because the round trip isn’t always clean.
- If you’re uploading to MakerWorld and you want the paint to be visible in the model preview, slice once and let Orca regenerate the thumbnail before exporting.
For a deeper walkthrough of multi-color setup in OrcaSlicer, including the AMS workflow if you have one, we have a guide at /orcaslicer-color-painting/. For multi-material setups that aren’t strictly color (different materials per object), /orcaslicer-multi-material/ covers that flow.
FAQ
Can I email a .3mf?
Yes, with caveats. Small project .3mf files (under 10 MB) email fine. Larger ones (multi-color, dense meshes, multi-plate) often hit attachment limits. Gmail caps at 25 MB. For anything bigger, use Google Drive, Dropbox, or any shared link. Some people use WeTransfer for one-off transfers. Discord has a 25 MB cap for free users and 50 MB for Nitro, so the same advice applies there.
Does my Bambu printer need .gcode.3mf or .3mf?
For one-click print from MakerWorld or Bambu Studio cloud, you want .gcode.3mf with the printer profile matching your specific Bambu model. For LAN print or SD card transfer, both can work depending on firmware, but .gcode.3mf is the safer bet because the toolpath is already baked. A plain .3mf project will require slicing on the printer side or in Bambu Studio first.
Will my color paint survive in PrusaSlicer?
Mostly no. PrusaSlicer doesn’t fully implement Bambu and Orca’s color paint extension. The geometry transfers, but the paint data is usually dropped. If you want color to survive into PrusaSlicer, the cleanest approach is to split your model into per-color parts in your CAD tool and assign filament per part on the Prusa side. Painting in Orca and exporting for Prusa is a one-way trip with most of the paint lost.
Why is my .3mf so big?
Three usual culprits. First, a heavy mesh (high triangle count) takes more bytes regardless of settings. Second, color paint stores triangle splits at every paint boundary, which adds geometry. Third, embedded thumbnails and previews from a sliced .gcode.3mf take real space. A multi-plate sliced project with thumbnails and color paint can easily hit 50-100 MB. To shrink a project, decimate the mesh, simplify the paint, or save as a plain .3mf (not .gcode.3mf) before sharing.
Can I batch-export all plates?
Yes. File > Export > Export all plate sliced files exports every plate in the project as separate .gcode.3mf files. This is the right move when you have a multi-plate project and you want to send each plate as a separate print job. If you want each plate as a separate project (not sliced), the cleaner approach is to duplicate the project file, delete unwanted plates, and Save As under a new name for each.
Is .3mf safer than .stl for archiving?
Generally yes, for two reasons. First, .3mf stamps units explicitly, so a .3mf from 2026 will still scale correctly in 2036, while an STL is at the mercy of whoever opens it. Second, .3mf can carry your settings, paint, and modifiers alongside the mesh, which means rerunning a print years later is a single Open Project away rather than a from-scratch reslice. The format is also backed by the 3MF Consortium and the Library of Congress lists it in its digital preservation registry, which is a stronger long-term signal than STL’s de-facto status.
Does .3mf replace G-code?
No. .3mf is the project format. G-code is the toolpath the printer actually executes. A .gcode.3mf wraps a G-code inside a 3MF container, but the printer still runs the G-code from inside the wrapper. Most modern Bambu and Klipper firmware can extract and run the G-code from a .gcode.3mf directly. Older printers and pure Marlin firmware may need the plain .gcode export.
Can I open an OrcaSlicer .3mf in a free online viewer?
Yes, but with limits. Microsoft’s 3D Viewer (built into Windows) opens .3mf geometry. Online viewers like 3D Builder and various web-based STL/3MF viewers also work for geometry. None of them respect Orca’s settings layer, so the preview is just the mesh. For a real preview with settings intact, you need OrcaSlicer or Bambu Studio.
Should I share .3mf or STL on Thingiverse?
Both, ideally. STL has the broadest compatibility and zero risk of someone’s settings getting clobbered on import. .3mf gives capable users your settings as a starting point. Uploading both takes 30 extra seconds and covers every workflow. If you can only pick one, default to STL for maximum compatibility, then revisit later with a .3mf upload once you’ve polished the project.
Where to next
If you’re working through OrcaSlicer for the first time, the pieces fit together in a rough order. Get the slicer installed (Windows or Mac). Walk through the basics in our 2026 OrcaSlicer tutorial. Tune a filament profile so your prints come out predictably (custom filament profile guide). Add multi-color or multi-material once you’ve got a single-color flow working cleanly (color painting, multi-material). And if your printer is Bambu and you’re weighing how to push files to it, our Bambu Cloud vs LAN guide covers the trade-offs.
OrcaSlicer itself is free, open-source, and actively developed. The official builds and full source live at github.com/OrcaSlicer/OrcaSlicer/releases. That’s where you should grab installers and updates. Don’t trust mirror sites with bundled installers, and don’t pay for OrcaSlicer anywhere because there is no paid version.
Share your .3mf files generously. The community runs on people uploading projects so others can learn, remix, and improve. Just pick the right flavor for who you’re sharing with, run through the prep checklist, and you’ll save the receiver (and your own future self) a lot of “wait, where did my settings go” moments.
Related OrcaSlicer guides
- OrcaSlicer Settings Master Guide: Every Setting Explained (2026)
- OrcaSlicer for Voron 0.2 / 2.4 / Trident: Configuration Guide
- OrcaSlicer for Elegoo Centauri Carbon: Setup and Best Settings
- OrcaSlicer for Snapmaker Artisan, J1 and 2.0: Setup Guide
- OrcaSlicer By Object vs By Layer: Picking the Right Print Sequence