I unboxed my Centauri Carbon back in June 2025, ran the bundled ELEGOO Slicer for about a week, and then quietly switched back to OrcaSlicer because I’d been using it for two other printers and didn’t want to babysit two slicers. The good news for anyone in the same boat: OrcaSlicer ships an official Centauri Carbon profile out of the box, four nozzle sizes covered, and connection over LAN actually works fine. The slightly annoying news: connecting it the “Klipper way” with Moonraker won’t work on stock firmware, no matter what a random forum post tells you.
This guide walks through what the Centauri Carbon (CC1) actually is, why upstream OrcaSlicer is worth using even though ELEGOO Slicer is itself an OrcaSlicer fork, how to add the profile, how to connect over Wi-Fi, the speed and acceleration numbers I actually print at, carbon-fiber tuning on the hardened-steel hotend, where the CANVAS multicolor add-on sits in OrcaSlicer right now, and the small list of gotchas you’ll hit. I’ll cite the GitHub issues I’ve personally tracked so you can verify before you commit time to any of this.
Table of contents
- What is the Centauri Carbon
- OrcaSlicer vs ELEGOO Slicer
- Adding the Centauri Carbon profile
- Connecting OrcaSlicer over Wi-Fi
- Recommended OrcaSlicer settings
- Carbon-fiber filament tuning
- CANVAS multicolor in OrcaSlicer
- Common gotchas
- FAQ
What is the Centauri Carbon (and why it matters for OrcaSlicer)
The Centauri Carbon, often shortened to CC1, is Elegoo’s first CoreXY 3D printer. Hackster’s review puts it plainly: “Elegoo has just unveiled their first-ever coreXY 3D printer: the Centauri Carbon.” That’s a meaningful detail because Elegoo’s older Neptune line was all bedslinger Cartesian, and the shift to CoreXY changes how you should think about slicer settings. CoreXY moves the toolhead in a way that lets you push speed and acceleration much harder than a typical bedslinger, and the Centauri’s frame and motion system are built for it.
Pre-orders opened on February 17, 2025 at $299.99, and units started shipping May 31, 2025. The verified hardware list from Elegoo’s product page reads like a $600 printer’s spec sheet:
- Build volume: 256 x 256 x 256 mm
- Kinematics: CoreXY (Elegoo’s first)
- Hotend max temp: 320 degC
- Nozzle: brass with hardened-steel tip, ships standard
- Heated bed: up to 110 degC
- Max speed: 500 mm/s
- Max acceleration: 20,000 mm/s^2
- Chamber: fully enclosed, but not actively heated
- Extruder: direct-drive with dual hardened-steel gears
The “fully enclosed but not actively heated” bit catches a lot of new owners out. 3DWithUs flags “no active chamber heating” as a clear con in their long-term test, and it’s true: you can print ABS and ASA in the box because the heat from the bed and hotend builds up, but you don’t get the dialed-in chamber temperature control you’d see on something like a Voron 2.4. For OrcaSlicer planning, that means you’ll lean on slower speeds and warm-up prints for high-warp filaments rather than dialing a chamber thermistor.
One naming clarification before we move on. There’s now a Centauri Carbon 2 (CC2) shipping in 2026 with a 350 degC hotend and the CANVAS multicolor unit bundled in. This guide is about the original CC1. Most of what’s here applies to both, but the CC2 has its own profile entries and its own OrcaSlicer issue threads, so don’t mix the two when you’re searching.
OrcaSlicer vs ELEGOO Slicer: which one and why
Here’s the thing nobody tells you when you first unbox the Centauri: ELEGOO Slicer, the thing on the USB stick in the box, is itself a fork of OrcaSlicer. Hackster confirms it’s “based on Orca Slicer,” and 3DWithUs describes it as “based on the Orca engine with added presets.” So when you switch from ELEGOO Slicer to upstream OrcaSlicer, you’re not switching engines. You’re switching which downstream maintainer is curating the presets.
That’s worth knowing because the choice isn’t OrcaSlicer-good-Elegoo-bad. It’s a real tradeoff. ELEGOO Slicer ships with the CC1-specific presets pre-loaded, the CANVAS multicolor module integrated more deeply, and Elegoo’s own filament profiles up front. Upstream OrcaSlicer typically lands new calibration tools, new network features, and bug fixes earlier because Elegoo has to rebase their fork to pull those in.
I run upstream OrcaSlicer because I also own a Bambu A1 and a Sovol SV08, and I’d rather have one slicer profile library to maintain. If the Centauri were my only printer, I’d probably stay on ELEGOO Slicer for CANVAS work and only sideload upstream when a new OrcaSlicer feature landed that I needed. There’s no wrong answer, but pretending one is strictly better than the other is silly when they share the same engine.
One more practical note: if you’re researching solutions on the official OrcaSlicer GitHub, you’re searching the upstream codebase. Bug fixes there don’t automatically appear in ELEGOO Slicer until Elegoo cuts a new release. So if you’re chasing a recently fixed bug, upstream gets it first.
Adding the Centauri Carbon profile in OrcaSlicer
This part is genuinely easy because the work is already done for you. The upstream OrcaSlicer repository ships an official Centauri Carbon profile directory at resources/profiles/Elegoo/machine/ECC/, and it contains five JSON files: the parent Elegoo Centauri Carbon.json plus one each for the 0.2, 0.4, 0.6, and 0.8 mm nozzle variants. The printer model ID inside those files is Elegoo-CC, and the family is set to Elegoo, which is how the wizard groups them.
To add the profile, install the latest OrcaSlicer release, open the app, and run the printer-selection wizard. The official builds live at the canonical OrcaSlicer GitHub releases page. Inside OrcaSlicer, hit the printer dropdown, pick “Add new printer,” expand Elegoo in the brand list, and you’ll see “Centauri Carbon” with the four nozzle options. Pick the nozzle that’s actually installed on your machine. If you bought stock and never swapped, that’s the 0.4 mm.
The same wizard pulls in roughly twenty bundled filament presets covering ASA, PETG, PLA, and TPU variants, including some Elegoo-branded specifics. I’d recommend keeping those as starting points and creating duplicates when you tune for a specific brand, rather than editing the stock presets in place. If you ever need to reset, you can delete your local copy and the bundled one is still there.
For a broader look at how OrcaSlicer organizes profiles across brands, I keep a running reference in the OrcaSlicer printer profiles hub, which covers where each brand’s machine JSON lives in the resource tree. It’s handy when you’re trying to figure out whether a less-common printer has an official profile or whether you’re going to be building one from scratch.
Connecting OrcaSlicer to the Centauri Carbon over Wi-Fi
This is the part where most “OrcaSlicer + Klipper” tutorials online will steer you wrong, so I’ll be blunt. Elegoo’s official position, quoted in the Hackster review, is that “the ELEGOO OS is not based on Klipper.” The community has produced strong evidence to the contrary, including the freethecode.lol writeup that documents a heavily modified Klipper base, but the point for slicer connection is this: the stock CC1 does not expose Moonraker on port 7125. That means OrcaSlicer’s native Klipper workflow doesn’t apply. You connect over LAN-IP upload, period.
Here’s how it actually goes:
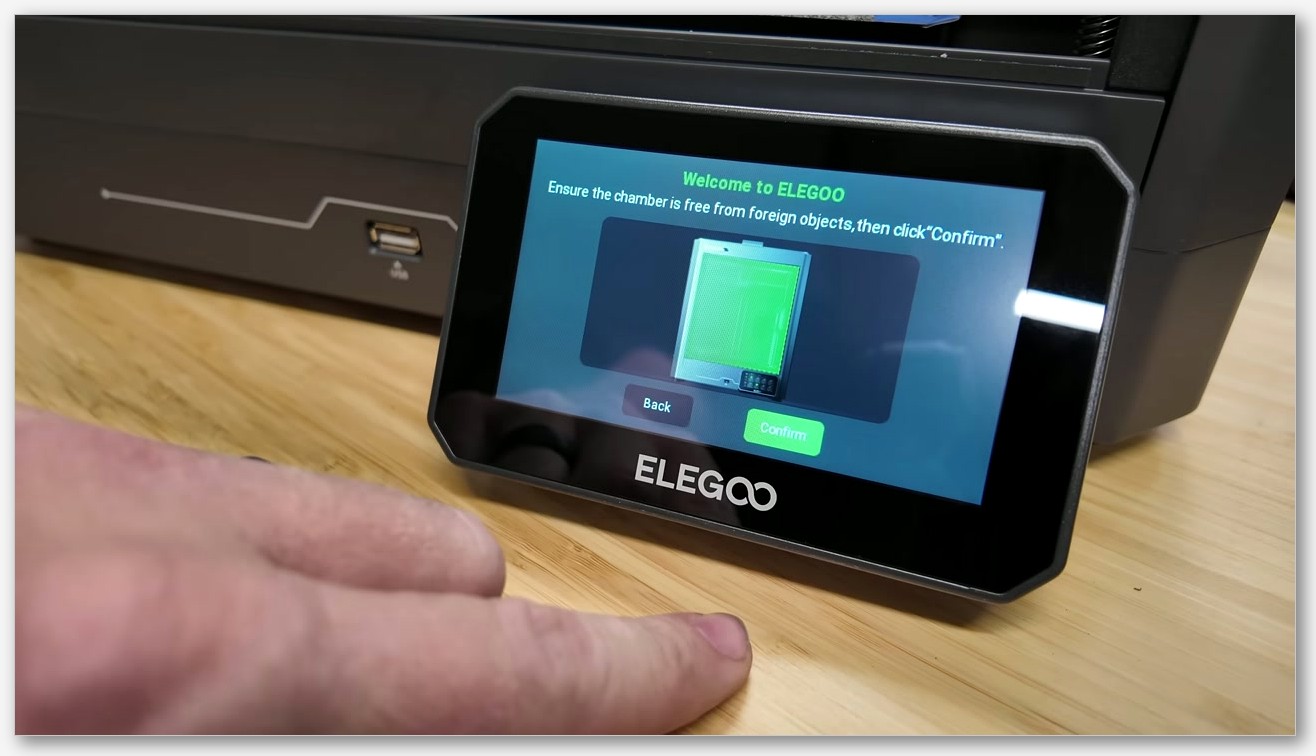
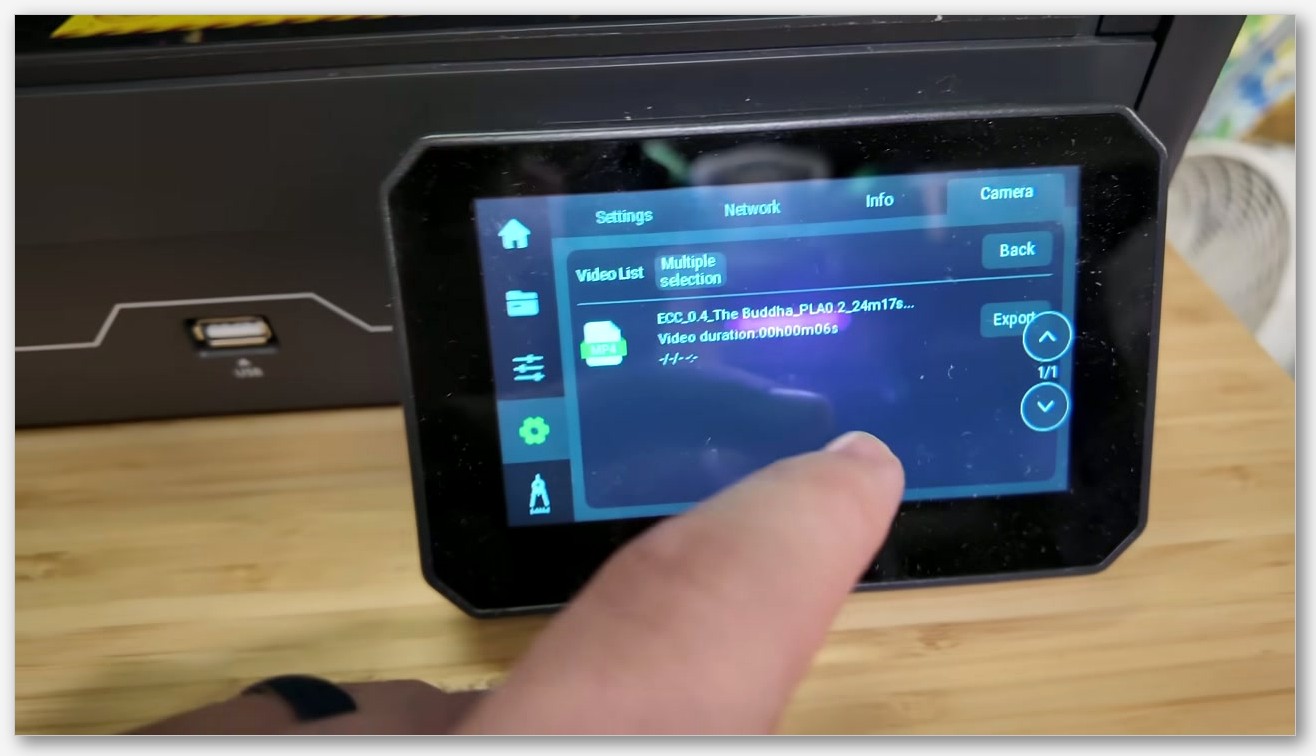
- On the Centauri’s touchscreen, tap the gear icon.
- Tap the Network tab at the top of the display.
- Make sure Wi-Fi is enabled and the printer is on your network.
- Note the IP address listed under your connected network.
- In OrcaSlicer, switch to the Prepare tab, click the Wi-Fi icon next to the printer name, paste the IP into the Hostname field, press Tab, then click Test, then OK.
If the test succeeds, you can upload sliced files directly. Live G-code streaming and full remote management aren’t reliable on stock firmware, and OrcaSlicer issue #12212 (“Remote management broken for Elegoo Centauri Carbon 2 profiles”) is still open at the time I’m writing this. Issue #13550 (“Cannot connect to Elegoo Centauri Carbon 2”) is open too. Test the upload-and-print flow once with a small benchy before you trust it for an overnight run.
If you really want full Moonraker-grade Klipper integration, the community option is OpenCentauri, an open-source effort tracked at github.com/OpenCentauri that flashes a Klipper or Kalico base onto the printer. That gives you the real port-7125 workflow that OrcaSlicer expects from Klipper machines, and you can pair it with the OrcaSlicer Klipper setup guide for the rest. Just be aware that flashing community firmware will almost certainly void your warranty, and the OpenCentauri project itself describes its scope as “Exploration, Research and Development of extensions to the Centauri Carbon printer from Elegoo.” Read the project repo, understand the risks, decide if it’s worth it.
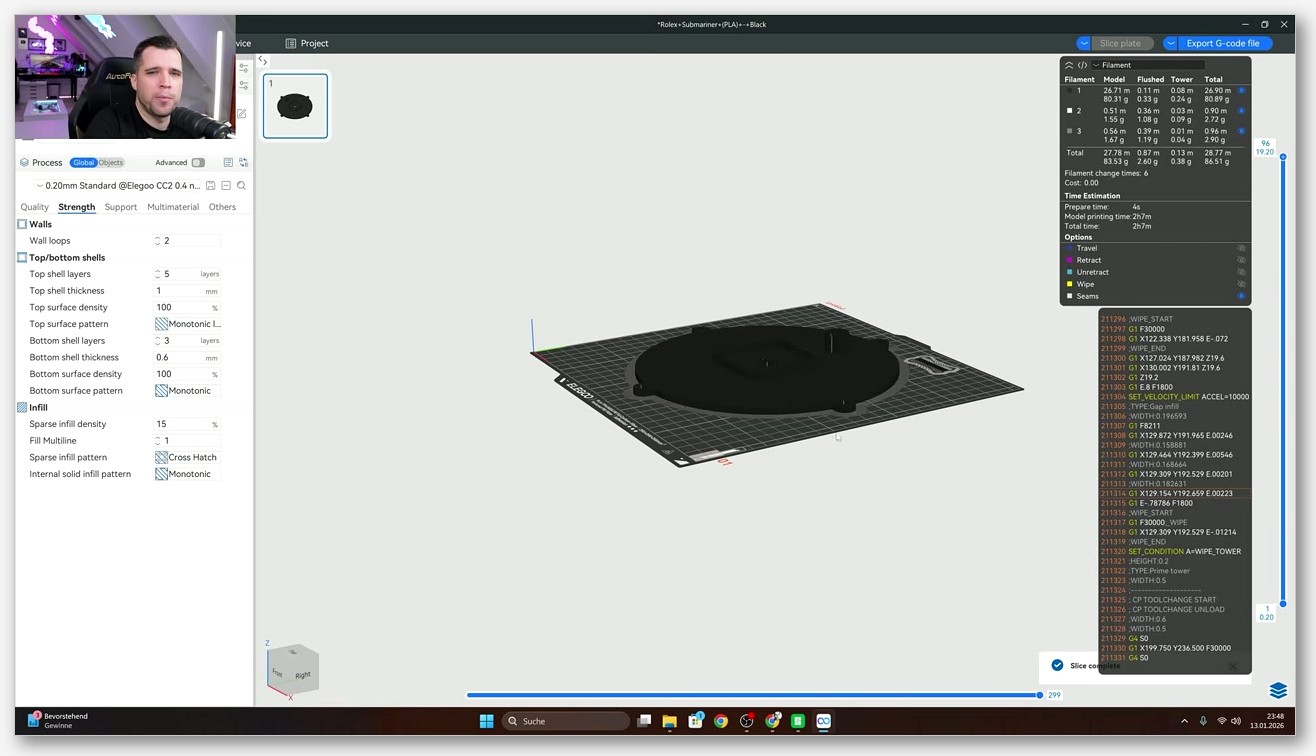
Recommended OrcaSlicer settings for the Centauri Carbon
The bundled Centauri profile in OrcaSlicer is a good starting point, but the defaults are tuned conservatively. Here’s where I’ve landed after a few months of actual prints.
Speeds. Elegoo’s spec ceiling is 500 mm/s. That number is achievable for travels and infill on simple shapes, but for visible perimeters it’s marketing more than reality. I run outer walls at 200 to 300 mm/s, inner walls at 250 to 350 mm/s, and let travel go to the full 500. Drop outer walls to 80 to 100 mm/s if you’re chasing showroom-quality surface finish on PLA.
Acceleration. The 20,000 mm/s^2 maximum is real for the motion system but it’ll show ringing and ghosting if you ramp visible perimeters that hard. I cap outer-wall acceleration at 5,000 mm/s^2, inner-wall at 10,000, and only let infill and travel use the full headroom. Input shaping in the firmware compensates for a lot, but it’s not magic.
Layer height. The sweet spot at the stock 0.4 mm nozzle is 0.16 to 0.20 mm. Go to 0.12 mm for fine details, 0.28 mm for fast functional prints. If you’ve swapped to the 0.6 mm nozzle, 0.32 mm is the layer-height starting point I’d reach for.
Cooling. The Centauri’s part-cooling fan is a strong 5020 blower, which is great for PLA bridges and overhangs but too much for PETG and ABS. I throttle PETG to about 30 to 40 percent fan and let ABS run at 0 to 20 percent. PLA can take 80 to 100 percent without issue.
Calibrate before you tune. Run OrcaSlicer’s flow ratio and pressure-advance calibrations on every new filament, even the bundled Elegoo presets. It takes twenty minutes and it fixes most of the surface-quality complaints I see in the forums. The OrcaSlicer calibration guide walks the whole sequence if you’ve never done it. Skipping calibration and then complaining about banding on the Centauri is a thing I see often, and it’s almost always a flow or PA problem rather than a printer problem.
Carbon-fiber filament tuning
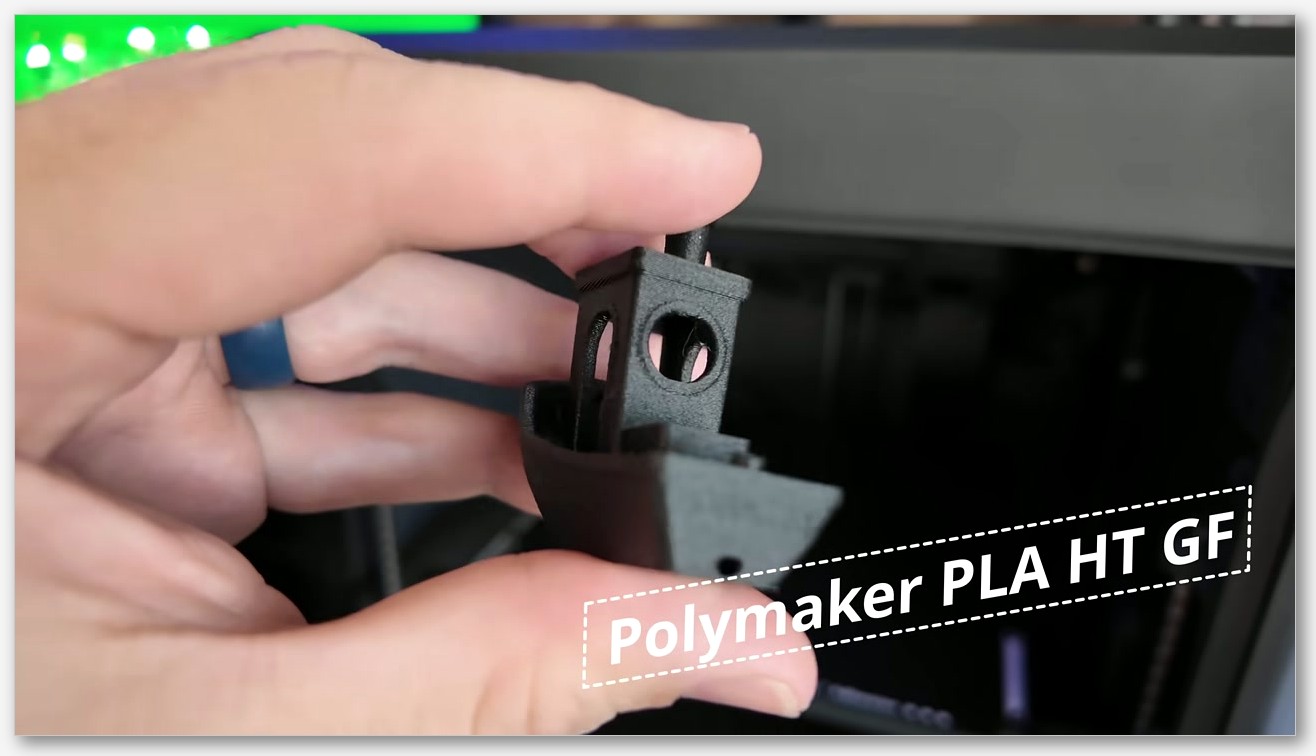
The Centauri ships with a hardened-steel-tipped nozzle and dual hardened-steel extruder gears, which is why “Carbon” is in the name. Hackster confirms it’s “suitable for printing abrasive materials, such as those containing carbon fiber.” Out of the box you can run PLA-CF, PETG-CF, and ASA-CF without swapping anything. PA-CF is borderline because the hotend’s 320 degC ceiling sits at the bottom edge of what some PA-CF blends want, so check your specific filament’s recommended range before you commit a spool.
OrcaSlicer doesn’t have a magic “carbon fiber” setting. CF tuning is just standard filament-tuning practice applied to a more demanding material. The OrcaSlicer carbon fiber filament settings reference goes deeper, but here’s the short version of what works on the Centauri:
- Dry the filament. Non-negotiable. CF nylons want 6 to 8 hours at 70 to 80 degC. PLA-CF and PETG-CF want at least 4 hours at 55 to 65 degC. Wet CF prints worse than wet anything else because the CF fibers wick moisture aggressively.
- Lower max volumetric speed (MVS). Start at 10 to 12 mm^3/s for CF blends. The 0.4 nozzle can technically push more, but CF compounds get stringy and under-extrude when you push the volume too hard. Run an OrcaSlicer MVS calibration to find your actual ceiling.
- Slow outer walls. 50 to 80 mm/s on visible perimeters. CF prints look terrible if you push them at PLA speeds.
- Disable Z-hop for chunky CF nozzles. If you’ve swapped to a 0.6 or 0.8 hardened-steel nozzle for thicker CF lines, Z-hop tends to drag CF fiber strands across the print and leave whiskers.
- Inspect the nozzle every 200 hours of CF printing. Hardened-steel slows wear, it doesn’t eliminate it. Look for first-layer height creep over time as a wear indicator.
- Print bed adhesion. Stock textured PEI works fine for PLA-CF and PETG-CF. For ASA-CF, a thin glue stick layer prevents corner lift in the unheated chamber.
Note that none of those settings are Centauri-specific. They’re generic CF tuning. The Centauri’s contribution is the hardened-steel hardware and the 320 degC ceiling. OrcaSlicer’s contribution is the calibration tools and the per-filament settings panel.
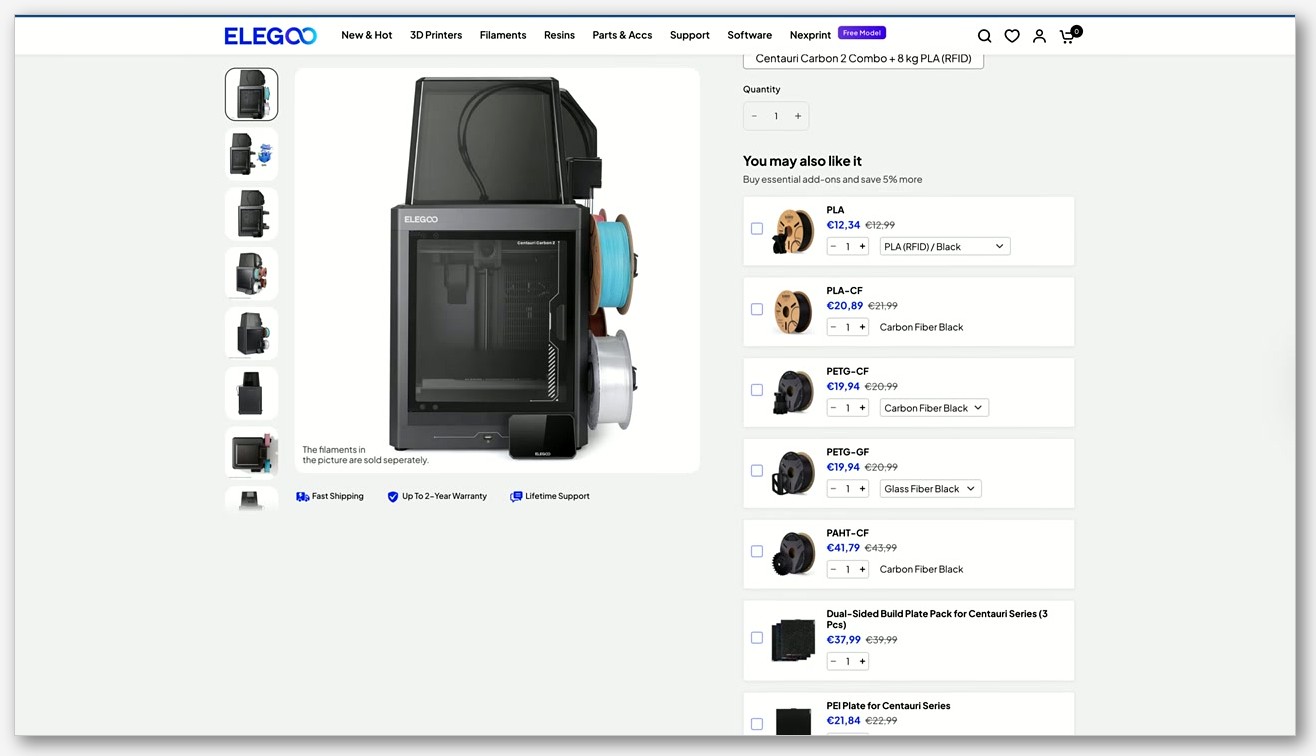
CANVAS multicolor in OrcaSlicer right now
CANVAS is Elegoo’s answer to Bambu’s AMS. It’s a $55 add-on module that holds up to four filament spools, swaps colors mid-print, and includes RFID detection, tangle prevention, and auto-refill. Fabbaloo’s launch coverage confirms the four-color count and the $55 price. It launched bundled with the CC2 first, and the standalone version for CC1 owners shipped later, originally targeting June 30 but slipping to July 25 due to first-batch sellout.
OrcaSlicer support for CANVAS is partial. The active feature request is issue #13670 (“Add CANVAS filament detection for Centauri Carbon”), which is open as I write this. A related fix, #13384 (“Fix air filtration settings hidden on printers that support that feature”), was merged. The practical takeaway: if you bought a CANVAS specifically to do multicolor printing, ELEGOO Slicer has the better experience right now because Elegoo controls both the slicer fork and the hardware integration. Upstream OrcaSlicer will get there, but at publish time you should expect rough edges, missing filament-detection UI, and manual workarounds.
If you’re doing single-color prints, none of this matters and you should just use upstream OrcaSlicer. If you bought CANVAS, keep both slicers installed and use ELEGOO Slicer for multicolor jobs until issue #13670 ships.
Common gotchas
A quick list of the things I’ve personally hit or seen in the issue tracker:
- Remote management is flaky on some firmware versions. OrcaSlicer issue #12212 documents broken remote management on CC2 profiles, and #13550 covers connection failures. Always test the upload flow with a small print before trusting it.
- Stock profile had wrong values in OrcaSlicer 2.3.2. Issue #12954 caught incorrect values that were fine in 2.3.2-rc2 but regressed in the final 2.3.2 release. Keep OrcaSlicer updated and check the changelog when you bump versions.
- Redundant toolchange retractions. Issue #13456 flags unnecessary retraction and un-retraction during filament change in the CC1 profile. It’s open, so manual G-code edits or filament-change tuning are the workaround for now.
- No heated chamber. The enclosure traps heat passively, but ABS and ASA still want a warm-up print before the real job to bring ambient up. Run a benchy first if the room is cold.
- Don’t expect Moonraker on stock firmware. Elegoo says it’s not Klipper, the community says it’s a modified Klipper, but either way the stock build doesn’t expose port 7125, so OrcaSlicer’s Klipper workflow won’t connect. LAN-IP upload is the only stock path.
- Hardened-steel still wears. CF prints abrade the nozzle tip slowly. If you do a lot of CF, plan to replace the nozzle every few hundred hours and keep a spare on hand.
- CC1 vs CC2 confusion. When you’re searching the issue tracker, several open issues use “Centauri Carbon 2” in the title. Make sure the issue you’re reading actually applies to your hardware before you panic.
None of those are dealbreakers. They’re the kind of small friction you’d expect from a printer that launched in early 2025 and a slicer that’s actively adding support for it. Knowing them up front saves you the “why didn’t I read the issue tracker first” moment.
FAQ
Does OrcaSlicer officially support the Elegoo Centauri Carbon? Yes. The upstream OrcaSlicer repository ships an official profile at resources/profiles/Elegoo/machine/ECC/ with five JSON files covering the 0.2, 0.4, 0.6, and 0.8 mm nozzles plus a parent file. Roughly twenty bundled filament presets come with it.
Is the Centauri Carbon a Klipper printer? Officially no. Elegoo says “the ELEGOO OS is not based on Klipper.” The community has documented strong evidence that it’s a heavily modified Klipper fork, but the stock firmware does not expose Moonraker, so OrcaSlicer’s Klipper integration won’t connect out of the box. The OpenCentauri community firmware project adds real Klipper or Kalico support, but flashing it likely voids your warranty.
Can I print PA-CF on the Centauri Carbon? Borderline. The 320 degC hotend ceiling sits at the bottom of what some PA-CF blends want. Check your filament’s recommended print temperature before committing a spool. PLA-CF, PETG-CF, and ASA-CF all work without issue.
Does the CANVAS multicolor unit work with OrcaSlicer? Partially as of mid-2026. The active feature request is OrcaSlicer issue #13670 for CANVAS filament detection. For serious multicolor work today, ELEGOO Slicer (also an OrcaSlicer fork) has the better integration. For single-color use, upstream OrcaSlicer is fine.
Where do I download OrcaSlicer? The official builds are on the OrcaSlicer GitHub releases page. Avoid mirror sites and “modded” builds floating around third-party download portals.
Should I switch from ELEGOO Slicer to upstream OrcaSlicer? If the Centauri is your only printer and you do a lot of CANVAS multicolor, stay on ELEGOO Slicer. If you own multiple printer brands and want one slicer for everything, switch to upstream OrcaSlicer. Both are fine, both are based on the same engine, and you can run them side by side.
What’s the difference between the CC1 and CC2? The CC1 is the original Centauri Carbon (Feb 2025, $299.99, 320 degC hotend, single-color stock). The CC2 is the Centauri Carbon 2, which launched in Q1 2026 with a 350 degC hotend and the CANVAS multicolor unit bundled. This guide is for the CC1. The CC2 has its own profile entries in OrcaSlicer and its own issue threads.
If you’re moving between printer brands and want to see how OrcaSlicer setup compares on another modern CoreXY-class machine, the OrcaSlicer for the Anycubic Kobra 3 walkthrough covers a similar setup story with different firmware quirks. The Centauri’s OrcaSlicer story is mostly a pleasant one: official profile, working LAN upload, sensible defaults, and an actively-maintained issue tracker. Treat the Klipper question as “no on stock, yes with OpenCentauri,” tune your CF settings before you push speeds, and you’ll get a lot out of this printer.
Related OrcaSlicer guides
- OrcaSlicer Settings Master Guide: Every Setting Explained (2026)
- OrcaSlicer Ironing Settings: Glass-Smooth Top Surfaces (2026)
- OrcaSlicer UI Tour: Prepare, Preview & Device Tabs Explained (2026)
- OrcaSlicer Fuzzy Skin: Add Texture to Any Print (2026 Settings Guide)
- How to Install OrcaSlicer on Linux: AppImage, Flatpak, AUR