
I bumped my PLA nozzle temp to 215 one Tuesday because a fresh roll of matte was under-extruding, hit Save, and went to bed feeling competent. A week later I noticed every PLA print on every machine in the workshop was running at 215, including the one rated for 200, and I had no idea why. That’s the trap nobody warns you about in OrcaSlicer, and once you understand how the slicer actually composes Printer, Filament, and Process presets together at slice time, the “wait, where did my setting go” feeling stops happening.
I’ve been digging through the source headers, the wiki, and a pile of GitHub issues for a while now, and the short version is this: OrcaSlicer doesn’t have one big settings object. It has three independent profile families that get merged in a specific order, with a few overrides stacked on top, and the order matters more than most tutorials let on. Let’s walk through it the way it actually works.
Table of contents
- The three tiers at a glance
- Tier 1: Printer settings
- Tier 2: Filament settings
- Tier 3: Process settings
- How the tiers compose: the merge order
- System presets vs user presets
- Inheritance via the inherits key
- Compatibility conditions and hidden dropdowns
- Per-object overrides via modifier meshes
- Import, export, and bundle extensions
- Gotchas pulled from the issue tracker
- FAQ
The three tiers at a glance
Open OrcaSlicer and look at the right-hand panel. You’ll see three dropdowns stacked on top of each other: Printer, Filament, and Process. Those aren’t three views of one config. They’re three completely separate preset families. Inside the source, in src/libslic3r/Preset.hpp, they’re three distinct entries in the Preset::Type enum:
enum Type
{
    TYPE_INVALID,
    TYPE_PRINT,
    TYPE_SLA_PRINT,
    TYPE_FILAMENT,
    TYPE_SLA_MATERIAL,
    TYPE_PRINTER,
    TYPE_COUNT,
    TYPE_PHYSICAL_PRINTER,
    TYPE_PLATE,
    TYPE_MODEL,
};
For the FFF (filament) workflow that 99% of us run, the relevant types are TYPE_PRINT (which the UI calls “Process”), TYPE_FILAMENT, and TYPE_PRINTER. The “Print” name is a Slic3r-era leftover and doesn’t mean a print job; it means slicing strategy. The other types are either SLA-only (legacy in OrcaSlicer) or for separate concepts like network printer instances. You can see the enum yourself in the Preset.hpp header on GitHub.
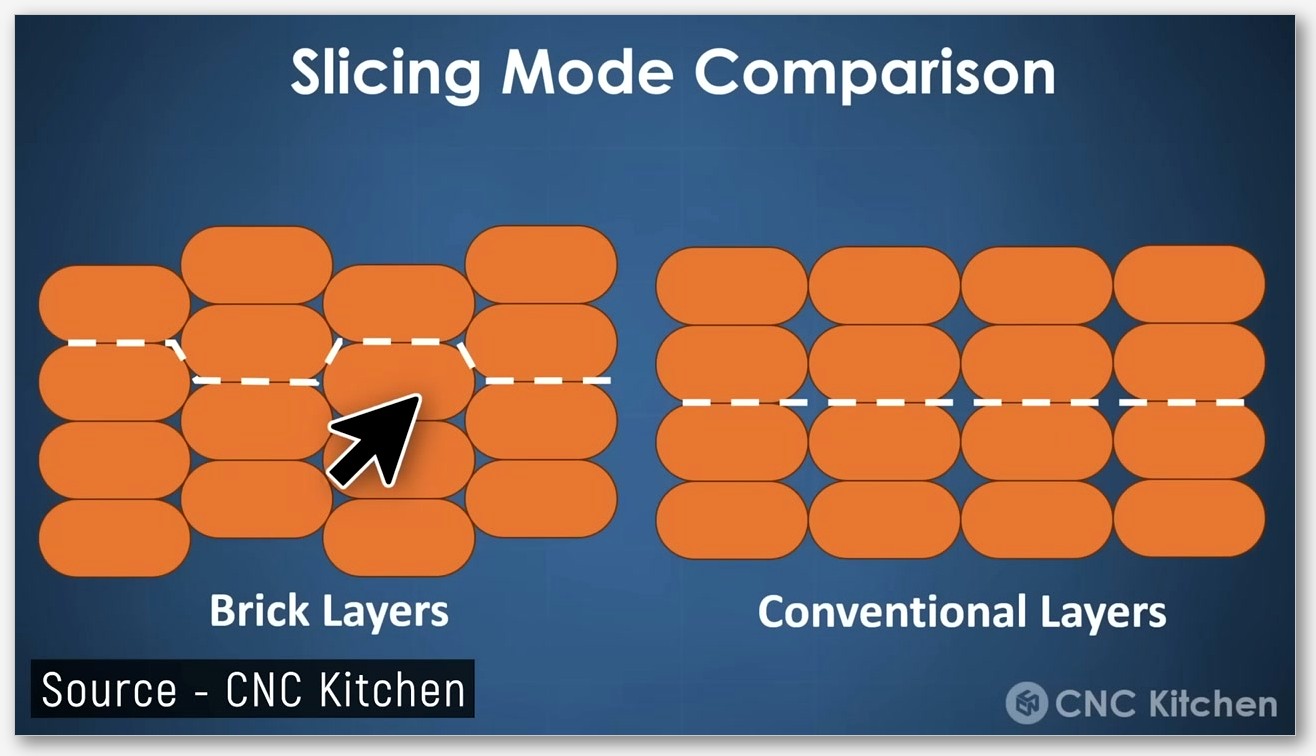
Here’s the quick mental model. Printer is the machine. Filament is what’s on the spool. Process is the slicing strategy. None of them inherit from another. They get composed together when you hit Slice, and that composition follows a defined merge order that I’ll get to in a minute.
One thing worth saying upfront: OrcaSlicer didn’t invent this three-tier model. It’s inherited from PrusaSlicer, which inherited it from Slic3r. If you’ve ever used PrusaSlicer or SuperSlicer, the concepts map across almost cleanly, which is why the OrcaSlicer dev team explicitly references PrusaSlicer behaviour in Discussion #1090 when answering questions about how presets work.
Tier 1: Printer settings, the machine itself
Printer is the deepest tier. It describes the physical machine: build volume, number of extruders, nozzle diameter on each, kinematics (CoreXY, bedslinger, delta), max velocities and accelerations, retraction defaults at the firmware level, and the Start G-code / End G-code blocks that wrap every print. The DeepWiki summary describes it as “machine capabilities, extruder config,” which is a fair shorthand.
The thing people miss about Printer settings is that they cap what the other tiers can ask for. If your Printer preset says max X/Y velocity is 300 mm/s and your Process preset asks for 500 mm/s outer wall speed, you don’t get 500. You get 300, silently, because the firmware would clamp it anyway and the slicer is being honest about it. Same goes for max acceleration. A lot of the “why isn’t my print actually going as fast as my Process tab says” questions come down to a conservative Printer preset.
Printer settings are also where Printer Variants live. A variant is, per Obico’s profile guide, a “particular configuration of a printer model, often tailored to a specific nozzle diameter.” That’s why your X1C might show up three times in the dropdown: once for 0.2 mm, once for 0.4 mm, once for 0.6 mm. They’re separate Printer presets that point at the same physical machine but with different nozzle metadata.
Tier 2: Filament settings, what’s on the spool
Filament covers material properties. Nozzle temperature, bed temperature, retraction (length and speed, which can override printer defaults), flow ratio, cooling fan curve, max volumetric speed, pressure advance values if you tune per material, and filament-specific Start/End G-code. On multi-extruder machines, Filament presets are per-extruder, which is why a tool-changer with five colours has five Filament dropdowns.
This is the tier where I burned myself with the 215 PLA temp. When I bumped that value and clicked Save, I wasn’t editing the print job. I was editing my Filament preset (or, more accurately, OrcaSlicer prompted me to save a new user preset based on the current one, and I’d done the same thing the week before without realising). Every subsequent slice that loaded that filament inherited the higher temperature. That’s working as designed; the Filament preset is meant to outlive a single print.
Tier 3: Process settings, how you slice this print
Process is “everything about how to convert this STL into G-code that isn’t a function of the machine or the material.” Layer height, perimeter count, infill density and pattern, top/bottom solid layers, support generation, speed targets per feature (outer wall, inner wall, infill, travel), seam placement, ironing, fuzzy skin. The wiki sidebar groups Process settings into categories like Quality, Strength, Speed, and Support, and most tutorials follow that grouping.
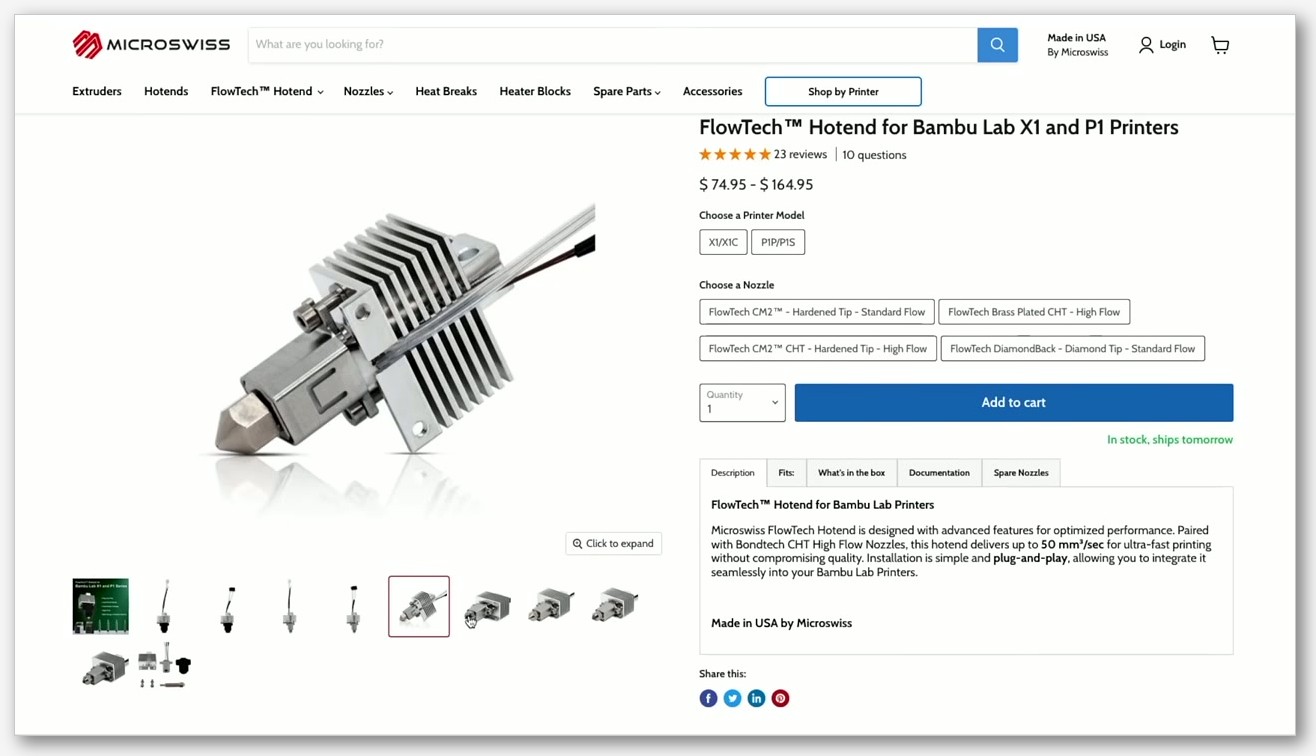
Process is also the tier most people think of as “the slicer settings,” which is why it’s the tier they accidentally edit when they mean to tweak a one-off print. If you’re saving Process changes from inside a project just to test something, you’re populating a user preset that will then appear in your dropdown forever. Worth knowing.
How the three tiers compose: the merge order
This is the section I wish I’d read three years ago. The DeepWiki configuration system page documents the merge order at slice time, lowest to highest priority:
- Factory defaults (lowest)
- Printer preset
- Print/process preset
- Project settings
- Filament presets (per extruder)
- Per-object/region overrides (highest priority)
Read that order again because it’s load-bearing. Filament sits ABOVE Process in priority. That’s the opposite of what most “Process is your main slicer config” tutorials imply. If your Filament preset specifies a layer height range or a cooling override or a speed cap, that wins over what Process asks for. If your Process preset says 220 nozzle and your Filament preset says 210, you get 210, because Filament merges in after Process.
Per-object overrides sit above everything. They’re the top of the stack. We’ll get to those in the modifier mesh section.
The practical takeaway: when a value isn’t doing what you expect, ask which tier owns it. Temperature questions are almost always Filament tier. Layer height questions are usually Process tier (unless an object-level override is in play). Machine kinematics questions are Printer tier. If you remember nothing else from this article, remember the order and which tier owns which knob.
System presets vs user presets
Every preset in your dropdown is either a System preset or a User preset. The distinction is enforced in the source via an is_system flag on the preset object, and DeepWiki describes the two classes like this:
- System presets: “Read-only, vendor-provided, Always visible if compatible.” These ship with the OrcaSlicer install in
resources/profiles/<vendor>/and you cannot edit them in place. - User presets: “Always visible.” These live in
user/<user_folder>/and are yours to modify.
When you open a System preset, change a value, and click Save, OrcaSlicer doesn’t overwrite the System file. It prompts you to “Save as new user preset” with a name. Obico’s profile management guide walks through this exact flow. The new User preset shows up in the dropdown alongside the System preset it was based on, and the System one stays pristine. That’s the safe behaviour, even if it’s annoying the first time you bump into it.
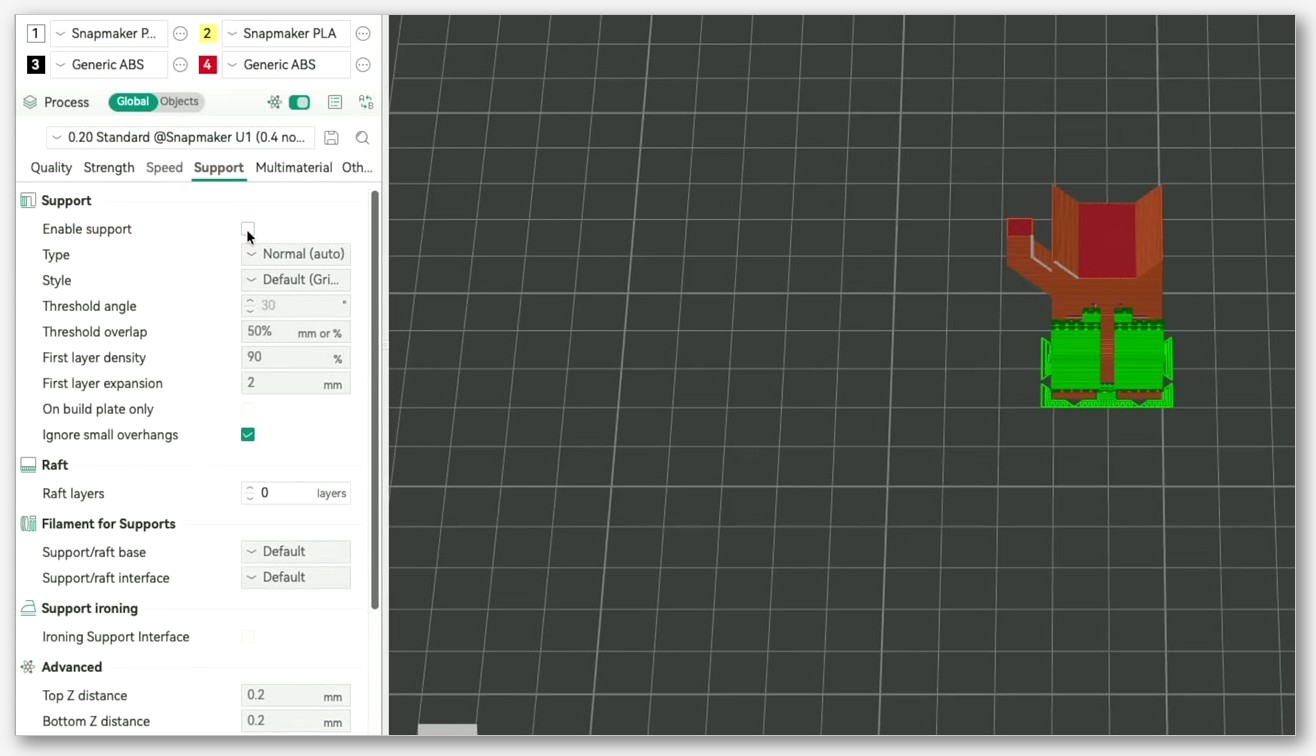
If you want to find these files on disk, the storage paths per OS (from the OrcaSlicer Discussion #1594 thread on config locations) are:
- Windows:
%APPDATA%\OrcaSlicer\ - macOS:
~/Library/Application Support/OrcaSlicer/ - Linux:
~/.config/OrcaSlicer - Flatpak Linux:
~/.var/app/io.github.softfever.OrcaSlicer/config/OrcaSlicer
Inside that folder you’ll see system/ (read-only vendor bundles, do not touch) and user/<number>/ where the number maps to your cloud account index (per Discussion #5033). If you sign in with a different account, you get a different numbered folder. Don’t assume the path is user/default/ or user/1/; check what’s actually there before you go editing JSON by hand.
Inheritance via the inherits key
Inside a single tier, presets can inherit from each other. The mechanism is a string field called inherits on the preset JSON, documented in Preset.hpp as “the name of the preset, from which this preset inherits.” DeepWiki spells out the resolution: “Loading parent preset configuration, applying child preset overrides, tracking which values were explicitly set vs inherited.”
This is where people get confused, so I’ll say it slowly. Inheritance is intra-tier only. A Filament preset can inherit from another Filament preset. A Process preset can inherit from another Process preset. A Filament preset cannot inherit from a Printer preset. Cross-tier composition happens at slice time via the merge order I just covered, not via the inherits chain.
Some real examples from the bundled vendor profiles. Polymaker Panchroma Silk PLA inherits from the standard Polymaker PLA base, not from a silk-specific base. Generic PVA inherits from fdm_filament_pva. Generic BVOH inherits from fdm_filament_bvoh. The inheritance chain is what lets a vendor ship a “Polymaker PolyTerra PLA” preset that only overrides three or four values on top of a generic PLA parent.
The catch, called out in Obico’s guide: “if a ‘parent’ profile within an inheritance chain is deleted or becomes corrupted, any custom profiles that depend on it may ‘disappear’ from the user interface, even if their individual JSON files remain intact.” If you uninstall a vendor bundle that one of your user presets inherits from, the user preset can vanish from the dropdown. The JSON is still on disk, but the chain is broken.
Compatibility conditions and why dropdowns hide things
Ever switched printers and watched half your Filament presets disappear from the dropdown? That’s not a bug. That’s the compatible_printers_condition field doing its job. Every preset can carry a condition that filters which printers (or which processes) it shows up under. DeepWiki gives concrete examples:
- Filament to Printer:
printer_model=~/.*Ender.*/or explicitcompatible_printerslists. - Filament to Print:
compatible_prints_condition, for examplelayer_height <= 0.3. - Print to Printer:
compatible_printers_condition, for examplenozzle_diameter[0] == 0.4.
So when you finally tune that perfect 0.4 mm Process preset for your X1C and then switch to your 0.6 mm Voron in the dropdown, the Process preset vanishes. The condition nozzle_diameter[0] == 0.4 evaluated false against the new printer’s metadata, so the slicer hid it. The preset isn’t deleted. It’s just filtered out until you switch back to a compatible printer.
This is also the root cause of Issue #2705, “Switching Machine Preset Changes Filament and Process Presets,” which a lot of users hit in 1.8.0-rc2 and assumed was a bug. The compatibility evaluation re-runs every time you change the Printer dropdown, and any preset that no longer satisfies its conditions gets swapped for a default. Annoying, but documented.
Per-object overrides via modifier meshes
Above everything in the merge order sits per-object overrides. These come in two flavours: object-level settings (right-click an object, set per-object values) and modifier meshes (geometric volumes that override settings inside their bounding region).
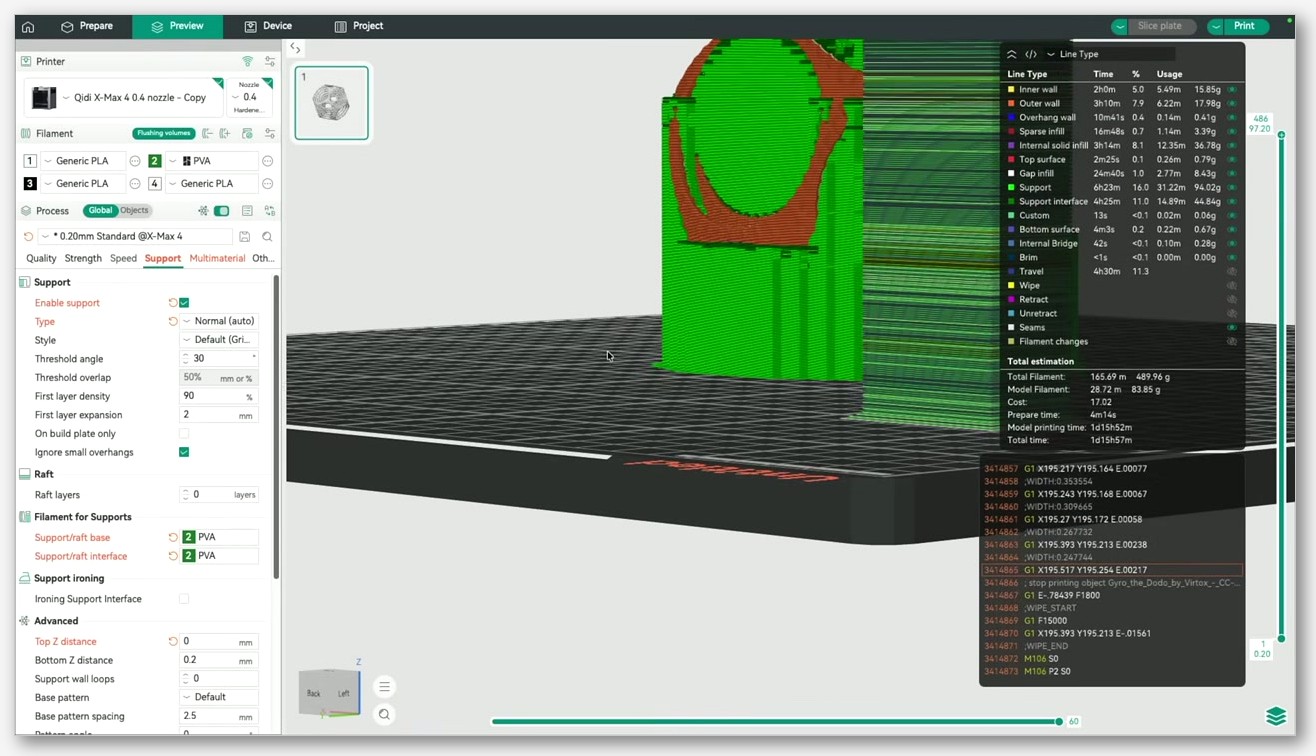
The categories you can override per modifier mesh are Quality, Strength, and Speed. That’s it. Support generation and a couple of other settings can only be overridden at the object level, not per modifier. Layer height is also object-level only; you can’t have a modifier mesh that locally changes layer height inside one region of a part. If you need that, you split the model.
There’s also a right-click “set filament” option per object instance, called out in Issue #11943, which assigns a different filament index to a specific object on the plate. That’s a per-object filament override and it sits at the top of the merge stack, above the global Filament preset for that extruder. Useful for multi-material prints where one object on the plate should print in a different colour or material from the rest.
If you want the full breakdown of how modifier meshes work in practice, I wrote a dedicated piece on that. See modifier meshes for per-object overrides.
Importing, exporting, and bundle extensions
OrcaSlicer’s wiki import_export page is short and worth reading in full, but here’s the relevant summary. Two real bundle formats exist:
.orca_printer(singular) bundles a single printer plus all its filaments and processes..orca_filaments(plural; yes, the wiki has a “filamnets” typo but the format is correct) bundles user filament presets.
Standalone Printer, Filament, or Process preset exports each ship as a .zip file. There is no .orca_process extension; if a tutorial tells you to look for one, that tutorial is wrong. Process presets export only as zip.
Import is “File > Import > Preset Configs” per the wiki, then you pick the bundle. For a deeper walkthrough including how to handle conflicts, see import or export preset bundles. And if you’re worried about losing tuning when OrcaSlicer updates itself, the safest pattern is to export an .orca_printer bundle per machine before you update; the steps are in keep your user presets safe across OrcaSlicer updates.
One more thing worth mentioning. OrcaSlicer has a Compare Presets feature, confirmed by developer hliebscher in Discussion #1090 as the same feature PrusaSlicer ships. The exact menu path inside OrcaSlicer 2.3.x wasn’t nailed down in the discussion thread (unverified menu path), so check the Settings or Window menu in your install; the window shows two presets side by side with diffs highlighted, which is genuinely useful when you’re trying to figure out why your “almost identical” filament preset prints differently.
Gotchas pulled from the issue tracker
A few documented sharp edges, all from OrcaSlicer’s own GitHub. None of these are the kind of thing the UI warns you about, so the only way to learn them is to either get burned or read the issues. I’ve done the second one for you.
User presets stay tied to System presets. Issue #2278 asked “Why are User Presets forcibly tied to System Presets?” and got closed as “not planned.” The reporter’s complaint: “You can’t create any printer unless you base it on some other printer type” and “Removing a System Preset should have absolutely no effect on User Presets.” It does have an effect. If you uninstall the vendor bundle your user preset inherits from, the user preset breaks. Workaround: don’t uninstall vendor bundles you depend on.
Switching machine preset rewrites your Filament and Process selections. Already covered above, but worth repeating because it bites everyone once. See Issue #2705. The mechanism is the compatible_printers_condition re-evaluation, not a bug. If you swap printers in the dropdown and your custom Process disappears, switch back to the original printer and it’ll be there again.
Settings reverting after restart (historical). Issue #980 reported in OrcaSlicer 1.6.2-beta that “previously saved presets revert to their old configurations” after restart, with some presets changing and others not, and deleted presets reappearing. It got closed as stale, and I haven’t seen it reproduce in 2.3.x, but if you’re on an older build and seeing this, that’s the issue to read.
FAQ
Why did my temperature change persist across every print?
Because you edited the Filament preset, not the print job. The Filament preset lives above the Process preset in the merge order, and any value you save there propagates to every subsequent slice that loads that filament. If you want a one-print-only change, edit it inside Project settings (which apply to the current project only) or use a per-object override.
What’s the difference between Project settings and Process settings?
Project settings are scoped to the current 3mf project file and live between Process and Filament in the merge order. They’re meant for “this specific print needs a tweak” without polluting your shared Process preset. Process settings, by contrast, are reusable across projects.
Can I make a Filament preset that inherits from a Printer preset?
No. The inherits chain is intra-tier only. A Filament JSON can only inherit from another Filament JSON. Cross-tier interaction happens at slice time through the merge order plus the compatible_printers_condition / compatible_prints_condition filters.
Where are my user presets stored on disk?
Inside the OrcaSlicer config folder for your OS (paths listed in the system-vs-user section above), under user/<number>/. The number maps to your cloud account index, so signing in with a different account creates a different folder. The system/ subfolder next to it holds read-only vendor bundles; don’t edit those.
Is there an .orca_process file format?
No. The wiki documents only .orca_printer (singular, full printer bundle) and .orca_filaments (plural, filament bundle). Process presets export as .zip. If a third-party guide references .orca_process, it’s mistaken.
My custom Process preset vanished when I switched printers. Did I lose it?
Almost certainly not. The Process preset has a compatible_printers_condition (often something like nozzle_diameter[0] == 0.4) that filters it out of the dropdown when the active printer doesn’t match. Switch back to a compatible printer and the preset reappears.
How do I edit a System preset directly?
You don’t. System presets are read-only by design (enforced via the is_system flag in source). The intended workflow is to open the System preset, change what you want, click Save, and accept the prompt to save it as a new User preset with a name of your choosing.
Wrap-up
The three-tier hierarchy is one of those concepts that feels overcomplicated until you’ve had it bite you twice. After that, it feels obvious: Printer caps the machine’s physical limits, Filament owns the material chemistry, Process owns the slicing strategy, and they all get composed at slice time in a specific order with per-object overrides on top. Almost every “why did my setting do that” question reduces to “which tier owns this knob, and what’s above it in the merge order?”
If you want to keep going from here, the obvious next step is the complete settings reference, which drills into individual settings tier by tier. And if you want the deeper view on just the material side, the full filament settings breakdown covers everything in Tier 2 in detail. Either way, you’ve now got the mental model that explains why your slicer behaves the way it does. Happy printing.
Related OrcaSlicer guides
- OrcaSlicer Settings Master Guide: Every Setting Explained (2026)
- OrcaSlicer for Elegoo Neptune 4 / Pro / Plus / Max: 2026 Setup Guide
- OrcaSlicer Infill Patterns Compared: Gyroid, Cubic, Honeycomb (2026)
- OrcaSlicer Ironing Settings: Glass-Smooth Top Surfaces (2026)
- OrcaSlicer Spiral Vase Mode: Single-Wall Vases Done Right