
The first time I printed glow-in-the-dark PLA, I left a freshly sliced dragon on my desk under a window for an afternoon, killed the lights at midnight, and watched the thing glow lime green like a movie prop. I’ve since run glow and sparkle PLA on three printers, swapped out two brass nozzles I should’ve replaced earlier, and learned the hard way that OrcaSlicer doesn’t have a magic “glow mode” button. What it does have is the right vendor profiles bundled, plus enough manual settings to get a clean print without melting your nozzle.
This piece walks through what’s inside these filaments, which OrcaSlicer profiles ship out of the box, the print settings vendors recommend, and the nozzle wear math you need before committing a kilo to your AMS.
Table of contents
- What’s actually inside glow and sparkle PLA
- OrcaSlicer’s built-in profile coverage
- Recommended print settings for glow PLA
- Recommended print settings for sparkle PLA
- The nozzle wear warning you can’t skip
- Charging and glow duration in practice
- Common gotchas
- FAQ
What’s actually inside glow and sparkle PLA
Glow-in-the-dark PLA is regular polylactic acid blended with a phosphorescent pigment. The pigment of choice across pretty much every modern spool is strontium aluminate (SrAl2O4), usually doped with europium and dysprosium. Wikipedia’s strontium aluminate page documents the chemistry, noting “SrAl2O4 is the primary composition” with europium-dysprosium dopants giving “peak emission wavelengths are 520 nm.” That 520nm number is why the glow looks lime green rather than the sickly yellow zinc sulfide produced in older toys. The same article notes strontium aluminate provides “phosphorescence approximately 10 times longer” than zinc sulfide, which is why a charged print can stay visible for hours instead of minutes.
It’s also non-toxic and non-radioactive. I mention that because every time I post a glow print on Reddit somebody asks about radium. There’s none in any of this. Wikipedia describes strontium aluminate as “non-toxic” and “biologically and chemically inert.” The catch is hardness. Chaostrade’s pigment FAQ measures it at “relatively high hardness 7,6 in Moh’s” scale, close to quartz. Push hot polymer plus quartz-grade ceramic powder through a brass nozzle for a few hundred grams and you’ll feel the consequences.
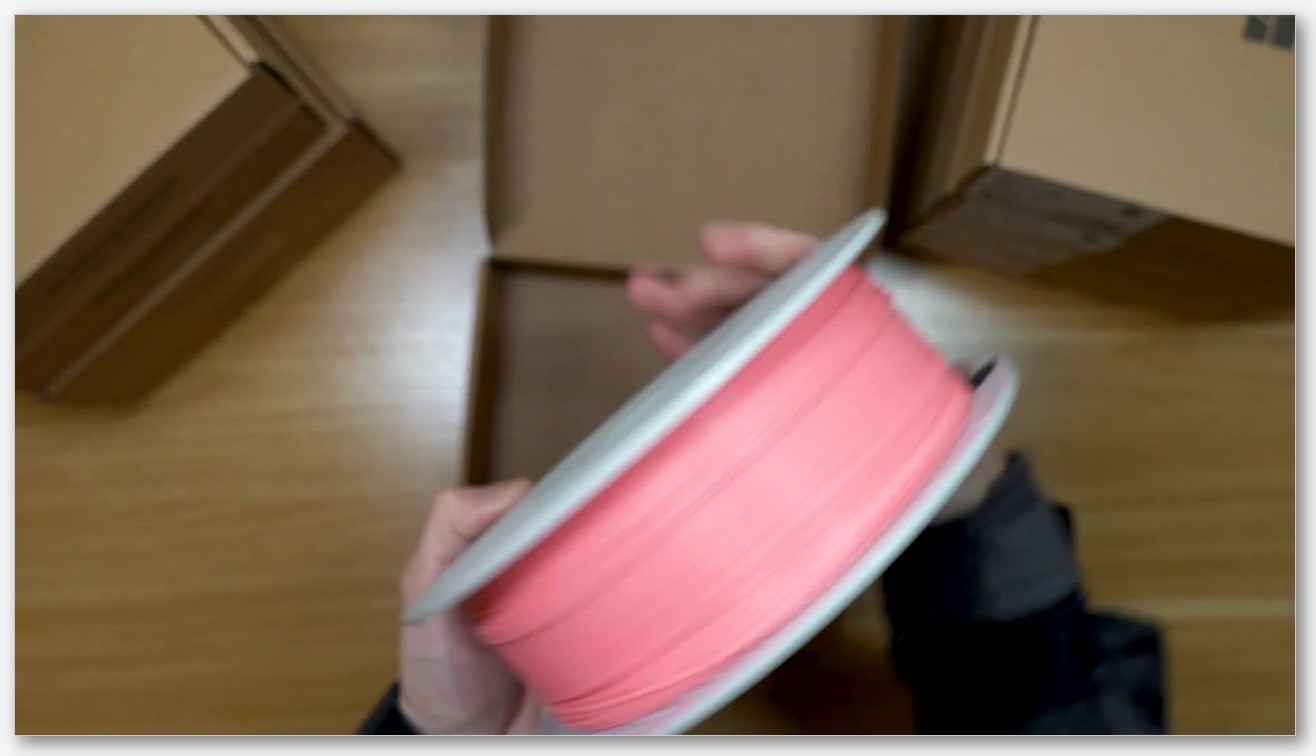
Sparkle PLA is a different animal that gets lumped in because the visual hook is similar. Instead of a phosphor, you’ve got reflective particles suspended in the polymer. Bambu’s product copy for PLA Sparkle says it has “metal particles included in its composition” to give that glittery look, which means Bambu’s sparkle behaves like a mildly abrasive metal-loaded filament. Proto-Pasta’s Stardust HTPLA is the counterexample. Their product page explicitly states “No abrasive fillers so expect normal wear with standard nozzles” and “little risk of clogging or wearing your nozzle.” Same visual family, very different nozzle math. Don’t assume “sparkle” means “abrasive” until you read the vendor sheet.
OrcaSlicer’s built-in profile coverage
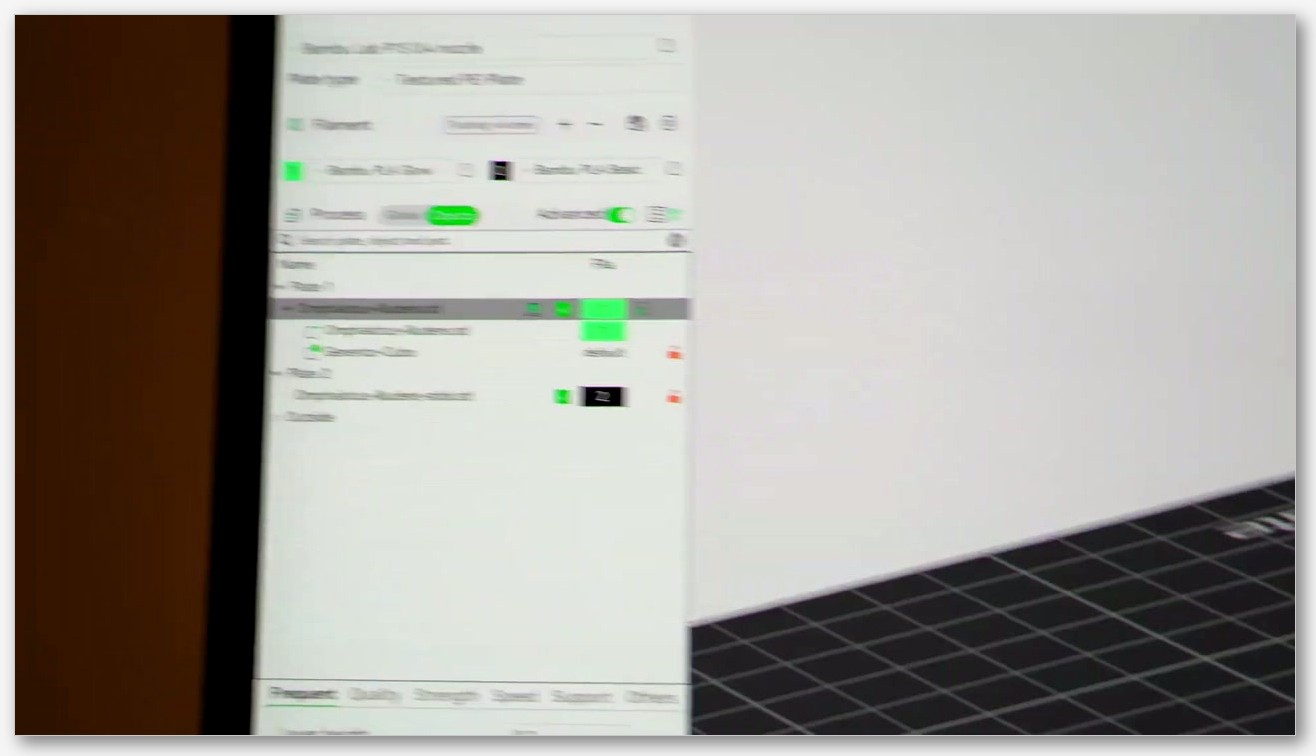
Here’s the part that surprised me when I first went looking: OrcaSlicer doesn’t have a separate glow plugin or feature. There’s no toggle, no special mode. What it has is filament profiles, and the Bambu profile pack that ships with the slicer already includes the ones you need. If you crack open BBL.json on the main branch, you’ll find these entries in the filament list:
- Bambu PLA Glow @base
- Bambu PLA Sparkle @base
- Panchroma PLA Glow @base
That third one is interesting because Panchroma is Polymaker’s brand, not Bambu’s, and yet the Polymaker glow profile got bundled into the Bambu vendor pack. So if you’re running a Bambu printer profile in Orca, you can pick any of those three from the filament dropdown without downloading anything extra. For other Polymaker spools, their official presets site lists OrcaSlicer as a supported target you can download from directly.
If you’re running a brand that isn’t in the bundle (eSUN, Overture, Sunlu glow), the easiest move is to duplicate the closest Bambu profile, rename it, and tweak temps. OrcaSlicer stores those as `.orca_filament` files (singular, not plural), which I cover in my walkthrough on OrcaSlicer filament settings. For a deeper dive on cloning and exporting, my notes on custom filament profiles cover the file format end to end.
Recommended print settings for glow PLA
The vendor specs are tighter than you’d expect, and they’re worth respecting because the abrasive pigment punishes high speed. Polymaker’s Panchroma Glow wiki entry lists nozzle temperature at 190 to 230 degrees Celsius, bed at 25 to 60 degrees Celsius, and print speed “up to 200mm/s.” That 200mm/s number is the upper bound for the polymer, not a target. I run mine slower for nozzle longevity.
Qidi’s print lab guide gives the most practical breakdown I’ve found. They recommend “Nozzle temperature 215 to 230 degrees Celsius, 5 to 10 degrees Celsius higher than standard PLA,” “Slower than standard PLA. Faster speeds increase nozzle wear and risk under-extrusion,” and a layer height of “0.2 to 0.3mm. Thicker layers contain more particles and glow brighter.” They also push 3 to 4 walls minimum, which translates to “1.2 to 1.6mm total wall thickness with a 0.4mm nozzle.” The wall count matters because more pigment volume per square millimeter of surface equals more visible glow.
Bambu’s spec for PLA Glow is similarly strict on geometry. Their store page tells you “Printing with a 0.2 mm nozzle is not recommended; instead, it is advised to use a 0.4 mm nozzle for optimal results.” So 0.4mm and bigger is the safe zone. For the baseline PLA reference I use as my starting point before tuning for glow, I’ve got a separate write-up on OrcaSlicer PLA settings.
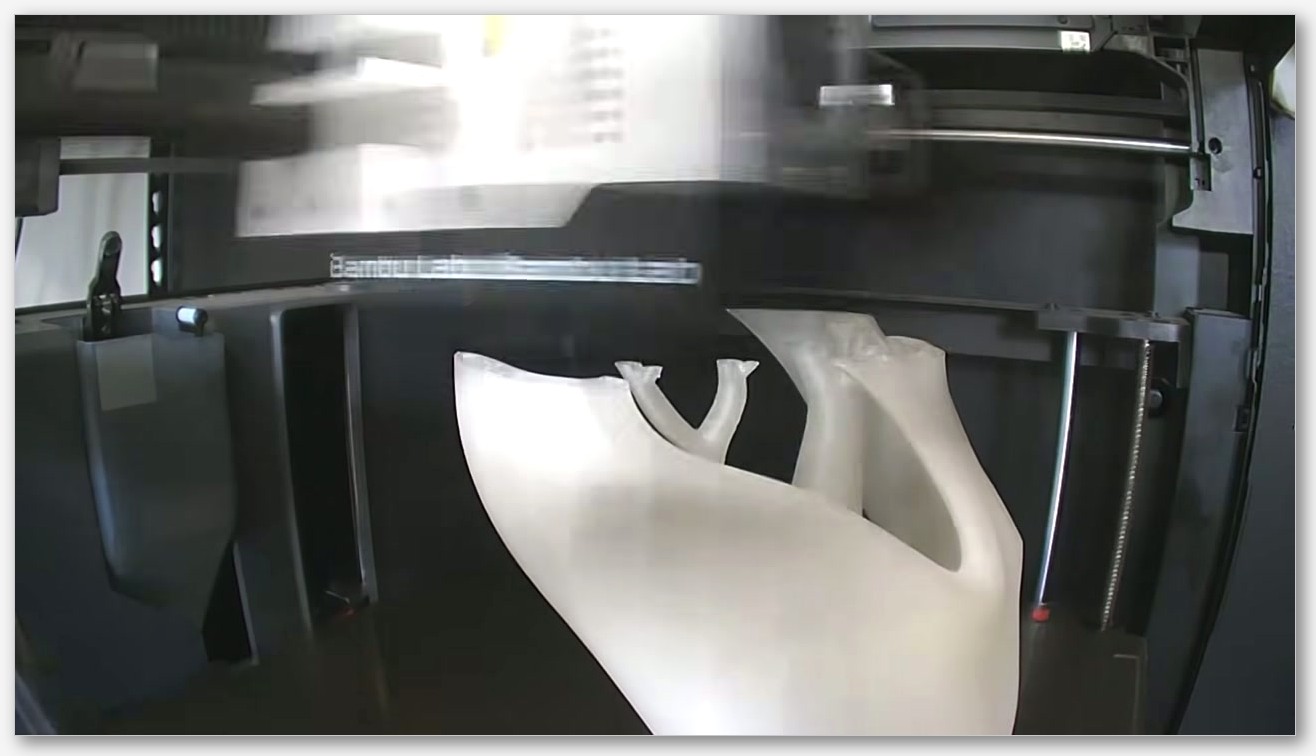
My personal recipe: outer wall around 50mm/s, infill around 120mm/s, 0.28mm layer, 4 walls, nozzle at 220 degrees. The bundled Bambu PLA Glow profile gets you most of the way. I just drop the outer wall speed and bump walls to 4 if the model is small enough.
Recommended print settings for sparkle PLA
Sparkle splits into two camps, and the camp dictates everything. For Bambu PLA Sparkle, the “metal particles” wording on their store page means it’s effectively a metal-loaded filament. Treat it as abrasive. I won’t quote specific temps or speeds here because the Bambu PLA Sparkle TDS PDF is the authoritative reference and I’d rather you open it than trust a paraphrase. The bundled OrcaSlicer profile reads those values directly.
For Proto-Pasta Stardust HTPLA, the picture is different. Their product page lists “190 to 230C nozzle” with “No heated bed required but up to 70C okay.” Because they explicitly use non-abrasive glitter, you can run it through a brass nozzle without worrying about bore wear. One Proto-Pasta tip I lifted directly: “Glitter particles will lay flat with smaller layers, giving top/bottom surfaces more shine than sidewall.” That means if you want the sparkle to pop, run thinner top and bottom layers, not thicker ones. The flake orientation matters more than the volume of glitter you push through.
The nozzle wear warning you can’t skip
This is the section I wish I’d read before I burned through my first brass 0.4. OzFDM’s knowledge base entry on glow filament puts a real number on it: “A standard brass nozzle will show measurable wear after printing as little as 200 to 400 grams.” That’s less than half a spool. They follow it with the blunt advice to “always use a hardened steel nozzle for glow-in-the-dark filament.”
Qidi’s lab quantifies the upside. From their tips guide: “The abrasive particles erode the bore from 0.4mm toward 0.6mm or larger,” and “Hardened steel is the practical answer. It costs a few dollars more, lasts 25 to 100 times longer.” That’s a wide range, but even the low end means you’ll get tens of kilograms out of a hardened nozzle versus a couple hundred grams from brass.
Both Bambu and Polymaker echo this. Bambu’s PLA Glow page says “A hardened steel nozzle is necessary, as stainless steel nozzles (including 0.2 mm and 0.4 mm sizes) are not recommended because the phosphorescent powder will wear down this type of nozzle.” Polymaker is even more direct: “These glow in the dark materials have an additive that makes them very abrasive. This means you should not print them unless you have a hardened nozzle.” Both vendors also flag AMS risk. Bambu warns against AMS Lite specifically, since “these filaments are hard and rough and may cause feeding failures.” Polymaker says the same about “an AMS with plastic gears and tubes.”
For nozzle hardware, E3D’s ObXidian tool steel with DLC coating is the one I keep recommending because it runs roughly fifty to ninety dollars per nozzle depending on bore and survives glow PLA without complaint. Slice Engineering’s Mosquito hot end supports hardened steel or ruby nozzles too. Even the hardened options aren’t immortal. CNC Kitchen’s review noted “use a hardened steel nozzle. Not a stainless steel nozzle, a hardened steel one, and on a really bad day, even these can wear after a while.” The same hardened-nozzle story applies to my notes on printing wood PLA, and gets worse in the carbon fiber filaments writeup.
Charging and glow duration in practice
Here’s what realistic expectations look like. Qidi’s lab says you can “expect 15 to 30 minutes of visible glow in a dark room, followed by a dim glow that can last 6 to 8 hours.” That tracks with what I see on my own prints. The first half hour after lights-out is the wow moment. After that you’ve got a faint afterglow that fades steadily through the night.
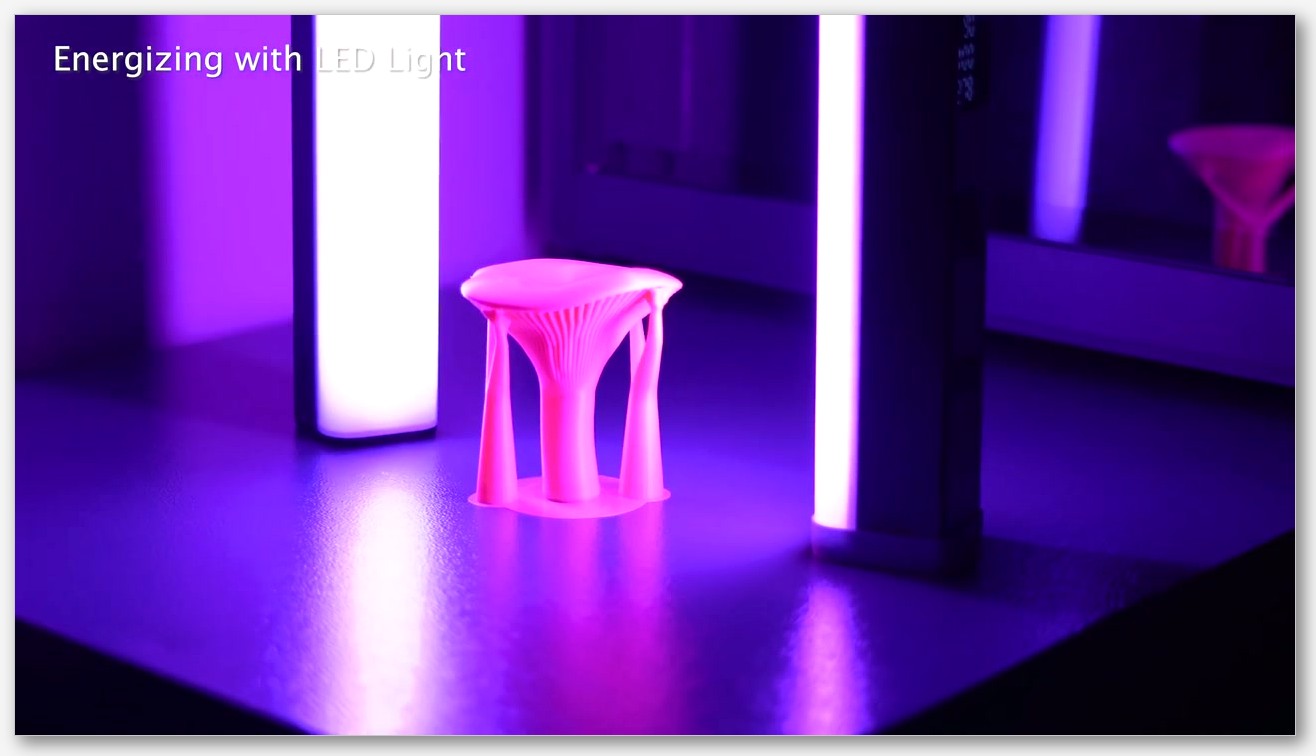
For charging, a “cheap 395nm UV flashlight (under $10) can fully charge a print in 30 to 60 seconds,” per Qidi. I keep one on my desk. OzFDM confirms “UV light (black lights and UV torches) charges glow PLA more intensely than white light” and that “Direct sunlight is the most effective natural charger.” Bambu recommends “exposure to ultraviolet or sunlight for approximately 2 hours can rejuvenate its glow, though prolonged or frequent irradiation may expedite PLA aging.” So don’t bake your print in the sun daily or you’ll embrittle it.
CNC Kitchen’s comparison test gives one more useful anchor: “after two hours, even the brightest ones only glow with 10% of their initial brightness.” Stefan also notes “Overtures Green Glowing PLA, which was the brightest and, even after 10 hours, was still noticeably glowing.” Green wins. He found “The brightest are the green glow-in-the-dark filaments, the next ones are the blue-glowing ones plus the sparkly green and rainbow filament.” If you want maximum visible glow, pick a green spool first and worry about novelty colors later.
Common gotchas
A few things have bitten me or people I’ve helped on Discord:
- UV-filter topcoats kill the charge. Chaostrade’s pigment FAQ flags this: “we should avoid any lacquers with UV filters – such filters may significantly reduce or even block charging.” If you spray a glow print with a clear coat marketed for outdoor use, you might be sealing in the pigment behind a UV blocker. Test on a scrap first.
- Diminishing glow returns past 2mm walls. CNC Kitchen tested this and found “from 2 mm and higher, you get diminishing returns because the opaqueness of the material simply limits the amount of light that can get from the center outside.” Beefing up walls past about 2mm doesn’t make the print glow brighter. It just wastes filament.
- AMS feed jams. Glow filament has a rougher surface than smooth PLA. The Bambu AMS Lite gets called out by name. If you’re feeding from an AMS with plastic gears, expect feed errors.
- Stainless isn’t a budget hardened steel. Bambu calls stainless out as wrong for this material. It’s harder than brass but not in the same league as tool steel.
- Particle size matters. Wikipedia notes “The glow intensity depends on the particle size; generally, the bigger the particles, the better the glow.” Cheap glow filaments use finer pigment to reduce clogging at the cost of brightness.
FAQ
Is glow PLA radioactive?
No. Strontium aluminate is non-toxic and non-radioactive. The Wikipedia article describes it as “biologically and chemically inert.” You’re not looking at radium dial paint. The glow comes from light energy being absorbed and slowly re-emitted, not from radioactive decay.
Will any UV light charge it, or do I need a specific wavelength?
Any bright visible light will charge it eventually. UV around 395nm just charges it faster. Qidi’s number of 30 to 60 seconds with a sub-ten-dollar 395nm flashlight is the realistic shortcut. Direct sunlight works too. You don’t need lab-grade UV equipment.
Does the glow ever wear out?
Practically, no. Chaostrade notes the pure pigment “can self-glow up to 12 hours or even longer” per charge and is essentially permanent in its phosphorescent capacity. What does degrade is the PLA itself, especially if you bake it in sunlight repeatedly. Bambu warns that “prolonged or frequent irradiation may expedite PLA aging.”
Do I really need a hardened nozzle for sparkle PLA?
It depends on the brand. Bambu PLA Sparkle uses metal particles and should be treated as abrasive. Proto-Pasta Stardust HTPLA explicitly has “no abrasive fillers” and prints fine on brass. Always check the vendor data sheet before assuming.
Which color glows brightest?
Green, by a wide margin. CNC Kitchen’s comparison ranked green glow PLAs at the top, with Overture’s green still “noticeably glowing” after 10 hours. Blue is second. Novelty colors (orange, pink, red) tend to glow much weaker because the pigment chemistry is optimized for the 520nm green emission.
Can I use Bambu’s profile on a Creality?
As a starting point, yes. Duplicate the Bambu PLA Glow profile, save it as a `.orca_filament` for your Creality, and tune temps. The chemistry doesn’t change between printers, only hardware tolerances do. Most abrasion and speed advice translates one to one.
Wrapping it up
Glow and sparkle PLA aren’t hard to print well. They’re just unforgiving about two things: nozzle hardness and print speed. If you’re running a hardened steel nozzle, a 0.4mm or larger bore, and slower PLA speeds, OrcaSlicer’s bundled Bambu PLA Glow, Bambu PLA Sparkle, and Panchroma PLA Glow profiles will get you a clean print on the first try. The bigger trap is going in with brass and thinking you’ll get away with it, then finding a worn bore 300 grams later. Plan the hardware before you click slice. Grab the slicer from the official OrcaSlicer GitHub releases page and the bundled profiles will already be waiting in your filament dropdown.
Related OrcaSlicer guides
- Best OrcaSlicer Filament Settings: All Materials Cheatsheet
- OrcaSlicer Silk PLA Settings for That Glossy, Satin Finish
- OrcaSlicer Wood-Filled PLA Settings and Nozzle Choice Guide
- OrcaSlicer PVA and BVOH Soluble Support Settings
- OrcaSlicer PA Line vs PA Pattern vs PA Tower: Which Pressure Advance Test (2026)