
I lost an embarrassing amount of time to right-click menus before I learned that pressing M jumps straight to the move gizmo. The shortcut that actually broke my mouse-only habit was Ctrl + R for Slice plate, because I’d spent months hunting for the slice button at the top right every time I tweaked a setting.
If you’re clicking everything, you’re paying a tax measured in seconds per action, and it compounds across a busy plate. I’ll walk through every documented OrcaSlicer keyboard shortcut, group by group, the way the official wiki organizes them, and flag the three or four shortcuts almost everyone gets wrong (including a couple I had wrong myself).
What’s in this guide
- Global shortcuts (file, edit, the universal commands)
- Prepare tab: moving, selecting, and the camera
- The gizmo single-key roster
- Color painting and the 1-9 filament keys
- Preview tab: scrubbing layers and reading G-code
- Objects List shortcuts
- Windows vs macOS vs Linux
- Cheat sheet
- FAQ
Global shortcuts: file, edit, and the universal commands
These are the keys that work regardless of which tab you’re on. They’re the ones I’d hammer into muscle memory first because they cover the actions you repeat all day. Every entry below is pulled verbatim from the official OrcaSlicer keyboard shortcuts wiki.
Ctrl + N: New ProjectCtrl + O: Open ProjectCtrl + S: Save ProjectCtrl + Shift + S: Save Project asCtrl + I: Import geometry data from STL/STEP/3MF/OBJ/AMF filesCtrl + G: Export plate sliced fileCtrl + R: Slice plateCtrl + Shift + G: Print plateCtrl + X: CutCtrl + C: Copy to clipboardCtrl + V: Paste from clipboardCtrl + P: PreferencesCtrl + M: Show/Hide 3Dconnexion devices settingsCtrl + Tab: Switch table pageDel: Delete selected?: Show keyboard shortcuts list
The trap here is the slice-vs-export confusion. Ctrl + R slices, Ctrl + G exports the sliced file, and Ctrl + Shift + G sends the print. I used to assume Ctrl + G would slice because “G” feels like “go,” but it doesn’t. Memorize R-for-Slice and you’ll stop sending half-sliced jobs.
The other one worth highlighting is ?, which opens an in-app cheat sheet listing every binding for your current build. As of OrcaSlicer 2.3.1, the popup also reflects swapped mouse buttons if you’ve remapped LMB and RMB in preferences.
Prepare tab: moving, selecting, and the camera
The Prepare tab is where the keyboard pays for itself fastest. The four tabs that make up OrcaSlicer’s UI all have their own bindings, but Prepare is where you spend most of your time arranging, scaling, and orienting parts before you slice.
The camera lives on the mouse: left mouse rotates the view, right mouse pans, and the wheel zooms. Once you’ve got that, the keyboard handles selection and movement.
A: Arrange all objectsShift + A: Arrange objects on selected platesQ: Auto orients selected objectsShift + Q: Auto orients all objects on active plateShift + Tab: Collapse/Expand sidebarCtrl + Any arrow: Movement in camera spaceAlt + Left mouse button: Select a partCtrl + Left mouse button: Select multiple objectsShift + Left mouse button: Select objects by rectangleArrow Up: Move selection 10 mm positive Y directionArrow Down: Move selection 10 mm negative Y directionArrow Left: Move selection 10 mm negative X directionArrow Right: Move selection 10 mm positive X directionShift + Any arrow: Movement step set to 1 mmEsc: Deselect allCtrl + A: Select all objectsCtrl + D: Delete allCtrl + Z: UndoCtrl + Y: RedoI: Zoom inO: Zoom outTab: Switch between Prepare/Preview
Arrow keys default to 10 mm steps. Hold Shift and they drop to 1 mm. That’s the one I wish I’d known on day one. I’d been clicking into the position field and typing numbers to nudge parts into corners, and the Shift+arrow combo is far faster.
The camera presets are a separate cluster you should at least try once:
Ctrl + 0: Camera view: DefaultCtrl + 1: Camera view: TopCtrl + 2: Camera view: BottomCtrl + 3: Camera view: FrontCtrl + 4: Camera view: BehindCtrl + 5: Camera Angle: Left sideCtrl + 6: Camera Angle: Right side
If you’re checking whether a feature sits flush on the bed, Ctrl + 1 for top-down and Ctrl + 3 for front view will save you a lot of right-mouse orbiting.
The gizmo single-key roster
This section delivers the biggest practical speedup. The left-side gizmo bar holds move, scale, rotate, cut, and paint tools, and each has a single-key binding. No need to aim at a tiny icon when you can tap a letter.
M: Gizmo moveR: Gizmo rotateS: Gizmo scaleF: Gizmo place face on bedC: Gizmo cutB: Gizmo mesh booleanH: Gizmo FDM paint-on fuzzy skinL: Gizmo SLA support pointsP: Gizmo FDM paint-on seamT: Gizmo text emboss/engraveU: Gizmo measureY: Gizmo assembleE: Gizmo brim ears
Three corrections trip up users coming from older guides.
First, L is SLA support points, not FDM support painting. If you tried L expecting the FDM support brush, you hit the wrong gizmo. The wiki lists no single-key shortcut for FDM support paint; reach it through the gizmo bar icon.
Second, N does nothing. I’ve seen it claimed as the Color Painting hotkey in old posts. It isn’t documented in the wiki and pressing it does nothing. Color Painting is a gizmo-bar icon for now.
Third, C behaves differently by context. In Prepare, it activates the cut gizmo. In Preview, it toggles the G-code window. Same key, two behaviors. While we’re here, the cut and boolean gizmos are the entry points for modifier meshes.
Color painting and the 1-9 filament keys
Here’s the shortcut most people get wrong, and I include myself. The keys 1–9 are not brush sizes. The wiki is unambiguous: in Prepare, 1-9 sets the filament for the selected object or part. In the Objects List, the same range sets the extruder number. Inside the Color Painting gizmo, those keys pick which filament index you’re painting with.
Brush size lives on the mouse wheel. Specifically:
Ctrl + Mouse wheel: Support/Color Painting: adjust pen radiusAlt + Mouse wheel: Support/Color Painting: adjust section positionEsc: Deselect All (works in the toolbar context too)Shift +drag, Move: press to snap by 1 mm
If you’ve been wrestling with brush size by clicking the +/- icons, stop. Hold Ctrl, spin the wheel, done. The full color painting workflow changes once you internalize those two modifiers.
One subtle bit: inside the gizmo, 1-9 switches the active brush filament. Outside the gizmo with a part selected, the same keys assign that part to a filament. Same range, different effect depending on focus.
Preview tab: scrubbing layers and reading G-code
Once a plate has been sliced, the Preview tab is where you sanity-check layer transitions, look for retraction artifacts, and scrub through tricky overhangs to make sure the toolpath is going where you think it should.
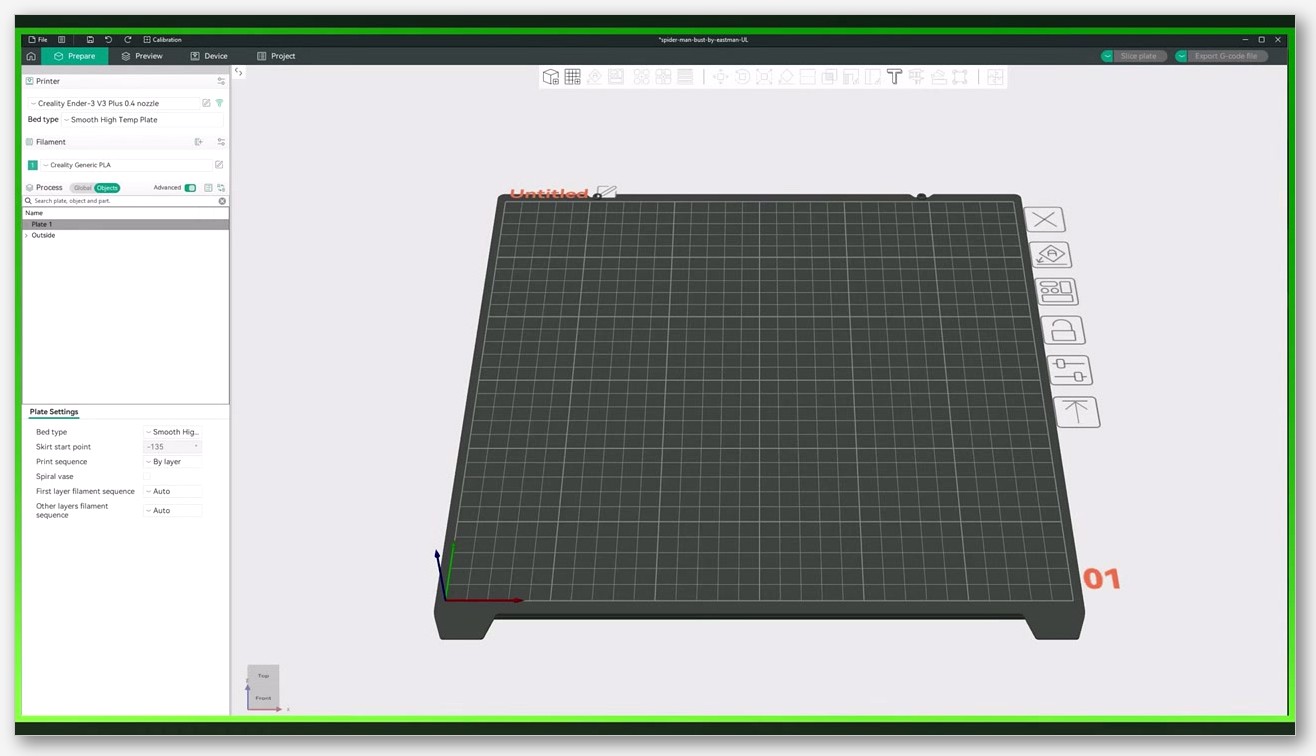
The Preview shortcuts revolve around the two sliders (vertical for layer, horizontal for move-within-layer) and the G-code window.
Arrow Up: Vertical slider: Move active thumb UpArrow Down: Vertical slider: Move active thumb DownArrow Left: Horizontal slider: Move active thumb LeftArrow Right: Horizontal slider: Move active thumb RightL: On/Off one layer mode of vertical sliderC: On/Off G-code windowTab: Switch between Prepare/PreviewShift + Any arrow: Move slider 5x fasterShift + Mouse wheel: Move slider 5x fasterCtrl + Any arrow: Move slider 5x fasterCtrl + Mouse wheel: Move slider 5x fasterHome: Horizontal slider: Move to start positionEnd: Horizontal slider: Move to last position
L for one-layer mode is the one I use constantly. It isolates the current layer so you see exactly which moves happen on that pass. Pair it with C to open the G-code panel and you’ve got a fast diagnostic loop without touching the mouse.
Objects List shortcuts
The Objects List panel on the right side has its own keyboard set, mostly overlapping with the global shortcuts but with one extra binding worth knowing.
1-9: Set extruder number for objects and partsDel: Delete objects, parts, modifiersEsc: Deselect allCtrl + C: Copy to clipboardCtrl + V: Paste from clipboardCtrl + X: CutCtrl + A: Select all objectsCtrl + K: Clone selectedCtrl + Z: UndoCtrl + Y: RedoSpace: Select object/part and press to change nameMouse click: Select object/part and click to change name
Ctrl + K for clone is the one that doesn’t appear elsewhere. For a plate of repeated parts, clone beats copy-paste because it keeps positioning relative and adds a numbered suffix. I use it for batches of identical brackets where I want six copies, then hit A to arrange.
Space for rename is the other underrated one. Click a part, hit Space, type, Enter. No right-click menu.
Windows vs macOS vs Linux
The platform story is shorter than you’d think. Linux behaves identically to Windows: everything that uses Ctrl on Windows uses Ctrl on Linux. macOS users substitute Cmd for Ctrl on every binding, with exactly two documented exceptions.
- Delete: Windows and Linux use
Del. macOS usesFn + Backspace. - 3Dconnexion device settings: Windows and Linux use
Ctrl + M. macOS usesCtrl + Shift + M.
That’s it. Beyond those two, every other shortcut follows the Cmd-for-Ctrl rule. If a tutorial lists a third macOS-only binding, treat it with suspicion. The wiki doesn’t document one, and OrcaSlicer doesn’t currently support user-defined remapping per closed Issue #1222.
Printable cheat sheet
Print this section, pin it next to your monitor, and you’ll have most of OrcaSlicer’s keyboard surface area in one glance.
| Category | Shortcut | Action |
|---|---|---|
| Global | Ctrl + N / O / S / Shift+S | New / Open / Save / Save As |
| Global | Ctrl + I | Import STL/STEP/3MF/OBJ/AMF |
| Global | Ctrl + R | Slice plate |
| Global | Ctrl + G | Export sliced file |
| Global | Ctrl + Shift + G | Print plate |
| Global | Ctrl + Tab | Switch table page |
| Global | ? | Show in-app shortcuts list |
| Prepare | A / Shift + A | Arrange all / on selected plates |
| Prepare | Q / Shift + Q | Auto-orient selected / all |
| Prepare | Arrows | Move 10 mm (Shift = 1 mm) |
| Prepare | Ctrl + 0..6 | Camera presets |
| Prepare | Ctrl + D | Delete all |
| Gizmo | M / R / S / F | Move / Rotate / Scale / Face on bed |
| Gizmo | C / B | Cut / Mesh boolean |
| Gizmo | H / P | Fuzzy skin / Seam paint |
| Gizmo | L | SLA support points |
| Gizmo | T / U / Y / E | Text / Measure / Assemble / Brim ears |
| Painting | 1-9 | Filament / extruder index |
| Painting | Ctrl + Mouse wheel | Brush radius |
| Painting | Alt + Mouse wheel | Section position |
| Preview | L | One-layer mode |
| Preview | C | G-code window |
| Preview | Tab | Swap Prepare/Preview |
| Objects List | Ctrl + K | Clone selected |
| Objects List | Space | Rename selected |
| macOS only | Fn + Backspace | Delete selected |
| macOS only | Ctrl + Shift + M | 3Dconnexion settings |
FAQ
Can I remap OrcaSlicer’s keyboard shortcuts?
Not in the current release. Issue #1222 requested a built-in remapping UI and was closed without being implemented. There’s also open Issue #7691 tracking accessibility-driven requests for things like Ctrl + Shift + 1-9 for plate switching, but until that lands you’re working with the defaults.
Why doesn’t N do anything? I read somewhere it was Color Painting.
The wiki does not list N as a binding. Older forum posts and a few outdated tutorials claim it triggered the Color Painting gizmo, but pressing it in a current build does nothing. Use the gizmo bar icon to enter Color Painting, then use 1-9 to pick filament and Ctrl + Mouse wheel to size the brush.
Is there a keyboard shortcut for the AMS panel or the Device tab?
No. The OrcaSlicer wiki does not document any dedicated AMS panel hotkey, and the Device tab does not have its own key bindings. Navigation there is mouse-driven.
What about a hotkey for the custom G-code editor?
There isn’t one in the official wiki. The C key in the Preview tab opens the G-code OUTPUT viewer, not the custom-G-code-insertion dialog. For the full workflow, see our guide on custom G-code in OrcaSlicer.
Does Ctrl + G slice the plate or export it?
It exports the sliced file. The shortcut to slice is Ctrl + R. The shortcut to send the print to the printer is Ctrl + Shift + G. The G keys cluster around “after slicing” actions, R triggers the slicing itself.
Why is L SLA support points and not FDM support painting?
That’s just how the wiki defines it. OrcaSlicer’s L binding is the SLA support points gizmo. The FDM support paint brush is reached through the gizmo bar icon and currently has no documented single-key shortcut. If you primarily print FDM, you’ll use the icon for that one.
What changed in OrcaSlicer 2.3.x for shortcuts?
One documented change. The 2.3.1 release notes mention that the in-app Help → Keyboard Shortcuts popup now reflects swapped mouse buttons if you’ve remapped LMB and RMB in your preferences. No new shortcuts were added or removed in 2.3.x per the release notes.
The takeaway
OrcaSlicer’s keyboard map isn’t huge, maybe seventy bindings if you count every variant. That’s small enough to memorize the ones you’ll use ten times a day: the gizmo letters, Ctrl + R to slice, Tab to flip tabs, and arrow nudges with Shift for 1 mm. For everything else, hit ?. When you’re ready to go deeper, the OrcaSlicer settings master guide covers the configuration surface beyond the keyboard.
Related OrcaSlicer guides
- OrcaSlicer Settings Master Guide: Every Setting Explained (2026)
- OrcaSlicer for Sovol SV06 / SV07 / SV08: Setup and Best Settings (2026)
- OrcaSlicer for Qidi X-Plus 3 / X-Max 3 / Q1 Pro: Setup and Best Settings (2026)
- OrcaSlicer Project Files (.3mf): How to Save and Share (2026 Guide)
- OrcaSlicer By Object vs By Layer: Picking the Right Print Sequence