
I’ve been running an MK3S+ in the office and a Mini+ in the garage for almost three years, and for most of that time PrusaSlicer was the only slicer either machine ever saw. The switch to OrcaSlicer started the night I dropped a Bambu P1S onto the same network and didn’t want to juggle two slicer windows just to keep my Prusas in the loop.
If you’re in that same boat, this guide walks through which Prusa profiles OrcaSlicer ships, where the firmware boundary sits between the MK3 family and the Mini+, how the start G-code differs, where to drop your Linear Advance K-factor, and how to send files over PrusaLink without breaking what Prusa already does right.
Table of contents
- Why a Prusa MK3S+ or Mini+ owner picks OrcaSlicer
- Which Prusa profiles ship in OrcaSlicer
- Build volumes and the firmware boundary
- Start and end G-code that ships in the Prusa profiles
- Mesh bed leveling: G80 on MK3S+, G29 on Mini+
- Linear Advance on MK3S+ versus Pressure Advance on Mini+
- PrusaLink upload workflow from OrcaSlicer
- Recommended calibration order for a Prusa in OrcaSlicer
- Common gotchas and profile drift versus PrusaSlicer
- FAQ
Why a Prusa MK3S+ or Mini+ owner picks OrcaSlicer
Let’s be honest up front: PrusaSlicer is canonical for Prusa printers. Prusa’s engineers maintain the profiles, the start G-code, and the firmware. If you only own a Prusa and your prints are fine, there’s no quality reason to swap. I still keep PrusaSlicer installed alongside Orca, and you probably will too.
What pulled me across is what OrcaSlicer adds on top. The Calibration menu hands you a one-click test suite: Temperature, Volumetric Speed, Pressure Advance, Flow Ratio, Retraction, Tolerance, Cornering, and Input Shaping with VFA. Eight prebuilt calibration entries in the menu bar. In PrusaSlicer I was hand-rolling temperature towers in Notepad. In Orca I pick a range, hit slice, and the tower’s done.
The other draw is the unified Device tab. OrcaSlicer talks PrusaLink, OctoPrint, Klipper, Obico, and Bambu’s native protocol from the same dialog. If your household has a Mini+ in the garage and a Bambu upstairs, Orca becomes the common slicer instead of the third tab you keep open just for one printer. For a side-by-side on where each slicer shines, my OrcaSlicer vs PrusaSlicer comparison goes through the trade-offs.
I’m not pitching Orca as “better” for Prusa work. The Prusa profiles inside OrcaSlicer are derived from PrusaSlicer upstream, and there’s an open community argument (Issue #6037, closed as not planned) that some Orca defaults drift from Prusa’s published values. We’ll get to that. For now, treat OrcaSlicer as a second slicer that brings a calibration suite and a unified device manager to the printers you already trust.
Which Prusa profiles ship in OrcaSlicer
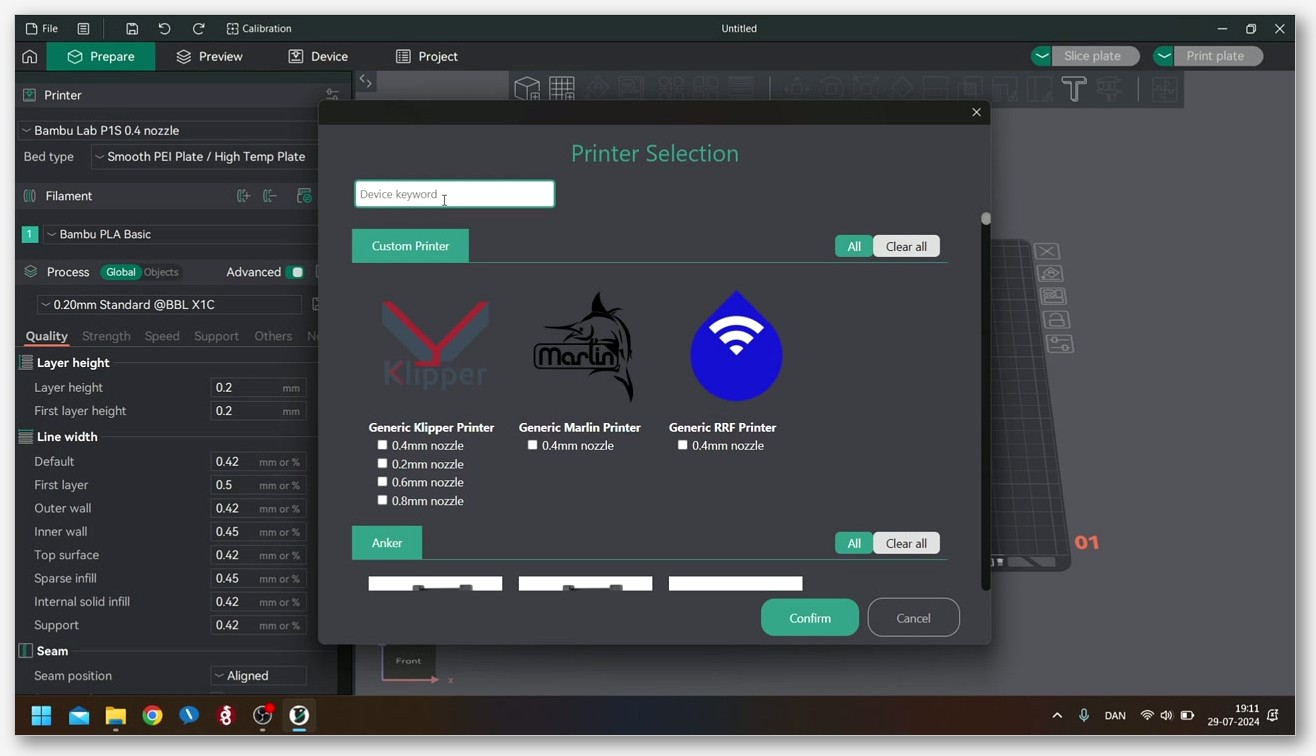
When you run the Add Printer wizard and expand the Prusa vendor row, OrcaSlicer offers a specific set of machine profiles. For our three printers, here’s exactly what ships in the current main branch.
Prusa MK3S profiles (five files): a base Prusa MK3S.json template plus dedicated 0.25 mm, 0.4 mm, 0.6 mm, and 0.8 mm nozzle variants. That’s the full nozzle ladder, matching PrusaSlicer’s coverage.
Prusa MINI profiles (five files): the same structure. Base template plus 0.25 mm, 0.4 mm, 0.6 mm, and 0.8 mm nozzle profiles.
Prusa MINIIS profiles (five files): the Mini Input Shaper variant gets its own profile family. If your Mini+ is running the IS firmware build, you’ll want this one rather than the plain MINI profile. The fact that MINIIS now ships partly resolves Discussion #2491, which originally asked for a dedicated Input Shaper variant.
Here’s the thing that trips up MK3 (non-S) and MK3S+ owners: there’s no separate MK3 profile, and no separate MK3S+ profile. OrcaSlicer ships only Prusa MK3S for the entire MK3 / MK3S / MK3S+ / MK2.5S / MK2.5 cluster. This isn’t a bug. PrusaSlicer upstream does the same thing because the MK3S to MK3S+ upgrade is hardware-only (SuperPINDA probe, improved Y-axis hardware, no firmware or profile changes). MK3 and MK2.5 owners pick the MK3S profile too. The printer pops up a one-time prompt that reads roughly “This was made for other printer, do you want to continue?”, and you say yes.
If you’ve heavily modded your Prusa and the stock MK3S profile no longer fits, the printer profiles hub covers cloning and customising vendor profiles without breaking the start G-code.
Useful trivia: PrusaSlicer labels print presets “SPEED” and “QUALITY”. OrcaSlicer relabels them “Speed” and “Standard”. Same lineage, different vocabulary, source of some confusion in Issue #6037.
Build volumes and the firmware boundary
This is the section I wish someone had handed me on day one, because mixing up the firmware lineage leads you down the wrong rabbit hole on every other setting.
MK3S+ and MK3S build volume: 250 x 210 x 210 mm. The OrcaSlicer machine JSON confirms it: printable_area: ["0x0", "250x0", "250x210", "0x210"], printable_height: "210". Both printers share that volume because the “+” is a hardware revision.
Mini+ build volume: 180 x 180 x 180 mm. The OrcaSlicer Mini JSON has "printable_area": ["0x0", "180x0", "180x180", "0x180"] and "printable_height": "180". There’s a Prusa KB FAQ that shows a different number; we’ll cover that in the gotchas section. Use 180 cubed.
Now the firmware boundary, which matters when you’re editing G-code or talking to the printer.
MK3S+, MK3S, MK3, MK2.5S, and MK2.5 all run prusa3d/Prusa-Firmware. The repo README describes it as “the source code and the development versions of the firmware running on the Original Prusa i3 MK3S/MK3/MK2.5S/MK2.5 line of printers” and adds that it’s “proudly based on Marlin 1.0.x by Scott Lahteine (@thinkyhead) et al.” It runs on the 8-bit Einsy board. Call it Original Prusa Firmware.
The Mini+ runs prusa3d/Prusa-Firmware-Buddy. A separate Marlin-based codebase, 32-bit, that covers the MINI/MINI+, MK3.5, MK3.9, MK4, XL, and CORE One. Both firmwares share Marlin lineage but they’re separate codebases. They don’t share binaries, and not every G-code dialect.
In practice: when you read a tutorial about MK4 settings, don’t assume it applies to your MK3S+. Different firmware. The reverse is also true. The Mini+ sits awkwardly in the middle, sharing a firmware family with the MK4 but a price tier closer to the MK3.
Start and end G-code that ships in the Prusa profiles
The fastest way to convince yourself OrcaSlicer will behave on your Prusa is to open the Machine G-code tab. Here’s the verbatim start block from the Prusa MK3S 0.4 nozzle profile, trimmed for the bits that matter.
M862.3 P "MK3S" ; printer model check
M862.1 P[nozzle_diameter] ; nozzle diameter check
M115 U3.13.0 ; tell printer latest fw version
G90 ; use absolute coordinates
M83 ; extruder relative mode
M104 S[first_layer_temperature] ; set extruder temp
M140 S[first_layer_bed_temperature] ; set bed temp
M190 S[first_layer_bed_temperature] ; wait for bed temp
M109 S[first_layer_temperature] ; wait for extruder temp
G28 W ; home all without mesh bed level
G80 ; mesh bed leveling
That’s the Prusa house style. M862.3 P "MK3S" is the printer-model check (the line that produces the “made for other printer” prompt when you slice for an MK3S and print on an MK3). M862.1 verifies nozzle diameter. M115 U3.13.0 compares firmware version; per Prusa KB, “if a provided version (U parameter) exceeds the current firmware, the printer pauses for 30 seconds and requests a firmware upgrade.” G28 W homes without running the mesh, then G80 kicks off mesh bed leveling.
The MK3S end G-code is just as Prusa-aware:
G1 X0 Y200 F3600 ; park
M221 S100 ; reset flow
M900 K0 ; reset LA
M104 S0 ; turn off temperature
M140 S0 ; turn off heatbed
M107 ; turn off fan
M84 ; disable motors
The M900 K0 resets the Linear Advance K-factor so the next print doesn’t inherit it. M84 disables the steppers so you can lift the part off.
Now the Mini+. The start G-code structure is recognisably different:
M862.3 P "MINI" ; printer model check
G90 ; use absolute coordinates
M83 ; extruder relative mode
M104 S170 ; set extruder temp for bed leveling
M140 S[first_layer_bed_temperature] ; set bed temp
M109 R170 ; wait for bed leveling temp
M190 S[first_layer_bed_temperature] ; wait for bed temp
M204 T1250 ; set travel acceleration
G28 ; home all without mesh bed level
G29 ; mesh bed leveling
M204 T[machine_max_acceleration_travel] ; restore travel acceleration
M104 S[first_layer_temperature] ; set extruder temp
Three things to notice. The model check is M862.3 P "MINI", not “MK3S”. The Mini+ pre-heats the nozzle to 170 °C before levelling (clean but not oozing during probing), then ramps to print temp. And it uses G29 instead of G80 because Buddy firmware uses Marlin’s standard mesh call.
Also worth noting: the Mini+ machine profile declares "gcode_flavor": "marlin2", while the MK3S profile leaves that field unset and inherits the Marlin-legacy default. Both profiles use M601 as the pause command, which per Prusa KB “parks the extruder to configurable positions without permanently saving changes.” For adding pause-at-layer or colour-change logic, my OrcaSlicer custom G-code guide covers where to splice in extras without breaking these start blocks.
Mesh bed leveling: G80 on MK3S+, G29 on Mini+
Mesh bed leveling is where the two firmware families genuinely behave differently, so it’s worth understanding each command before you fight it.
G80 on the MK3S+ / MK3S / MK3. Prusa-specific G-code. Per the Prusa KB, the “default 3×3 grid can be changed on MK2.5/s and MK3/s to 7×7 grid” via the N parameter (valid 3 or 7). There’s also a C parameter for probe retry count. The useful form, on firmware 3.14.0+, probes only the area the part covers:
G80 X{first_layer_print_min[0]} Y{first_layer_print_min[1]} W{(first_layer_print_max[0]) - (first_layer_print_min[0])} H{(first_layer_print_max[1]) - (first_layer_print_min[1])}If you print small parts on a 250 x 210 bed, that cuts probing time noticeably. Drop it into OrcaSlicer’s Machine G-code start block in place of the bare G80 once the stock profile is printing clean.
G29 on the Mini+. Standard Marlin invocation. Buddy firmware handles grid sizing internally and there’s no equivalent X/Y/W/H form exposed. For a 180 x 180 bed the probe time isn’t long enough to optimise anyway.
One thing that took me a while: G28 W on the MK3S+ means “home without mesh bed level,” and the W tells the firmware to skip the implicit level call. Without it, G28 on Original Prusa Firmware will trigger a level too. The Mini+ has no W modifier because the explicit G29 right after handles it.
Linear Advance on MK3S+ versus Pressure Advance on Mini+
This is the section where firmware lineage matters most, because the MK3S+ and the Mini+ approach extrusion compensation differently.
On the MK3S+, Original Prusa Firmware uses Linear Advance with M900 K<value>. Per Prusa’s own Linear Advance KB article, here are the per-filament K-factor values for a 0.4 mm nozzle on the MK3 family:
- PLA: 0.05
- PETG: 0.08
- ASA / ABS: 0.04
- HIPS: 0.04
- Nylon Taulman: 0.08
- Nylon FX256: 0.10
Prusa also notes that “the optimal K-factor value for firmware 3.9.1 is K=0.07” as a generic modern default if you haven’t calibrated for a specific filament. The really important bit for OrcaSlicer users is the explicit Prusa KB instruction: for non-PrusaSlicer slicers, “add ‘M900 Kxx’ into the starting G-code script.” That’s the canonical path.
In practice that means opening your filament profile (Filament settings, Filament Start G-code subtab) and pasting M900 K0.05 at the top for a PLA profile, M900 K0.08 for PETG, and so on. Do it per filament, not per printer, because the K-factor is a filament property. The stock MK3S end G-code already resets it with M900 K0, so the value won’t carry between prints.
On the Mini+, Buddy firmware moved to Pressure Advance starting at version 5.0.0. The Prusa KB phrases it as Linear Advance being “replaced by Pressure Advance on MK4-family, XL, MINI/+ from firmware 5.0.0, and successive printer models.” If you’re on a current Buddy build, the slicer-facing path is the Pressure Advance values rather than M900 K. On older Mini+ firmware (pre-5.0.0), Linear Advance still applies. The M900 K0 in the OrcaSlicer Mini+ end G-code is a vestige from those LA days and is harmless under current firmware.
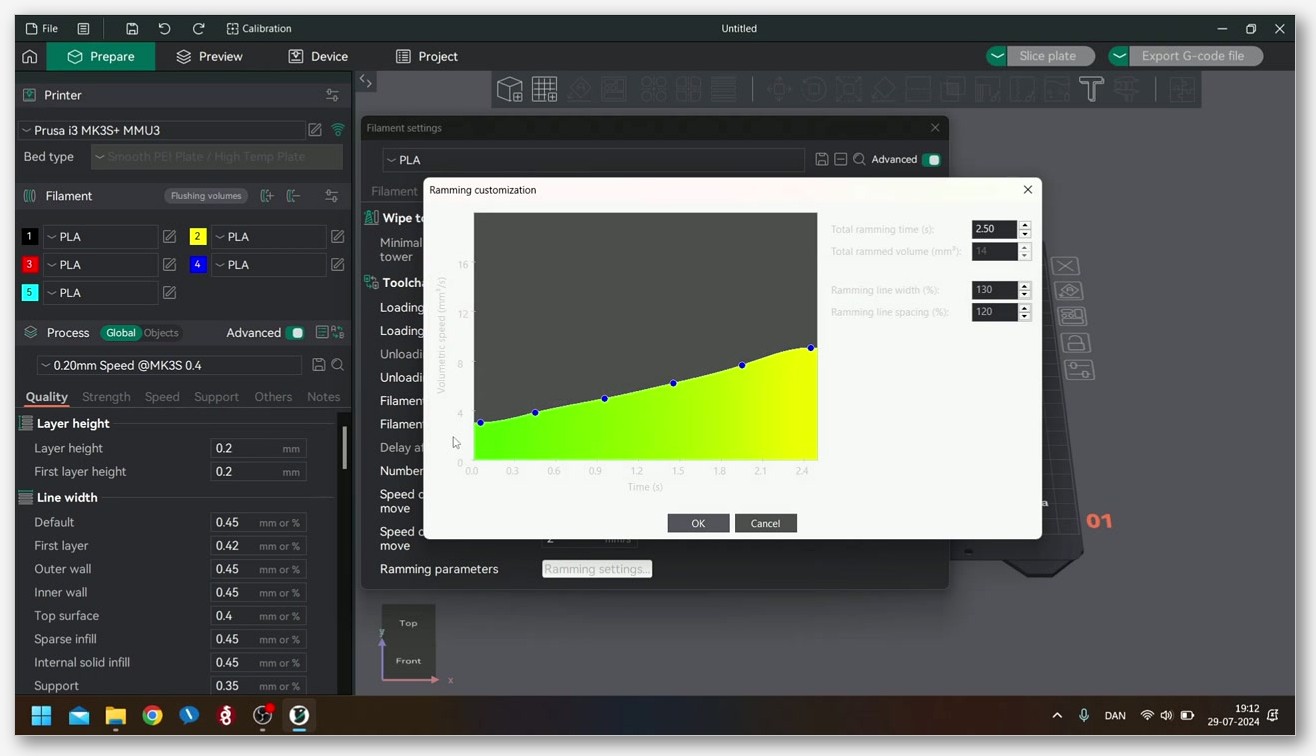
A warning about OrcaSlicer’s Pressure Advance Pattern calibration test. The Orca wiki is explicit: “this feature has been tested with Klipper-based printers. While it may work with Marlin or Bambu lab printers, it is currently untested with them.” And: “for users with Marlin firmware, Linear Advance must be enabled in firmware (M900). Not all printers have it enabled by default.” For MK3S+ owners the pattern test is experimental, not validated. Stick to the per-filament K-factor approach Prusa documents. My OrcaSlicer Pressure Advance guide goes deeper on which calibration mode fits which firmware family.
PrusaLink upload workflow from OrcaSlicer
PrusaLink is Prusa’s local-network upload path. OrcaSlicer’s Device tab speaks it natively (host_type: prusalink), but the hardware story differs between the two printer families.
MK3S+ / MK3S need a Raspberry Pi accessory. Per the Prusa KB, “in this case, the PrusaLink name also refers to the required hardware solution of a Raspberry Pi (RPi).” Options: a Pi Zero W or Pi Zero 2 W on GPIO, or a Pi 3, Pi 3+, Pi 4, or Pi 5 via USB. Per Prusa: “Pi Zero, Pi 2 and older are unsupported.” Printer firmware 3.10.1 or newer also required.
Mini+ has PrusaLink built in but needs a Wi-Fi module (or the Ethernet add-on). Per Prusa KB: “MINI/+ (requires Wi-Fi module).” The PrusaLink server runs on the Buddy board, no Pi required, but it can’t reach the network without the radio.
Once hardware’s sorted, the OrcaSlicer workflow’s the same for both printers. Open printer settings, Device tab, choose PrusaLink as host type, plug in the IP shown on the printer’s LCD (or the RPi’s PrusaLink page), and paste the password or API key. PrusaLink uses HTTP Digest auth, which OrcaSlicer handles transparently.
Under the hood, when you hit Send G-code, OrcaSlicer calls the PrusaLink upload API. Per the Prusa-Link-Web OpenAPI spec, the endpoint is:
PUT /api/v1/files/{storage}/{path}The interesting header is Print-After-Upload, documented as “whether to start printing the file after upload” with values ?0 (false) or ?1 (true). That’s RFC 8941 structured-field syntax, not a typo. There’s also an Overwrite header defaulting to ?0. OrcaSlicer flips the Print-After-Upload header when you pick “Send and Print” instead of plain “Send.”
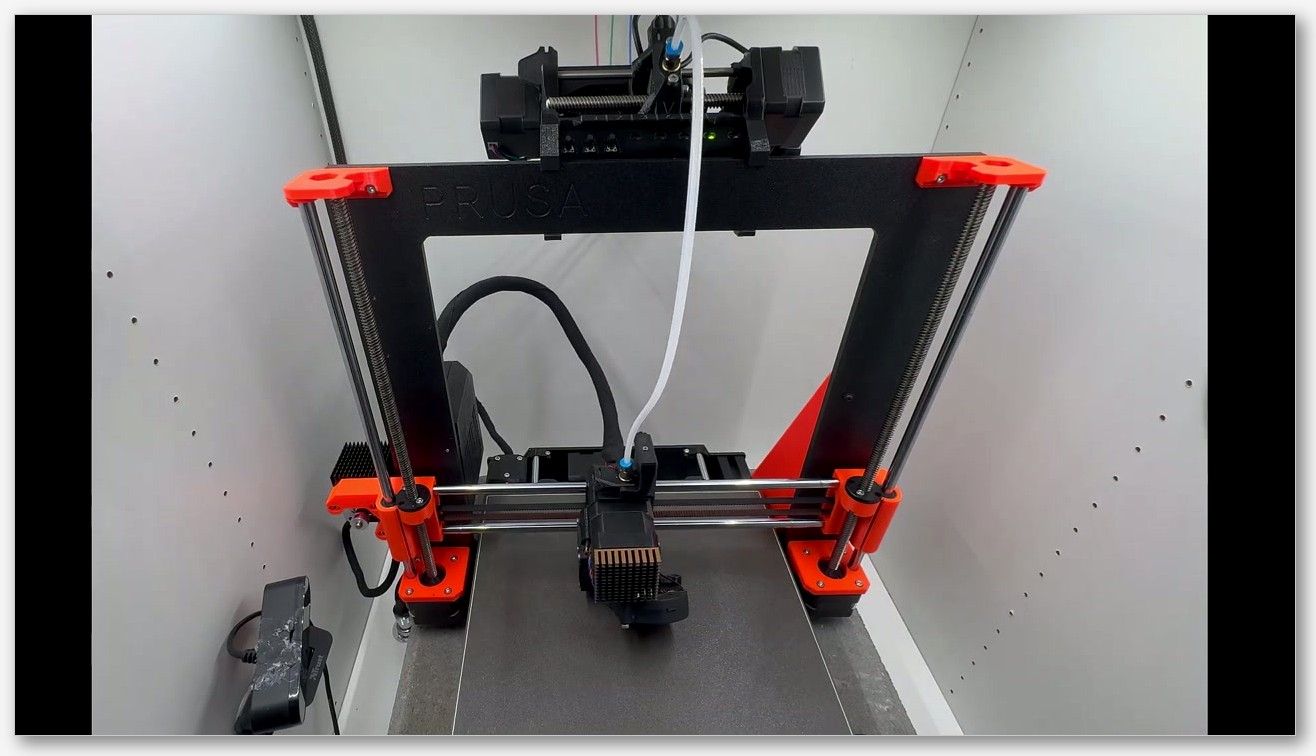
One caveat on cameras: Pi-attached cameras work with PrusaLink on the MK3S+ RPi setup. The newer 32-bit Prusas (MK3.9, MK4, XL) don’t yet expose camera streams through PrusaLink. The Mini+’s built-in PrusaLink doesn’t ship with camera support either. For a live preview, the MK3S+ with RPi route is still the cleanest of the three.
Recommended calibration order for a Prusa in OrcaSlicer
OrcaSlicer’s Calibration menu (top menu bar) gives you eight entries: Temperature, Volumetric Speed, Pressure Advance, Flow Ratio, Retraction, Tolerance, and under Advanced, Cornering (Jerk and Junction Deviation) plus Input Shaping with VFA. Here’s the order I’d run them on a stock Prusa.
1. Temperature. Always start here. The Prusa filament profiles ship with reasonable defaults, but every spool’s different. Pick a 20 °C range around the recommended print temperature and let Orca slice the tower in one click.
2. Volumetric Speed. Max flow rate your hotend can sustain. On the MK3S+ stock E3D V6 you’re around 11 to 13 mm³/s for PLA. The Mini+ sits similar.
3. Pressure Advance (Mini+) or Linear Advance K-factor (MK3S+). On a current-firmware Mini+, run the Orca PA test. On the MK3S+, skip the Orca pattern test (Marlin is experimental there) and use the Prusa-documented K-factor, then refine with a manual M900 K tower if you care to.
4. Flow Ratio. Once temperature and pressure-handling are dialled, Flow Ratio gets your single-wall thickness to spec.
5. Retraction. The Prusa profiles ship with reasonable retract distances, but if you’re seeing strings, the Orca retraction test resolves it fast.
6. Cornering (Advanced). Jerk and Junction Deviation values affect how square your corners look. Most stock-Prusa users won’t need to touch this.
Skip Input Shaping on the MK3S+ entirely (it’s not an IS printer). Skip it on the Mini+ unless you’re on the Mini Input Shaper firmware variant, where you’d run the MINIIS profile and tune IS in firmware, not slicer.
Common gotchas and profile drift versus PrusaSlicer
A handful of things tripped me up early enough that they’re worth flagging.
Issue #6037 (MK3S profile defaults drift). A user opened this issue arguing OrcaSlicer’s MK3S defaults had drifted from PrusaSlicer’s upstream values in ways that could “drive away some of the more novice users.” G-code resolution, layer-height limits, and speed configs were called out. Closed as not planned. Practical takeaway: if you want bit-exact parity with PrusaSlicer for a specific setting, open both slicers and copy the value across. Don’t assume Orca’s MK3S defaults match Prusa’s defaults on every field.
MK3 (non-S) on the MK3S profile. Got the original MK3? Select the MK3S profile and dismiss the printer-model warning. The forum quote sums it up: “Orca Slicer doesn’t have a selection for the standard MK3 but it has one for the MK3S, and the MK3 will pause at start saying ‘This was made for other printer, do you want to continue?'” Click yes, the print proceeds.
Mini+ build volume FAQ typo. The Prusa KB FAQ lists the Mini+ as “180x210x220 mm.” That’s the FAQ erroneously merging the MK3-family Y/Z numbers into the Mini+ row. The actual Mini+ bed is 180 x 180 x 180 mm. The OrcaSlicer profile gets it right. If you see the FAQ number, ignore it.
MINIIS profiles do ship now. Discussion #2491 asking for a Mini Input Shaper variant is partly stale. OrcaSlicer’s main branch now ships the MINIIS family.
MK3.5, MK3.9, MK4, MK4S, XL, CORE One are not your printer. Those run Buddy firmware. The MK3S+ and original Mini+ are firmware-distinct from anything in the MK3.5-and-up family. Don’t apply MK4 tuning advice to your MK3S+.
FAQ
Will the OrcaSlicer MK3S profile work on my MK3 (non-S)?
Yes. Select Prusa MK3S in the Add Printer wizard, slice, send the file, dismiss the one-time printer-model warning on the LCD (“this was made for other printer, do you want to continue?”). PrusaSlicer does the same thing. The MK3 to MK3S delta is hardware (PINDA probe revision, Y-axis bearings), not firmware.
Do I need to keep PrusaSlicer installed if I’m using OrcaSlicer?
Not strictly, but I do. Prusa publishes reference filament profiles in PrusaSlicer first. Keeping it around makes cross-checking a setting easy if a print misbehaves in Orca. Both slicers coexist without conflicting.
Why doesn’t OrcaSlicer offer a Mini Input Shaper profile?
It does now. The MINIIS family ships in the current main branch (five profiles: base plus 0.25, 0.4, 0.6, and 0.8 mm nozzles). If you’re running the IS firmware variant on your Mini+, pick MINIIS instead of plain MINI.
Can I print directly from OrcaSlicer to my MK3S+ without a USB cable?
Yes, via PrusaLink, but only if you’ve added the Raspberry Pi accessory (Pi Zero W or Zero 2 W on GPIO, or Pi 3 / 3+ / 4 / 5 on USB) and you’re running printer firmware 3.10.1 or newer. The Mini+ doesn’t need a Pi (its PrusaLink is built in), but it does need the Wi-Fi module.
What Linear Advance K-factor should I start with on PLA?
Prusa’s own KB lists K=0.05 for PLA on the MK3 family with a 0.4 mm nozzle. Drop M900 K0.05 into your PLA filament’s Start G-code in OrcaSlicer. If you’re not sure your firmware is current, K=0.07 is Prusa’s stated optimal value for firmware 3.9.1 and later as a generic default.
Does OrcaSlicer support Prusa Connect (the cloud service)?
OrcaSlicer’s native integration is with PrusaLink (local network) rather than Prusa Connect (cloud). For day-to-day printing from your desk to your Prusa over the local network, PrusaLink covers it. If you specifically want Prusa Connect cloud features, the path is to upload through PrusaLink and let the printer push to Connect from there.
Should I use OrcaSlicer’s Pressure Advance Pattern test on my MK3S+?
Probably not. The Orca wiki marks it validated on Klipper, experimental on Marlin and Bambu. The MK3S+ runs Marlin-based Original Prusa Firmware, so it’s experimental. Safer path: Prusa KB K-factor values plus a manual M900 K tower if you want to refine.
Wrapping up
OrcaSlicer isn’t going to replace PrusaSlicer on your MK3S+ or Mini+. It doesn’t need to. What it does, once you’ve pointed it at the right Prusa profile and dropped in your Linear Advance K-factor, is hand you a calibration menu and a device manager PrusaSlicer doesn’t match. Treat the stock Prusa profile as your starting point, respect the firmware boundary, and you’ll have Orca behaving on your Prusa within an afternoon.
For the latest stable build, head to the canonical OrcaSlicer GitHub releases page for Windows, macOS, and Linux installers. For wireless-upload workflows across other slicer-supported hosts, my guide on sending G-code wirelessly from OrcaSlicer covers the Device tab settings for each backend.