
The first time I tried to send a sliced plate from OrcaSlicer to my Bambu Lab H2D, nothing happened. I’d forgotten the printer was still sitting in cloud mode, the LAN+Developer toggles were both off, and my first AMS HT had only been clipped to the back of the chamber an hour earlier. That fumble cost me about forty minutes of menu hunting, so this guide is basically the cheat sheet I wish I’d printed before unboxing the thing.
OrcaSlicer and the Bambu H2D in 2026: where we actually stand
Here’s the short version, because you don’t need another 800-word preamble before you can slice. As of late October 2025, OrcaSlicer has native H2D and H2D Pro profiles in upstream. They aren’t a fork, they aren’t a community side-load, they’re sitting right inside resources/profiles/BBL/machine alongside the X1C and P1S files. PR #10780, contributed by Noisyfox, merged into main on 24 October 2025 and brought ten H2D-family JSONs with it. If you grab OrcaSlicer 2.3.x or newer today, you’ll see the H2D in the Configuration Wizard without doing anything weird.
The catch isn’t profile support anymore. It’s Bambu Connect. Since Bambu rolled that authorisation layer out across the X1, P1, A1 and H series, OrcaSlicer can’t push a plate through Bambu Cloud. The legitimate path that Bambu themselves describe for “advanced users” is to flip the printer into LAN-Only Mode plus Developer Mode, then disable “Use legacy network plugin” inside OrcaSlicer. That’s the entire trick, and we’ll walk through each switch. Laser and cutter workflows, by the way, still live inside Bambu Studio / Bambu Suite. OrcaSlicer doesn’t drive those modules. This guide is about 3D printing on H2D, nothing else.
Table of contents
- H2D at a glance: what makes it different from X1C and P1S
- Confirming OrcaSlicer has your H2D profile
- Bambu Connect, LAN Mode and Developer Mode
- First connection: adding the H2D to OrcaSlicer over LAN
- Dual-nozzle setup and build volume awareness
- AMS strategy for H2D
- Calibrations to run before your first serious print
- Common gotchas
- H2D Pro: what changes
- FAQ
H2D at a glance: what makes it different from X1C and P1S
If you’ve been running a P1S or X1C, the H2D feels familiar for about five minutes and then completely doesn’t. It’s a bigger machine, it’s heavier (about 31 kg net), and the external footprint is 492 x 514 x 626 mm, so it’s not the kind of thing you tuck under a desk shelf. The headline change is the toolhead, which carries two direct-drive extruders instead of one. Bambu officially calls this their “Dual-Nozzle” or “Independent Dual Extruder” system. There’s a lively debate in reviewer circles about whether that counts as “true IDEX” in the Prusa XL or Snapmaker J1 sense, since both nozzles share one toolhead with a nozzle-lifting rail rather than two independent X carriages. The Bambu Wiki has a whole maintenance page on the “Nozzle Lifting Rail,” which tells you what’s physically going on. I’ll dodge the IDEX vocabulary war and just use Bambu’s own wording for the rest of this article.
The thermal envelope is the other huge jump. You’re looking at a 350 °C hotend, 120 °C bed and 65 °C actively-heated chamber, which puts engineering polymers like PA, PC, PEI blends and carbon-filled variants firmly on the table. Quoted toolhead speed is 1,000 mm/s at 20,000 mm/s² acceleration, with 50 µm motion accuracy via Bambu’s Vision-Assisted Encoder System. Whether you’ll print that fast in practice is another conversation, but the chassis is rated for it.
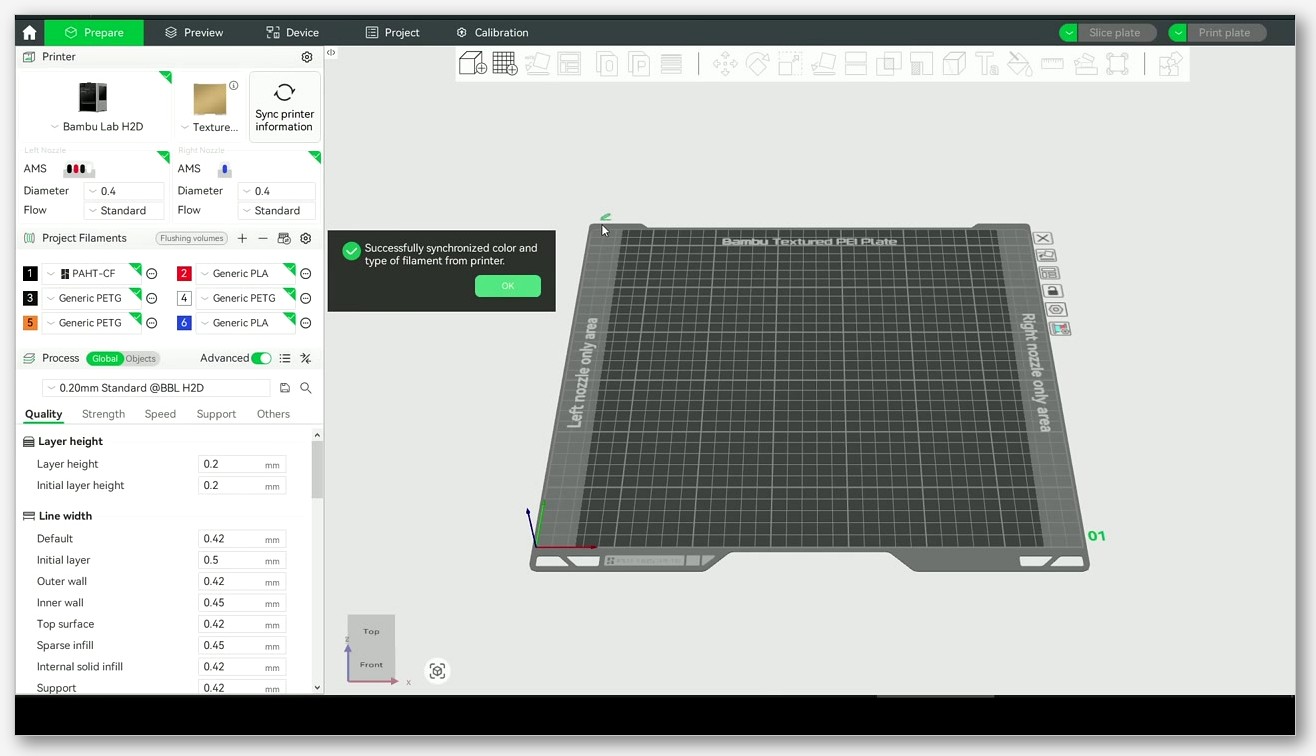
Build volume is where the dual-nozzle reality bites. The single-nozzle printable volume is 325 x 320 x 325 mm. When both nozzles are in use, the common print area where either nozzle can reach the same part is 300 x 320 x 325 mm. The total X-axis envelope (the entire reach across both nozzles, alternating) is 350 x 320 x 325 mm. Per Bambu’s printable-range wiki, the left nozzle’s max printable height is 320 mm, the right is 325 mm, and the common dual area is 300 x 320 mm at 320 mm tall. You’ll see those constraints surface in OrcaSlicer the first time you load a tall plate.
One more thing worth knowing before you dive in: the H2D base model launched on 25 March 2025 at $1,899, with the H2D AMS Combo at $2,199 and the Laser Full Combos at $2,799 (10 W) and $3,499 (40 W). These are different SKUs with different bundled hardware. I’ll talk about the base H2D unless I say otherwise. If you’ve got the AMS Combo you already have one AMS 2 Pro in the box. If you have a base H2D you start with the original AMS, and we’ll deal with that below.
Confirming OrcaSlicer has your H2D profile
Before you fuss with any network stuff, make sure your OrcaSlicer install actually carries the H2D files. The fastest sanity check is the directory listing on GitHub. Go to resources/profiles/BBL/machine and you’ll see ten H2D JSONs: a base Bambu Lab H2D.json, four Bambu Lab H2D 0.2/0.4/0.6/0.8 nozzle.json files, and the same set for H2D Pro. If those files are present, the H2D will appear in OrcaSlicer’s Configuration Wizard.
Inside OrcaSlicer, the workflow is the standard one: Configuration Wizard, Bambu Lab, H2D or H2D Pro, then pick the nozzle size. If you’ve already run the wizard once and the H2D isn’t there, you’re almost certainly on a version older than 2.3.x. Grab the latest stable from the canonical OrcaSlicer GitHub releases page. We don’t host binaries here, and you shouldn’t trust any third-party mirror for a slicer that’s about to talk to a 350 °C hotend.
If you’re a dev-build user testing PR builds, there’s one extra step Noisyfox flagged in the PR: delete the system/ folder inside your Orca config directory before launching the new build, so the latest profile changes actually load. For anyone on stable, that step isn’t necessary anymore now that PR #10780 has been merged into main. For background on the upstream feature request, see Issue #9254, and for the H2D Pro request specifically, Issue #12458. Both are good context if you want to see how the support landed.
One housekeeping note. If you’re managing multiple Bambu printers in OrcaSlicer (I’ve got an X1C and the H2D paired up), each printer gets its own profile entry. There’s a separate guide on that pattern over at our OrcaSlicer printer profiles hub if you want the broader walkthrough.
Bambu Connect, LAN Mode and Developer Mode: the three switches
This is the part that trips up almost everyone moving from X1C / P1S to H2D, because Bambu Connect changed the rules in 2025. The short story: third-party slicers can’t push print jobs through Bambu Cloud anymore. Bambu’s own position, stated in their blog about third-party integration with Bambu Connect, is that “advanced users” can keep MQTT, live stream and FTP open by enabling Developer Mode on the printer. That’s the door OrcaSlicer walks through.
Three switches need flipping, and they have to all be on at the same time.
Switch 1: LAN-Only Mode on the H2D itself. Open Settings on the printer’s touchscreen and find the network section. Enabling LAN-Only Mode disconnects the printer from Bambu Cloud, which is the trade-off you’re making. You won’t get cloud monitoring, remote start from the Handy app over the internet, or cloud print history. You will get a printer that responds directly to OrcaSlicer over your local network.
Switch 2: Developer Mode on the H2D. Per Bambu’s wiki on enabling Developer Mode, this option arrived on the H2D in firmware 01.01.00.01. If your printer hasn’t been updated since unboxing and you can’t see Developer Mode in the settings panel, that’s why. Run the firmware update first, then come back and toggle Developer Mode on. Bambu shows a confirmation dialog warning that you’re stepping outside the standard cloud workflow. Accept it.
Switch 3: Disable “Use legacy network plugin” in OrcaSlicer. This is the one I missed for an embarrassing length of time. Open OrcaSlicer Preferences, find the network plugin section, and uncheck “Use legacy network plugin.” PR #10780’s description is explicit on this: “turn off Use legacy network plugin.” If you leave the legacy plugin on, OrcaSlicer will try to use a connection path that doesn’t talk to H2D properly and you’ll get no end of weird “printer not found” or “auth failed” symptoms.
That’s it for the three switches. Each one is reversible. If you ever want cloud features back, toggle LAN-Only Mode off and you’re back on the Bambu Cloud rails. The catch worth flagging here, which the community has documented in Discussion #10464, is that Bambu Connect firmware updates have occasionally reset these toggles. Re-check them after every firmware bump. For a deeper read on the cloud-vs-LAN trade-offs across the Bambu lineup, our OrcaSlicer Bambu cloud and LAN guide covers it.
First connection: adding the H2D to OrcaSlicer over LAN
With the three switches set, you’re ready to pair. Inside OrcaSlicer, open the device panel and add a new device. The wizard will scan for printers on the LAN. The H2D should appear with its local IP and serial number. If it doesn’t show up at all, the discovery broadcast might be getting eaten by your router or firewall. The Bambu Wiki’s H2D network connection guide lists the LAN ports the printer uses for FTPS, MQTT, file transfer and SSDP discovery, so check those aren’t being blocked. Don’t invent ports beyond what the guide lists. Mine works with the defaults on a typical home router; corporate or guest-VLAN setups can be a different story.
You’ll be asked for the printer’s access code. That lives on the H2D’s settings screen under the network or device info panel. Tap it, type it in, and OrcaSlicer should confirm the connection. Once paired, the right-hand device pane will show H2D temperatures, chamber temp, AMS status if connected, and the camera feed. If you can see live nozzle temperatures updating, you’re in. That’s the “success looks like” state.
The “failure looks like” state usually goes one of three ways. First, OrcaSlicer reports “printer not found.” That’s usually LAN Mode not enabled, or your machine and printer are on different subnets. Second, OrcaSlicer reports an auth failure. That’s the access code being wrong. Third, OrcaSlicer connects but can’t send jobs. That’s usually the legacy network plugin still being checked, or Developer Mode still off. Walk back through the three switches.
Dual-nozzle setup, assigning extruders, and build volume awareness
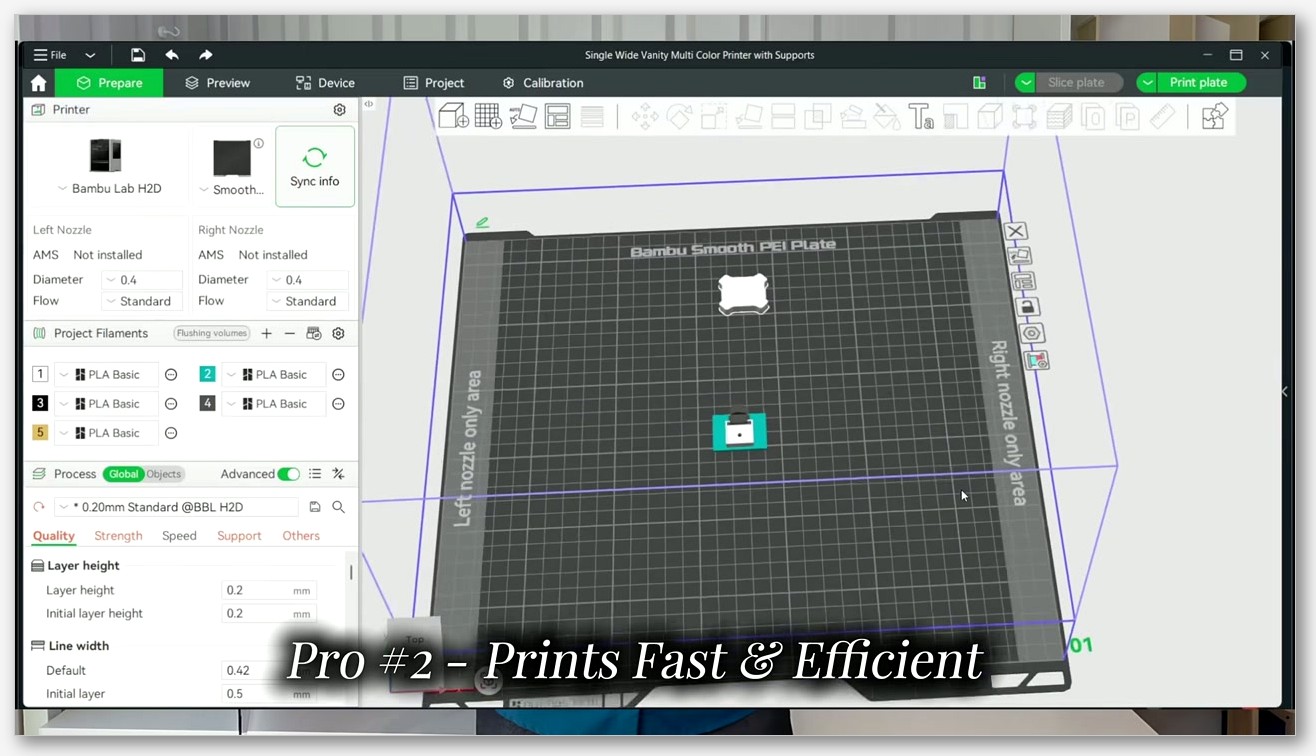
This is the genuinely new ground if you’ve only used single-nozzle Bambu printers before. OrcaSlicer’s H2D profile exposes left and right nozzles as separate extruders, and you can assign objects, modifiers, or specific filaments to either nozzle. The natural workflow is to assign your model body to nozzle one and support material (or a second colour, or a second material) to nozzle two. PETG body with PLA supports for clean break-away has become my default test print on this machine.
Two things to watch. First, the dual-nozzle common print area is smaller than the single-nozzle area. If you’re slicing a model that’s 320 mm wide and you’ve enabled both nozzles, OrcaSlicer will throw a build volume error because the shared zone is only 300 x 320 mm. Either narrow the model, switch to single-nozzle mode for that print, or accept that one nozzle won’t reach all the corners. The build-volume diagram in the Bambu wiki maps this out precisely.
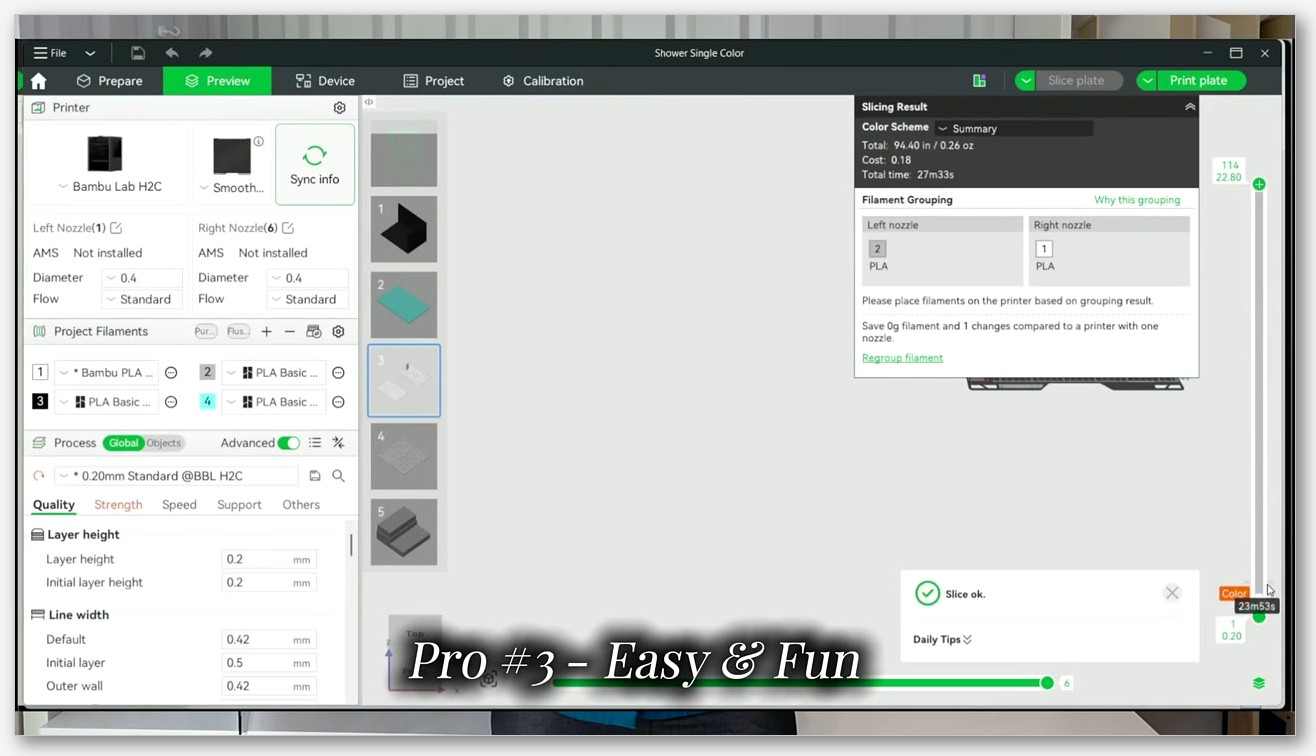
Second, prime tower behaviour. When you swap between two materials with very different temperatures (say PLA at 220 °C and PETG at 250 °C), the inactive nozzle still needs to purge enough to keep its tip clean during the next handover. The H2D’s nozzle-lifting mechanism reduces oozing onto the part, but it doesn’t eliminate the need for some purge volume. Set the prime tower to a sensible size and don’t disable it unless you’ve genuinely tested without one for your specific filament pair.
A note on the simultaneous-print question. Bambu Studio exposes dual-nozzle print modes, and some reviewers describe Duplicate and Mirror modes for printing two identical or mirrored parts at once. Other reviewers argue that the shared-toolhead architecture doesn’t actually support true simultaneous twin-zone printing the way a Snapmaker J1 or Prusa XL does. The honest answer is that the secondary sources disagree, and I’d rather you check Bambu’s current first-print documentation for whatever the latest behaviour is than have me promise something that doesn’t pan out on your machine.
AMS strategy for H2D: what works, what doesn’t, and how to mix
This is the section I get the most questions about, because Bambu’s AMS lineup has fragmented into four products and people genuinely can’t keep track of which works with what.
Let’s start with what doesn’t work. AMS Lite is not compatible with the H2D. Per the Bambu Wiki’s H2D FAQ, “the H2D does not support the AMS lite due to fundamental differences in the feeding mechanism and buffering structure. The AMS lite is only compatible with A series printers.” So if you’ve got an A1 or A1 mini with an AMS Lite, don’t try to migrate it across. It physically won’t feed the H2D.
What does work, per Bambu Wiki’s multi-model AMS compatibility guide:
- Original AMS (the first-generation black box). The base H2D ships compatible with this, which matters if you upgraded from an X1C or P1S and want to keep your existing AMS.
- AMS 2 Pro. This is what ships with the H2D AMS Combo and the H2D Laser Full Combo. It adds active drying and a redesigned feeder.
- AMS HT. Single-spool, active drying, designed for high-temperature engineering filaments like PA-CF, PC and the rest of the 65 °C-chamber crowd.
The H2D has two native AMS ports, one per nozzle. When you connect two AMS units, the PTFE tube from each routes to one of the nozzles. That’s the natural one-AMS-per-nozzle setup, and it’s the configuration I’d recommend for most users running multi-material work.
If you want to push past two AMS units, you’ll need Bambu’s 4-in-1 PTFE Adapter. With the adapter, the H2D scales to a ceiling of 4 x AMS 2 Pro plus 8 x AMS HT simultaneously, which works out to 12 units and 24 slots total. That’s the verified maximum from Bambu’s compatibility guide, and yes, it would consume an entire workbench. Most makers will sit between two and four AMS units.
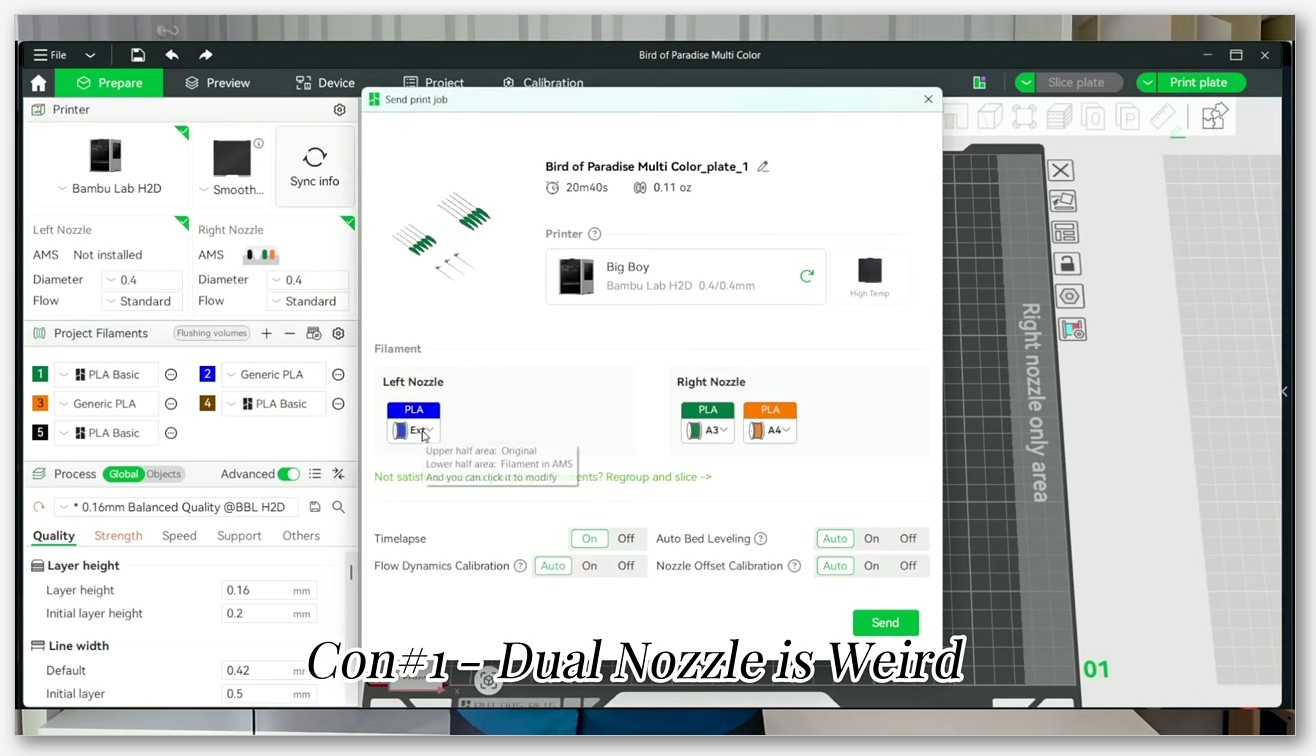
One subtle gotcha worth flagging: AMS 2 Pro’s active drying needs power. With a single AMS 2 Pro connected, the H2D powers everything including drying. With more than one AMS 2 Pro, if you’ve got some units running multi-colour feeding and others purely drying spools, the drying-only units need an external power adapter. That’s straight from the Bambu compatibility guide. Easy to overlook on day one. We dig into the broader AMS workflow in our OrcaSlicer Bambu AMS guide if you want the full picture.
Calibrations to run before your first serious print
OrcaSlicer’s calibration suite has been one of the main reasons people jumped from Bambu Studio in the first place, and on the H2D those tools are even more useful because you’ve got two nozzles to characterise. Both nozzles should be calibrated independently. Treat them as two printers in one body.
The three calibrations I run on a fresh H2D before any “real” print:
- Flow rate. Run this per filament per nozzle. The default profile values are sensible starting points, but Bambu’s filament tolerances drift a little between batches, and a quick flow rate pass takes ten minutes.
- Pressure advance. Especially for the right nozzle if you’ve assigned it to a stringy material like PETG. The dual-nozzle lift mechanism helps, but pressure advance still controls in-print corner bulging and recovery.
- Max volumetric flow per nozzle. If you bought the H2D for speed, this is where you actually unlock it. The 1,000 mm/s number on the spec sheet is a ceiling; the real-world limit is your filament’s volumetric capability through that specific nozzle size at temperature.
Heads up that some H2D-specific calibration UI features are still evolving in OrcaSlicer. The OrcaSlicer Discussions board has a running wishlist thread (#9950) where users flag missing pieces. If a specific calibration isn’t behaving as expected, check that thread before assuming you’ve broken something.
Common gotchas on H2D plus OrcaSlicer
The list of things that have personally cost me time on this setup:
- Firmware updates silently re-enabling cloud mode. Re-check the LAN and Developer toggles after every Bambu Connect firmware bump.
- Forgetting the legacy network plugin checkbox. PR #10780 is explicit that this must be off. I’ve fallen for this twice.
- Sending a 320 mm wide plate with both nozzles enabled. Build volume error every time. Either narrow it, or print single-nozzle.
- AMS 2 Pro drying without power. Second AMS 2 Pro running drying-only? It needs the external power adapter.
- Trying to drive the laser or cutter from OrcaSlicer. You can’t. Those modules are Bambu Studio / Bambu Suite territory. OrcaSlicer is 3D printing only.
- Confusing H2D variants. H2D, H2D AMS Combo, H2D Laser Full Combo and H2D Pro are different SKUs. The Pro in particular has different network security behaviour.
For anything that doesn’t fit the patterns above, our OrcaSlicer troubleshooting master guide covers the wider catalogue of slicer-side weirdness. And if you’re cross-shopping the H2D against Bambu’s older models, the X1C and P1S setup guide is a useful comparison point.
H2D Pro: what’s different for OrcaSlicer
The H2D Pro is a separate SKU with its own profiles in OrcaSlicer, also added through PR #10780 with later refinements. From a slicer perspective, the dual-nozzle behaviour, AMS compatibility matrix and LAN/Developer requirement are the same. The main practical differences for OrcaSlicer users tend to be on the network-security side, where the Pro variant has historically been a bit more locked down. Some H2D Pro owners reported needing PR builds rather than stable releases for full feature parity earlier in 2026; by now the stable carries the Pro profiles in resources/profiles/BBL/machine. Issue #12458 (linked earlier) remains the canonical thread for ongoing Pro-specific discussion.
FAQ
Does OrcaSlicer support the Bambu H2D in 2026?
Yes. Native H2D and H2D Pro profiles shipped via PR #10780, merged 24 October 2025, and have been in stable OrcaSlicer 2.3.x onwards. Ten H2D-family JSON profiles live in resources/profiles/BBL/machine.
Do I need Bambu Connect to print from OrcaSlicer?
No, but you need to bypass it the legitimate way. Enable LAN-Only Mode and Developer Mode on the H2D itself, and disable “Use legacy network plugin” in OrcaSlicer. That’s Bambu’s sanctioned “advanced user” path.
Can I print over Bambu Cloud with OrcaSlicer?
No. Since Bambu Connect rolled out, third-party slicers can’t push jobs through the cloud. If you want cloud printing, use Bambu Studio.
Does AMS Lite work with the H2D?
No. Per Bambu’s H2D FAQ, AMS Lite is incompatible with the H2D due to differences in the feeding mechanism. AMS Lite is A-series only. Use the original AMS, AMS 2 Pro, or AMS HT.
Can OrcaSlicer drive the H2D laser or drag-knife cutter?
No. Laser engraving and cutting workflows are handled by Bambu Studio / Bambu Suite. OrcaSlicer covers 3D printing only.
Which firmware do I need for Developer Mode on H2D?
Per Bambu Wiki, Developer Mode was added to H2D in firmware version 01.01.00.01. If you can’t see the toggle, update firmware first.
Will I lose Bambu Cloud features if I enable LAN-Only Mode?
Yes, while LAN-Only Mode is on. You lose cloud monitoring, remote control via Handy over the internet, and cloud print history. Flip the toggle back off and you’re back on cloud. The trade-off is one-click reversible.
What’s the max AMS setup for H2D?
Four AMS 2 Pro plus eight AMS HT connected simultaneously, for 12 units and 24 slots. You’ll need the Bambu 4-in-1 PTFE Adapter for anything beyond two AMS units.
Wrapping up
If you’ve made it this far, you’ve got everything you need to get a clean first print out of an H2D from OrcaSlicer. The three things to remember above all: profiles are already in upstream so you don’t need a custom build, the three-switch routine (LAN, Developer, legacy plugin off) is the gate for connectivity, and AMS Lite genuinely does not work on this machine so don’t try to bolt one on. If you’re starting a wider OrcaSlicer setup across multiple Bambu printers, the profile hub guide referenced earlier is the next logical stop. Happy printing.
Related OrcaSlicer guides
- OrcaSlicer for Bambu Lab X1C, X1E and P1S: Setup, Profiles & Calibration
- OrcaSlicer for Bambu Lab P1S / P1P – Complete Setup Guide (2026)
- OrcaSlicer for Bambu Lab A1 & A1 Mini: Setup, AMS Lite, Calibration
- OrcaSlicer Bambu AMS Setup & Tips: Complete 2026 Guide
- SimplyPrint vs Obico vs OctoEverywhere: OrcaSlicer 2026