
Bambu officially retired the P1P in early 2026 (production end on February 10), but there are still tens of thousands of them in active workshops, mine included. The P1S replaced it as the entry-level Bambu, and the two share more DNA than the marketing suggests. They also share a thorny problem: OrcaSlicer’s old LAN-only access code path stopped working sometime in 2026, and most online guides haven’t caught up. I’ve been running both printers through OrcaSlicer for the better part of a year, so here’s what actually works in 2026, what’s changed, and what to do about it.
If you also own an X1C alongside, our X1C and P1S setup guide already covers that overlap. This piece is for the P1S and P1P specifically, with the material capability split that the X1C guide skipped over because both X1C and P1S are enclosed boxes.
Table of contents
- P1S vs P1P at a glance
- Installing OrcaSlicer profiles for P1S and P1P
- Network setup: three working paths in 2026
- Material capability: what each printer can actually print
- AMS integration on P1S and P1P
- First print and calibration
- OrcaSlicer-specific tweaks vs Bambu Studio
- Common pain points and fixes
- When to upgrade: P1P to P1S, or skip to X1C
- Wrap-up
P1S vs P1P at a glance
I’ll start with the comparison most guides bury at the bottom. The P1S and P1P are the same printer underneath. Same steel CoreXY frame, same 256 mm cube build volume, same all-metal hotend, same 500 mm/s top speed, same 20,000 mm/s² acceleration ceiling. The differences are bolted onto the outside, and they’re the differences that decide what you can actually print.
Here’s the side-by-side I wish I’d had when I bought my P1P:
| Spec | P1S | P1P |
|---|---|---|
| Frame | Enclosed (glass top, side panels, front door) | Open (snap-on plastic side panels) |
| Build volume | 256 x 256 x 256 mm | 256 x 256 x 256 mm |
| Max speed | 500 mm/s | 500 mm/s |
| Max accel (extruding) | 20,000 mm/s² | 20,000 mm/s² |
| Hotend | 300 °C all-metal, stainless 0.4 stock | 300 °C all-metal, stainless 0.4 stock |
| Heated bed | 100 °C, textured PEI | 100 °C, textured PEI |
| Aux part-cooling fan | Yes | No |
| Chamber regulator fan | Yes (expels heat for PLA) | No |
| Carbon air filter | Yes | No |
| AMS port | Same 4-pin connector | Same 4-pin connector |
| Lidar (auto Flow Dynamics) | No (X1-only) | No (X1-only) |
| Network | Wi-Fi 2.4 GHz only | Wi-Fi 2.4 GHz only |
| Status (May 2026) | Current entry-level Bambu | Discontinued February 10, 2026; P1S and P2S replaced it |
That’s the headline. The P1S is a P1P with a box around it, plus an aux fan, plus a carbon filter, plus the chamber regulator fan that pushes hot air out so PLA doesn’t heat-soak past 60 °C in the chamber. Bambu also still sells the official P1P-to-P1S enclosure kit (around $150) for owners who want to convert without buying a whole new printer.
Quick verdict by buyer:
- Buying new in 2026: get the P1S. The price gap to a used P1P closed once the P1P went out of production, and the enclosure unlocks ABS, ASA, and most CF blends day one.
- Already own a P1P: keep printing PLA, PETG, and TPU. If ABS becomes a need, the official enclosure kit is cheaper and quieter than DIY panels, though the DIY route (ARC, Vision, Voxelpla) works if you can borrow a friend’s enclosed printer to make the parts.
- ABS or ASA on the shopping list: P1S, not P1P, full stop. I’ve watched too many P1P-with-cardboard-box experiments end in cracked layers.
- Multi-color PLA shop: either is fine. The AMS works identically on both.
Installing OrcaSlicer profiles for P1S and P1P
Both printers are first-class citizens in OrcaSlicer’s BBL profile bundle. I checked the upstream resources/profiles/BBL/machine/ folder before writing this and confirmed the current set:
Bambu Lab P1S.json(parent) plus 0.2, 0.4, 0.6, and 0.8 nozzle variantsBambu Lab P1P.json(parent) plus the same four nozzle variants
Here’s how to install them on a fresh OrcaSlicer setup:
- Launch OrcaSlicer. On a first run the Configuration Wizard pops up automatically. Otherwise hit Configuration → Configuration Wizard from the top menu.
- Tick Bambu Lab in the vendor list.
- In the model picker, tick Bambu Lab P1S, Bambu Lab P1P, or both. They coexist without conflict, which is handy if you run both like I do.
- Pick the nozzle sizes you actually own. The 0.4 mm is the default; if you’ve got a 0.2 or 0.6 hotend kit, tick those too. They’ll install as separate machine profiles in the dropdown.
- On the filament step, keep the Bambu Basic and Generic PLA/PETG presets. Skip the exotics until you actually load them.
- Finish the wizard. You’ll see entries like “Bambu Lab P1S 0.4 nozzle” and “Bambu Lab P1P 0.4 nozzle” in the printer dropdown at the top right of the Prepare view.
One detail worth knowing if you ever pop the JSONs open. The P1S profile inherits its filament tunes from the X1C set (the @BBL X1C suffix). The P1P has its own dedicated @BBL P1P filament set, with slightly slower max volumetric speeds and lower bed temps for ABS to acknowledge that the open frame will fight you on warping. That’s why a generic Bambu PLA Basic on the P1P will print slightly differently than the same spool on a P1S, even with no other settings touched. It’s not a bug. It’s the team being honest about what an open-frame printer can sustain.
The kinematics line up exactly between the two on the 0.4 mm variant: 20,000 mm/s² acceleration on extruding moves, 9,000 on travel, 500 mm/s top speed, jerk capped at 9, retraction 0.8 mm at 30 mm/s in and out. That’s identical Bambu firmware-side, and OrcaSlicer mirrors it.
Network setup: three working paths in 2026
This is the part everyone’s googling, and it’s where most older guides are flat-out wrong now. The short version: OrcaSlicer cannot bind directly to your P1S or P1P using just the LAN-Only Access Code anymore. Bambu’s January 2025 firmware (01.08.02.00 on the P1 series, with later patches into 2026) introduced an “authorization control system” that broke the simple direct connection that OrcaSlicer used for years.
There are three paths that actually work today. Pick based on how you feel about Bambu accounts and Developer Mode warnings.
| Path | Account required? | Trade-off |
|---|---|---|
| LAN + Developer Mode | No | Manual toggle on the printer; warranty/support nuance |
| Bambu Connect helper | Yes (Bambu account) | Telemetry; account-tied; smoothest experience |
| MicroSD sneakernet | No | No remote control; immune to firmware lockouts |
Path 1: LAN + Developer Mode
This is the path I use, because I don’t want a cloud account in the loop and I’d rather toggle a setting than install a helper app.
- On the printer’s knob LCD, go to Settings → General and enable LAN Only Mode.
- Scroll down in Settings. Developer Mode only appears once LAN Only Mode is on. Enable it and read the warning prompt.
- Open Settings → WLAN and note the printer’s IP address and the eight-character Access Code shown there.
- In OrcaSlicer, switch to the Device tab, click Add Printer, and enter the IP and Access Code.
- The chamber camera (port 6000), AMS panel, status, and file transfer all light up. Print initiation works.
Path 2: Bambu Connect helper
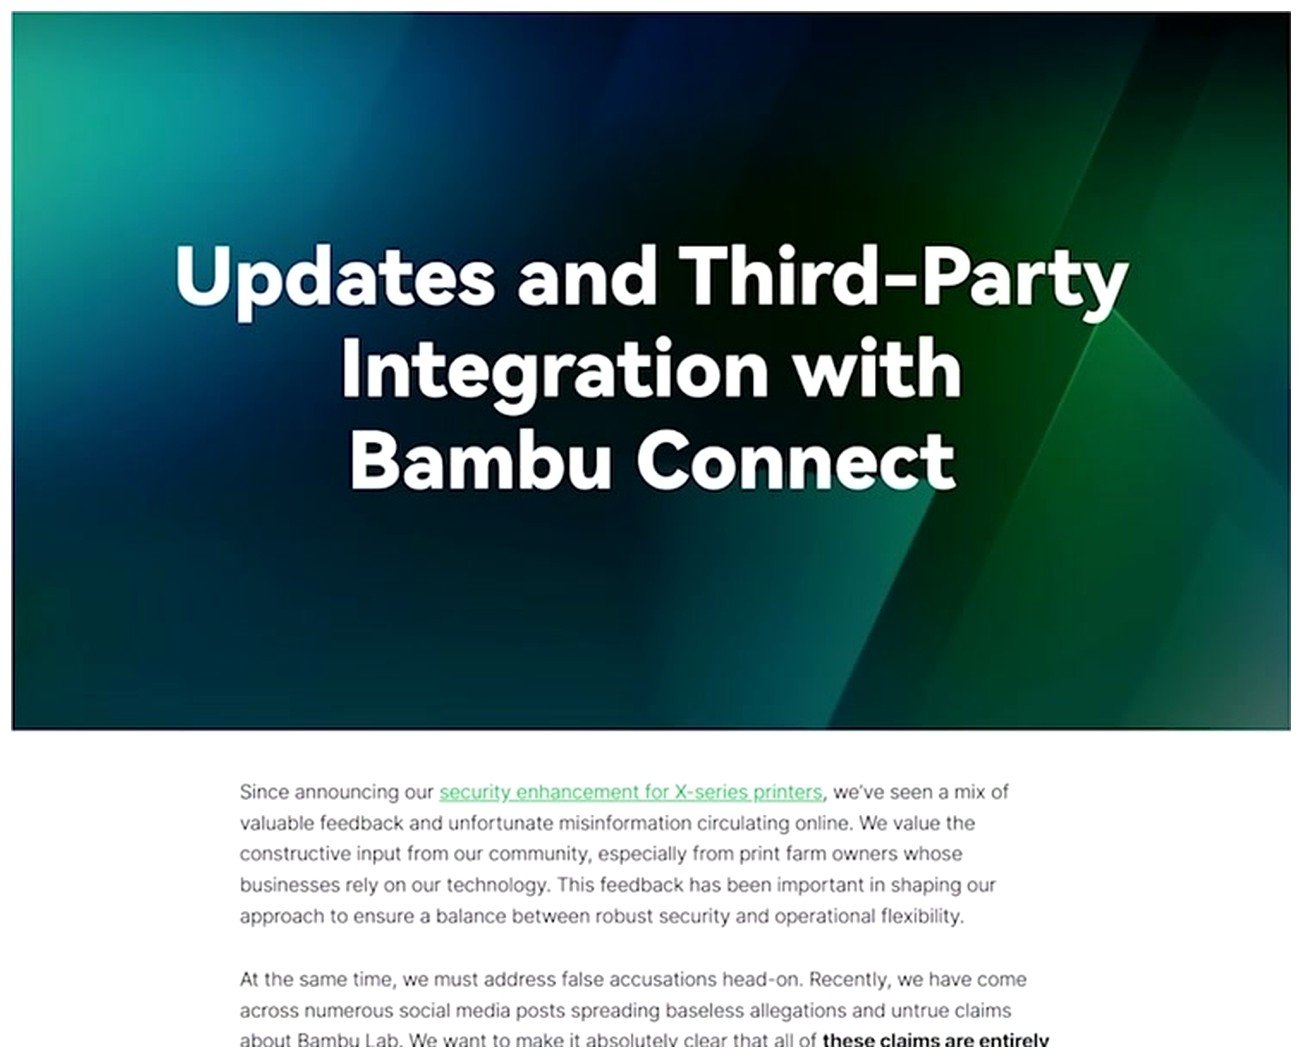
Bambu Connect is Bambu’s official answer to “I want third-party slicers to keep working.” It’s a small helper app you install alongside OrcaSlicer that brokers print sends through Bambu’s authorization layer. Sign in once with your Bambu account, OrcaSlicer detects it via the network plugin, and Send to Printer routes through it. No Developer Mode, no manual IP entry, and it survives firmware updates that break the direct path.
Trade-off: account-tied, some telemetry, and you’re trusting Bambu to keep the helper alive. For someone who wants to print without thinking about it, this is the smoothest 2026 path.
Path 3: MicroSD card
The fallback that always works. Slice in OrcaSlicer, hit File → Export G-code, drop it on a MicroSD card, slot it into the right side of the P1S or P1P, pick the file from the printer’s Print menu.
Not glamorous, but immune to firmware authorization changes, plugin breakage, and Wi-Fi flakiness. I keep a spare MicroSD in each printer for exactly this. Issue #13025 (filed March 2026) confirms the network plugin no longer works reliably with printers on pre-security-update firmware, so even staying on old firmware to dodge the lockdown will catch up with you eventually. MicroSD is the only path that doesn’t depend on Bambu’s authorization mood.
For the deeper network rabbit hole, including VLAN setups and remote access over Tailscale, our Bambu cloud vs LAN guide goes into more depth than I have room for here.
Material capability: what each printer can actually print
This is where the P1S and P1P diverge, and it’s the section I think justifies a separate article from the X1C/P1S guide. Same kinematics, same hotend electronics, but the box around the P1S changes what’s realistic.
| Material | P1S | P1P | Notes |
|---|---|---|---|
| PLA | Excellent | Excellent (often better) | The P1P actually edges out the P1S on tall PLA prints because there’s no chamber heat soak. Open frame = passive cooling. |
| PETG | Excellent | Excellent | PETG bonds too hard to textured PEI on either. Use a glue-stick release layer. |
| TPU 95A / 90A | Good | Good | Direct drive favors TPU on both. Keep walls below 30 mm/s. |
| ABS | Good | Risky without DIY enclosure | Door-less = drafts. P1P past 80 mm tall in ABS will crack. |
| ASA | Good | Same as ABS | Outdoor parts; UV resistance is the reason to bother. |
| PA / PA-CF | Marginal (needs dry filament + AMS HT) | Not realistic | Hygroscopic; chamber heat helps interlayer. |
| PC | Marginal | No | Even P1S struggles vs X1C/X1E here. |
| PLA-CF / PETG-CF / PAHT-CF | Yes, after hardened hotend swap | Yes, same hotend swap | Stock stainless eats itself in 1 to 2 spools of CF. |
| PPS / PEEK | No | No | X1E territory. |
The hardened hotend story trips up new owners. Both P1S and P1P ship with a stainless steel 0.4 mm nozzle, and on the P1 series the hotend and nozzle are one bolted assembly. You can’t just swap the nozzle the way you would on a Voron or Ender. The Bambu “Hotend – P1 Series Hardened Steel” kit is the whole assembly, runs roughly $40 to $55, and the swap is four screws. For any abrasive filament (PLA-CF, PETG-CF, PAHT-CF, PPS-CF, glow-in-the-dark, or third-party glittery stuff), the hardened swap is mandatory.
For tuning the actual filament settings once you’re past the profile defaults, our ABS and ASA settings guide and PLA settings guide dig deeper than the per-printer scope here.
The honest TL;DR: if ABS or ASA is anywhere on your shopping list, the P1S is the value pick. The $100-or-so premium over a used P1P pays for itself the first time you don’t have to babysit a warping print or rebuild a cardboard enclosure at 2 a.m.
AMS integration on P1S and P1P
Both printers expose the same 4-pin AMS port on the back of the toolhead frame, with the same protocol. The hardware story is identical. You can daisy-chain up to four AMS units for sixteen total slots, although chaining four AMS units to a P1S in a hot room becomes its own thermal management problem. For the full deep dive on AMS quirks, our AMS in OrcaSlicer guide is the place to go.
What’s worth covering here is the P1-specific reality:
- AMS Lite (the open A-style 4-slot unit that ships with the A1 series) is NOT natively compatible with P1S or P1P. The connector is different (6-pin filament-hub-style on A1 vs the 4-pin AMS port on P1). Community adapter kits exist on MakerWorld and a few retailers, but it’s not plug-and-play.
- AMS HT (the single-spool dryer) is supported on both P1S and P1P after firmware 01.08+. Plug it in, reboot, it shows up.
- AMS 2 Pro (active dryer at 65 °C) is compatible with both.
- RFID auto-mapping is the OrcaSlicer paper cut. In Developer Mode, RFID tags on Bambu spools do not auto-push the spool identity to your slot picker the way Bambu Studio does. You manually pick the filament preset per slot in OrcaSlicer’s filament panel. This is the #1 friction point P1S/P1P owners hit when they switch from Studio.
For multi-color prints, OrcaSlicer’s flush volume defaults are reasonable but conservative. From my own tuning on a P1S with the AMS:
- PLA → PLA, similar colors: 350 to 500 mm³
- PLA → PETG: 700 to 1000 mm³
- PETG → PLA: 700+ mm³
- Light to dark of same brand: lower end. Dark to white: maximum, every time.
OrcaSlicer ships a Flushing Volumes Calibration tool that prints a small test and measures the actual purge needed per filament pair. Spending one Saturday running it can cut your purge waste by 30 to 60 percent on a typical multi-color hobby load. Our multi-color tuning workflow walks through it end to end.
First print and calibration
Once the printer is bound and an AMS is mapped (or you’ve slotted a single spool into the external holder), the sanity-check first print is straightforward:
- Plate: stock textured PEI
- Filament: Bambu PLA Basic, slot 1
- Bed: 65 °C (PLA, both profiles)
- Hotend: 220 °C first layer, 220 °C subsequent (Bambu PLA Basic default)
- Speed: leave defaults; P1S sustains around 21 mm³/s on PLA Basic, P1P slightly less
- Auto bed level + first-layer inspection at print start. The P1 series runs both automatically.
A standard 3DBenchy or a small calibration cube is plenty. You’re checking adhesion, first-layer squish, and that the AMS is feeding the slot you think it is.
Now, here’s the thing nobody mentions about Bambu Studio on the P1 family: Studio’s auto Flow Dynamics calibration depends on the X1’s lidar. The P1S and P1P have no lidar. Which means Studio’s auto path doesn’t help you on these printers either. You still have to run manual calibration prints. OrcaSlicer ships a much better calibration suite for this exact case, with built-in tabs for Flow Dynamics (Pressure Advance), Max Volumetric Speed, Flow Ratio, Temperature Tower, Retraction, and VFA. All of them work on P1S and P1P with no special setup.
The order I run them in for a new filament:
- Flow Dynamics (Pressure Advance) tower
- Flow Ratio (single-perimeter cube)
- Max Volumetric Speed
- Temperature tower if the manufacturer’s range is wide
This is honestly the strongest argument for OrcaSlicer over Bambu Studio on a P1: Studio leans on lidar that you don’t have, while OrcaSlicer gives you the manual tools that the P1S and P1P actually need.
OrcaSlicer-specific tweaks vs Bambu Studio
If you’ve slid over from Bambu Studio, a few things will look different. Most are cosmetic. A couple matter.
Start G-code differences
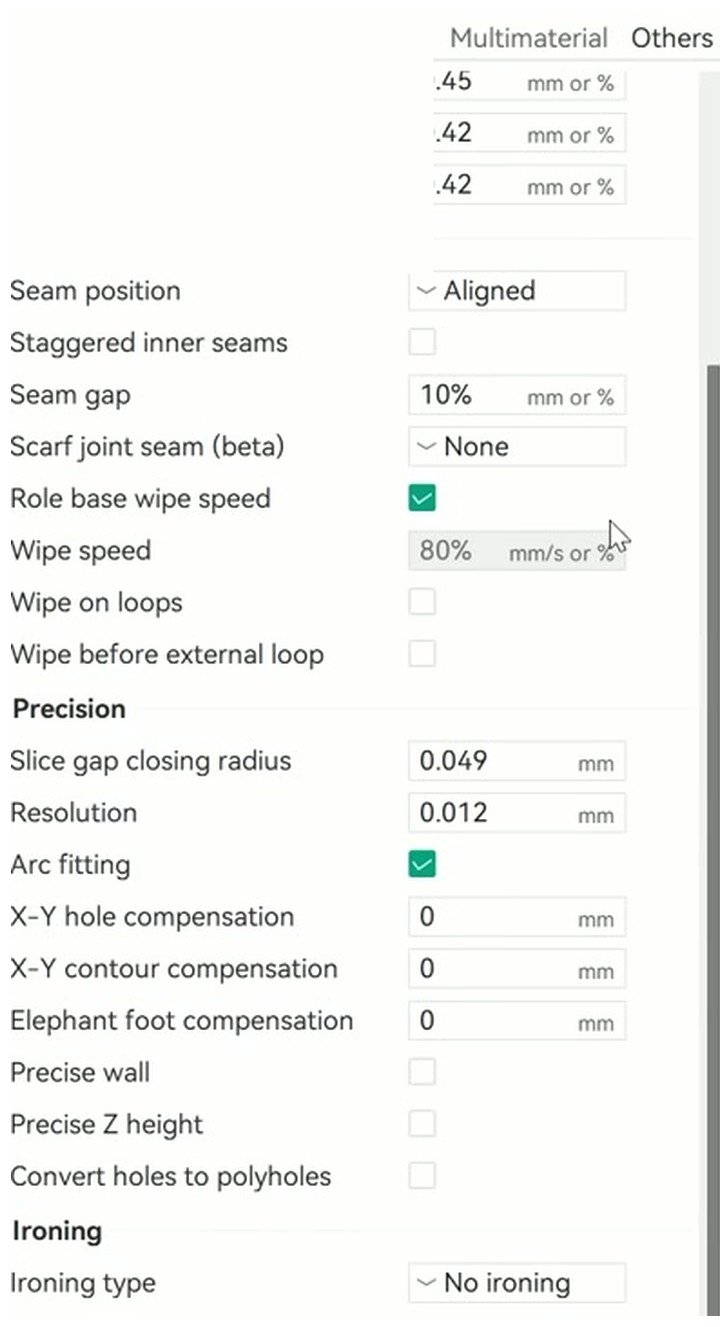
If you crack open the start G-code on the OrcaSlicer P1S 0.4 nozzle profile, the first thing you’ll see is the chamber-fan command:
;===== machine: P1S-0.4 ========================
;===== turn on the HB fan & MC board fan =========
M104 S75 ;set extruder temp to turn on the HB fan
M710 A1 S255 ;turn on MC fan by default(P1S)
;===== reset machine status =========
...
The P1P start G-code is the same template minus the M710 A1 S255 line, because the P1P has no chamber regulator fan. That single line is the most visible profile-level difference between the two printers.
OrcaSlicer’s start G-code is also leaner overall than Bambu Studio’s. Studio embeds a richer M73/M623/M1002 sequence for cloud progress reporting and proprietary plate-detection calls. OrcaSlicer skips a few of those, which is the subject of the open issue #11319 (“Bambu P1S machine profile G-code out of date”). Practical impact: prints work fine, but timelapse and some plate-detection features may be slightly degraded when slicing in Orca. Most owners never notice.
Flush volumes
Bambu Studio is conservative by default, around 700 to 950 mm³ across the board. OrcaSlicer starts at the same point but exposes the matrix prominently and gives you the calibration tool to dial it down. As I said in the AMS section, that’s where your filament savings on multi-color prints come from.
No native MakerWorld push
OrcaSlicer doesn’t push to MakerWorld, doesn’t send Bambu Handy notifications, and doesn’t sync project history with your Bambu account. If those features matter to you, Bambu Studio is the smoother default for daily Bambu printing. Our OrcaSlicer vs Bambu Studio comparison covers the trade-offs in full.
The honest summary
| Area | OrcaSlicer | Bambu Studio |
|---|---|---|
| Calibration suite | Strong, manual | Lidar-only auto (X1 series); manual on P1 |
| Per-filament tuning depth | Deep | Shallow |
| Direct printer connect | Friction (Connect or Dev Mode) | Frictionless |
| MakerWorld / Handy | None native | Full |
| Multi-color flush tuning | User-tunable + calibration tool | Defaults only |
| Best for | Tuners, multi-printer households | Casual Bambu owners |
Common pain points and fixes
The OrcaSlicer GitHub and r/BambuLab tell a consistent story about which problems P1S and P1P owners actually hit. Here are the ones I see most often, with the fix that worked for me or for the highest-voted comment in the relevant thread.
“Failed to get AMS mapping table [103522]” on P1S. Almost always a firmware mismatch between AMS and printer. Update both (or downgrade both) in lockstep from the LCD.
OrcaSlicer cannot connect to the P1S in LAN mode. Developer Mode is off. Toggle it on after enabling LAN Only Mode, re-add the printer in OrcaSlicer with the IP and Access Code. If it still fails, your firewall or VLAN is blocking port 6000.
“MicroSD card needs to be inserted” when sending a print, even with the card in. Reported in OrcaSlicer 2.3.1-beta against P1P (issue #10746). Roll back to 2.3.0 stable, or use MicroSD manually until a fixed beta lands.
Extruder clearance warning on tall prints near plate edges. Issue #11149 documents a gantry-clearance miscalculation that can let the toolhead clip the plate’s edge clip on tall prints near the corners. Keep prints over 200 mm at least 10 mm in from plate edges.
PETG ripping the textured PEI off. PETG bonds too hard to PEI on both. Use a glue-stick release layer, or print PETG on a smooth PEI plate. I’ve lost two textured plates this way.
For the bigger toolbox of fixes across all OrcaSlicer printers, our troubleshooting hub is the catch-all.
When to upgrade: P1P to P1S, or skip to X1C
If you already own a P1P and you’re feeling the limits, you have two real upgrade paths.
P1P to P1S enclosure kit (~$150). Bambu still sells the official kit. It’s a half-day install and gives you the side panels, glass top, front door, aux fan, chamber regulator fan, and carbon filter. The cheapest way to unlock ABS and ASA on a printer you already own.
Sell the P1P, buy a P1S or X1C. The X1C costs roughly twice a P1S, but the premium buys you lidar (which Studio uses for auto Flow Dynamics, irrelevant on P1), a hardened steel hotend in the box, a larger touchscreen, and AMS HT day one. If you push CF, ABS, and PA-CF daily, the X1C earns it. If you print PLA 90% of the time, the P1S is plenty.
If you’re an A1 or A1 mini owner reading this for comparison, our A1 mini OrcaSlicer guide covers the bedslinger sibling, which has its own quirks.
Wrap-up
The P1S and P1P are still some of the best entry-level printers you can run OrcaSlicer on, even with all the friction Bambu has piled onto direct LAN connections in 2025 and 2026. The kinematics are identical, the AMS hardware is identical, and the OrcaSlicer profiles for both are well-maintained. The differences are real but bounded: enclosure for material reach, chamber fan for PLA heat soak, and the filament tunes that quietly acknowledge what an open frame can sustain.
If you’re picking a network path, I’d default to LAN + Developer Mode for the no-account purity, fall back to Bambu Connect when you want it to just work, and keep MicroSD in your back pocket for the day Bambu changes the rules again. If you’re choosing materials, let the enclosure decide for you. If you’re calibrating, OrcaSlicer’s manual suite is genuinely better than what Bambu Studio offers on the lidar-less P1 family. And if you’re shopping, the P1S is the right call new in 2026, with the X1C waiting upstream for the day you outgrow it.
For the next layer of detail, the OrcaSlicer printer profile hub links out to every Bambu printer guide we’ve published, including the X1C/P1S overlap piece for owners running both.
Related OrcaSlicer guides
- OrcaSlicer for Bambu Lab X1C, X1E and P1S: Setup, Profiles & Calibration
- OrcaSlicer for Bambu Lab H2D: Setup, IDEX Modes and AMS
- OrcaSlicer for Bambu Lab A1 & A1 Mini: Setup, AMS Lite, Calibration
- OrcaSlicer Bambu AMS Setup & Tips: Complete 2026 Guide
- OrcaSlicer Webcam and Live View Setup for Remote Monitoring